I know, I know, it’s been a long while again since my last post! I really need to get my time management down so I could post here at least weekly. Now that summer is wrapping up (gosh, how did it go by so fast??!), I hope things will get into more of a routine and I will be able to spend a bit more time in the kitchen and online here on my blog.

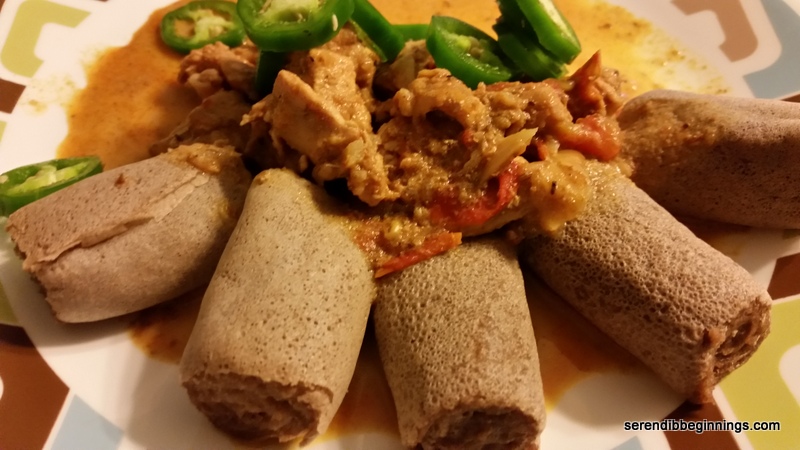
That brings me to this post. There is a little story behind wanting to make injera, sort of a thin and soft pancake with a slight tang. It is very commonly eaten in Ethiopia (and perhaps surrounding nations?). From what I gather from the web, the large pancake is placed on the plate and various meats and veggies and served on top of it. Once you eat the last bit of injera, I gather your meal is officially over. Anyway, back to my story!

You see I have never eaten from a food cart, up until this summer. There are about 25 or so food carts that glorify a stretch of street by my office and I decided to give it a try! My first ever experience! And I decided to try Ethiopian food. Yum! When I was asked rice or injera, I quickly chose the latter not knowing how it was going to taste. Since I have not previously eaten Ethiopian food, I am not sure if what I tried that day was truly authentic, but it left me wanting to finally open up the package of teff flour I had sitting in my pantry – still in its sealed packaging!
Injera is traditionally made from teff, which is a gluten free grain. Recipes using it call for nothing but teff, water, yeast and may be injera starter, much like a sourdough starter. I did a quick version of the dish with just few hours of fermenting and I didn’t like the outcome. It tasted OK, but didn’t have the tangy taste.
So, I decided to try again, but this time letting it ferment for longer period (2 – 3 DAYS!). I came across a recipe online that had the vibe of being a better product. Since I was too excited to bookmark it, I will try to remember to update this post if/when I find the link again. This time around, it did taste better, but I felt a bit guilty about sacrificing the goodness of teff with the addition of all-purpose flour. My family enjoyed it so I will definitely make it again, but replace most of the all-purpose flour with additional teff or some other grain flour.

Serve the injera bread rolled up or as a layer for your curries and salad. It is definitely a good switch from rice! So, I hope you don’t let the long fermentation process discourage you from trying out this recipe! Active work time is probably only about 30 minutes. So, give it a try, I think you will enjoy it!

Ethiopian Injera
Ingredients
1 1/2 cups all-purpose flour
1 teaspoon yeast
1/4 cup warm water
1/2 teaspoon sugar
1 teaspoon baking powder
1 to 1 1/2 cups water
2 cups teff flour
1/3 – 1/2 cup water
Additional water to cover the teff dough
Preparation
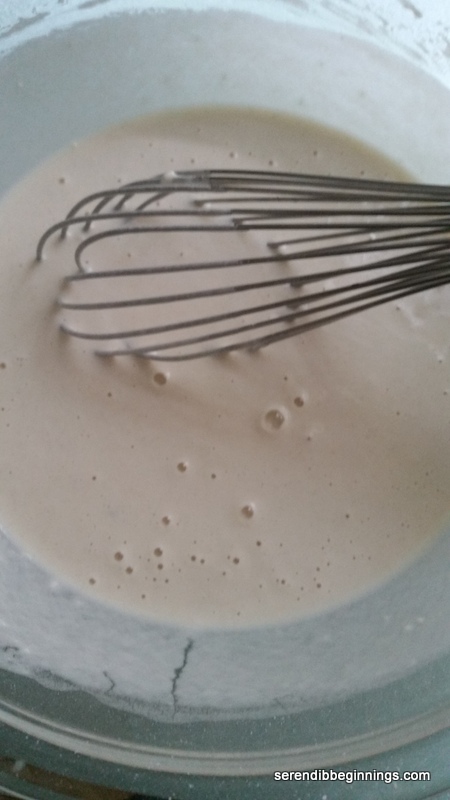
1. Day 1 – Dissolve yeast and sugar in the warm water. Let sit for 5 minutes.
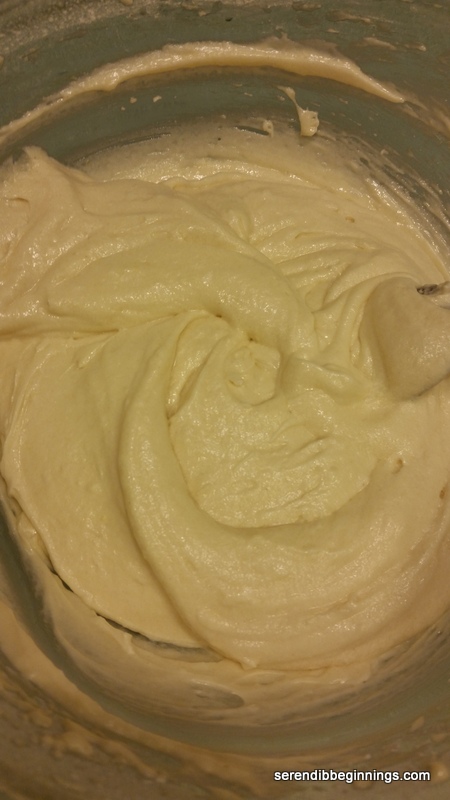
2. Scoop the all-purpose flour into a large bowl. Stir in the baking powder. Add the yeast mixture and just enough water to make a pancake consistency batter. Cover with a plastic wrap and set aside to begin the fermentation process.
3. In a medium bowl, add just enough water to the teff flour and make a very thick dough – similar to a pastry dough. Knead for 3-5 minutes. Now flatten the dough in the bowl and add enough water to just cover it. Cover with a plastic wrap and let sit on the countertop till later part of the day.
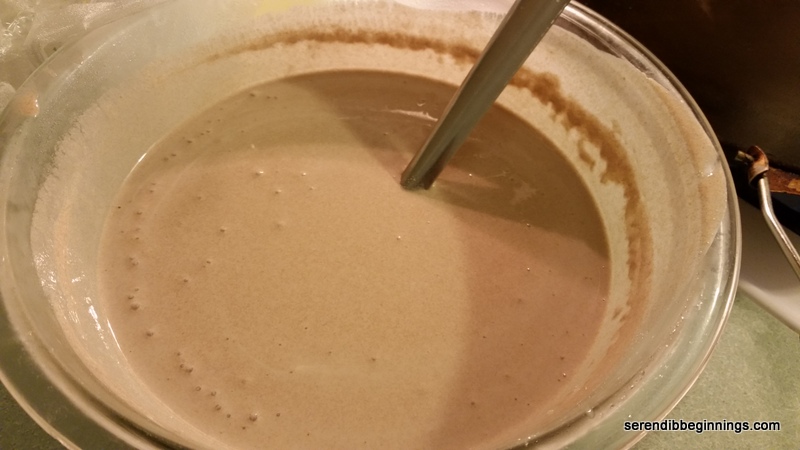
4. After about 8 hours or so, uncover the teff bowl and mix in the water with the moist dough. It will result in a very thick batter.
5. Add the teff batter to the larger bowl and mix well. Cover the bowl with the plastic wrap and let ferment on countertop till the next day.
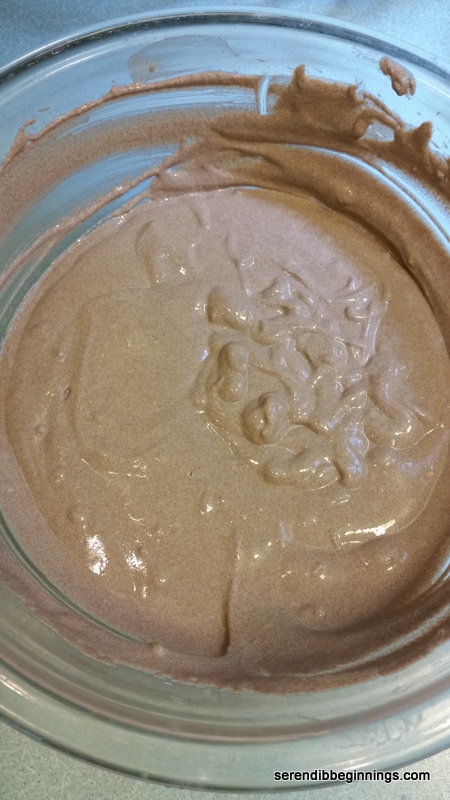
6. On the morning of day 2, give the batter a good stir and let ferment again, covered.
7. You can make the injera for dinner on day 2 or place the batter in the refrigerator for cooking it later. (I placed in refrigerator for dinner on day 3).
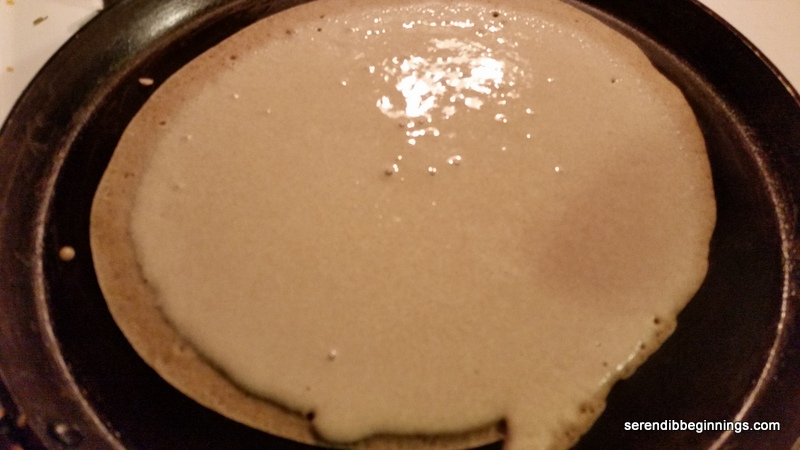
8. Ideally you will want to cook injera in a large flat frying pan with a lid. In the absence of one, do a makeshift lid like did. Heat a large pan over medium high heat. Rub with a bit of oil and pour about 1/2 cup of batter. Quickly swirl the pan to make the batter spread to a thin pancake. Cover with the largest lid you have and let cook for 2 minutes or so.
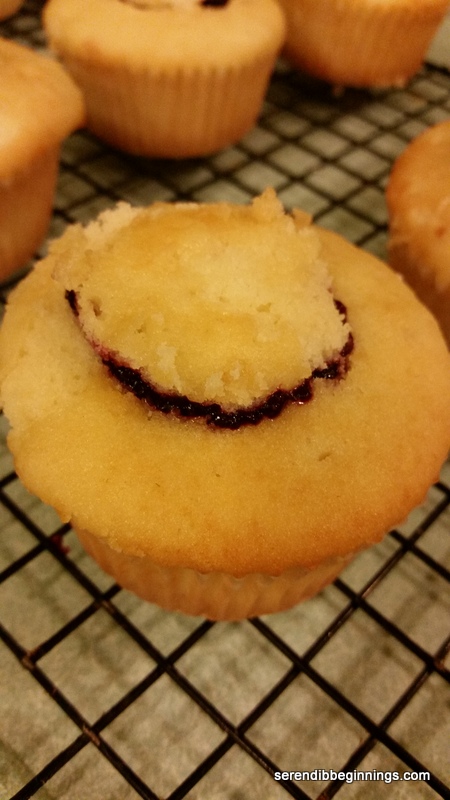
9. When cooked, you can either serve it fresh with meats and vegetables on top or you can roll it like a swiss roll and cut into slices like in the picture. You can still unroll the pancake to scoop the curries in.
Enjoy!