My calendar says we are into November! That means, we have fallen back an hour and old Mr. Winter is looming closeby! Autumn colors should have vanished by now and the trees should be as bare as a smoky BBQ rib, licked clean! (how I miss summer!); air outside should be crisp and cool prepping our skin for the winter freeze! But, what a treat that the fall foliage is still lurking and the temps are so atypical for November! Seriously, it was in the 70’s one day this week! I am definitely not complaining by the slightest bit! Linger as long as you would like warm temp! The longer you linger, the shorter will be winter! (guess vestiges of my poetry days are still around!)

I digress. So, yes, the warm temps and abundance of sunshine did the obvious – put me a great baking mood! I was all out of homemade muffins that I could easily pack for kids’ breakfast or snack and decided to bake a batch. It’s autumn after all, so the big question was whether to bake apple or pear muffins! Apple somehow makes you believe, summer just eased into early fall! Pear on the other hand kind of serves as a gentle push that nudges you into winter! Wouldn’t you agree? So, anyway, I had both the fruits in abundance, but caved in for the latter! Yum, my very first attempt at a pear muffin recipe.

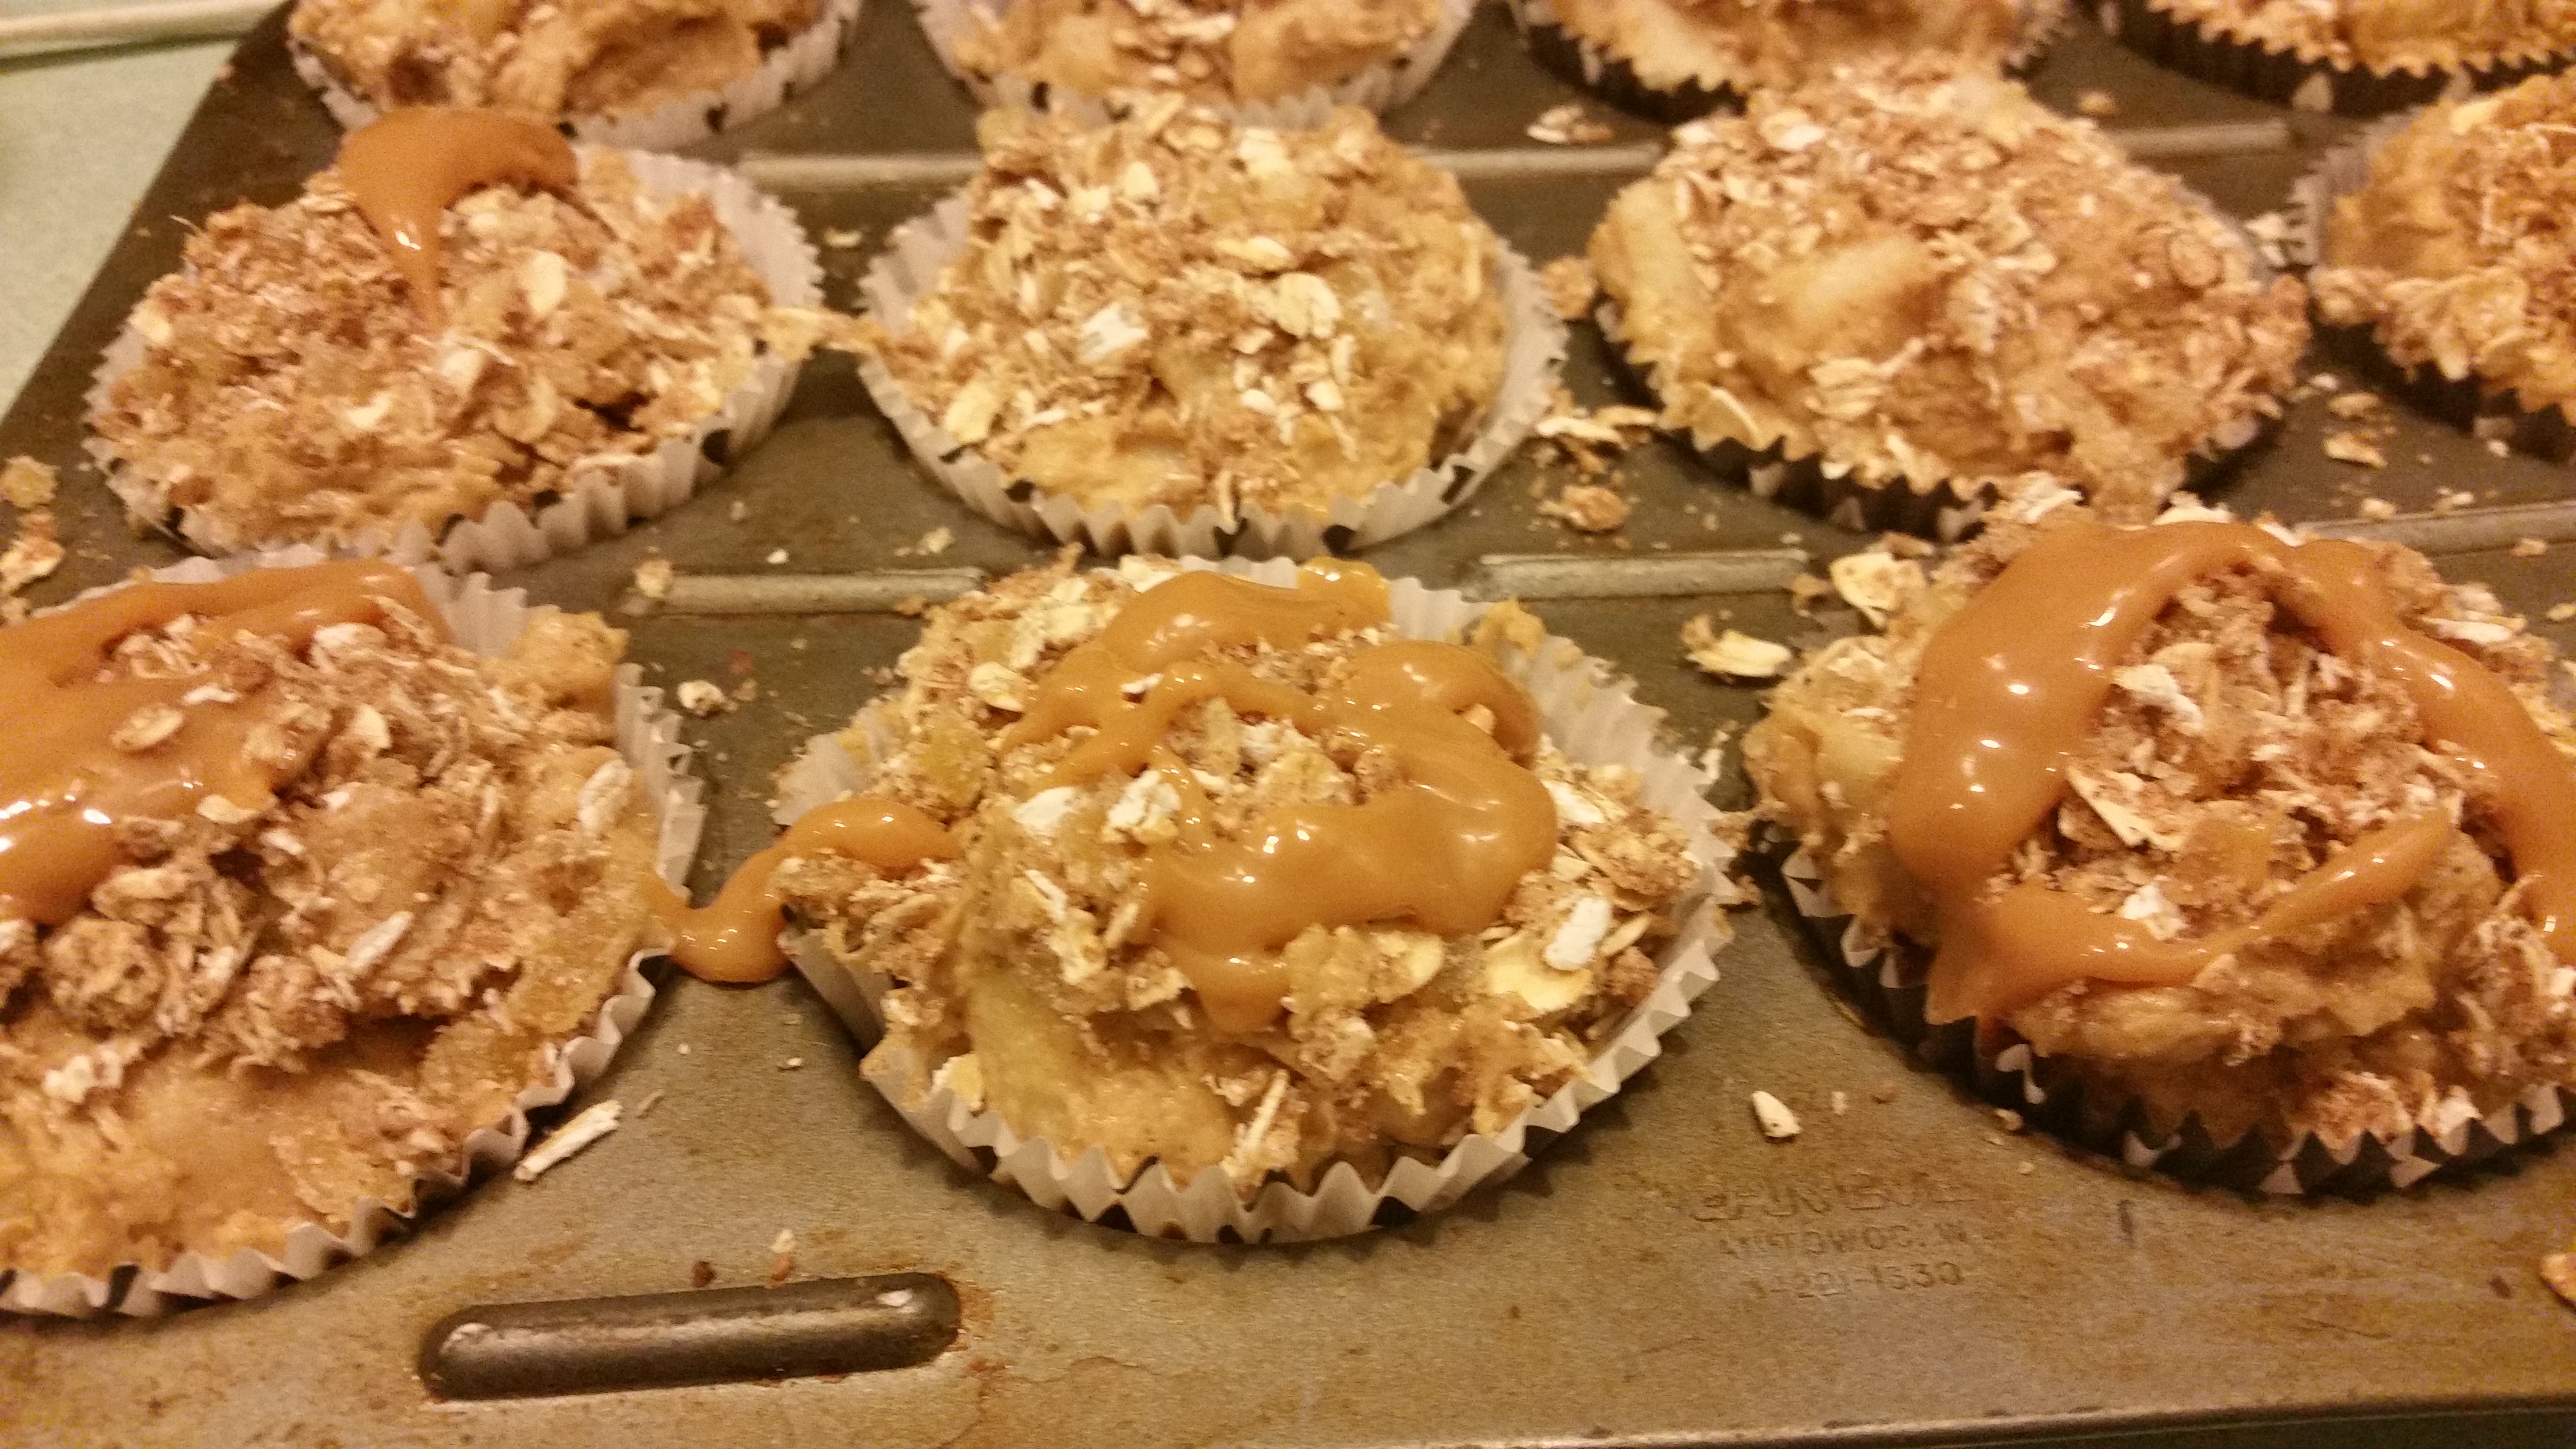
I figured pears would easily substitute for apples in my usual muffin recipe, but I wanted to try a new one. As much as I would like to say this is my original recipe, it is not. The original is found here. I did make some modifications to give it my own little twist. Original ratios still remain though. I swapped out the milk with buttermilk (my favorite in baked goods) and added a streusel topping. And caramel! The last addition is not recommended at all as it is best done after baking and right before serving. Even though the caramel added another layer of sweetness to a not-overly-sweet muffin, I didn’t have the appearance I was going after! Oh well!

These muffins are beyond delicious! Super autumny, super delicious, super moist and simply everything a muffin should be! 🙂 So, seriously, if you never tried any of my other recipes at all, you have to try this! It’s that good!

Autumn Pear Muffins
Ingredients
1/2 cup dark brown sugar, lightly packed
1/4 cup sugar
1 stick unsalted butter, softened
2 large eggs
1 teaspoon vanilla extract
1 cup all-purpose flour
1 cup white whole-wheat flour
2 teaspoons baking powder
1/2 teaspoon baking soda
2 teaspoons ground cinnamon
1/2 teaspoon ground nutmeg
1/2 teaspoon salt
1/2 cup buttermilk
3 medium sizes Bosc pears, cut into 1/2′ cubes
Streusel topping
2 tablespoons of the dry mix (see instructions)
1/4 cup old-fashioned oats
1/4 teaspoon ground cinnamon
1 tablespoon brown sugar
Dulce de leche, optional (lessons learned: Drizzle after baking!)
1 tablespoon butter
1 tablespoon chopped crystalized ginger
Preparation:
1. Preheat oven to 425F. Spray a muffin pan or line with baking liners. Set aside.
2. Sift the flours with baking powder baking soda, spices and salt. Take 2 tablespoons of the dry mix and set aside for the streusel topping.
3. Prepare the streusel by mixing all the streusel ingredients till they are crumbly. Set aside.
4. In a large bowl, cream the butter and sugar till light and fluffy.
5. Add eggs, one at a time, mixing well after each addition. Add the vanilla and beat well.
6. Using a rubber spatula, stir 1/3rd the flour, folding lightly. Add half the butter milk. Add the other third of the flour and follow with remaining buttermilk. Fold in the remaining flour with the pears. As with any muffin recipe, don’t overmix! The batter will be quite thick and super delicious looking! 🙂
7. Spoon the batter evenly across all 12 muffin cups. Sprinkle the streusel topping over the batter and lightly press so they stick to the batter. Drizzle some dulce de leche (caramel) over the streusel. Place in the oven, reduce heat to 400F and bake for 22-25 minutes.
8. When the muffins are done, remove from the oven, let stand for 5 minutes, move to cooling rack and let them cool completely. The muffins can be stored in airtight container at room temperature for 3-5 days.