Blueberry Preserves

20140726_181648

OMG friends! I missed posting here! It’s been rough few weeks!

20140726_181558  20140726_181704

It so happened that a mishap occurred with my laptop….it “somehow” got drowned from the bottom and stopped working! Yes, I nearly crumbled into nothingness when I turned on the laptop and it made this whirring sound. My heart sank knowing something was terribly wrong! The screen was black. I almost collapsed thinking of the many photos saved on it! Can they be retrieved somehow? What about my computer time? Sure, I could have used one of the backup units, but somehow I felt I needed to wait till mine got at least some sort of a CPR.

20140726_133734

Long story and ordeal cut short, my laptop did get fixed. Although it took a bit of time (partly because I was too busy preparing for my extended family’s visit and work to bug my husband to do something about it), the unit is back to action – thanks to my brother and my husband!

20140726_133750

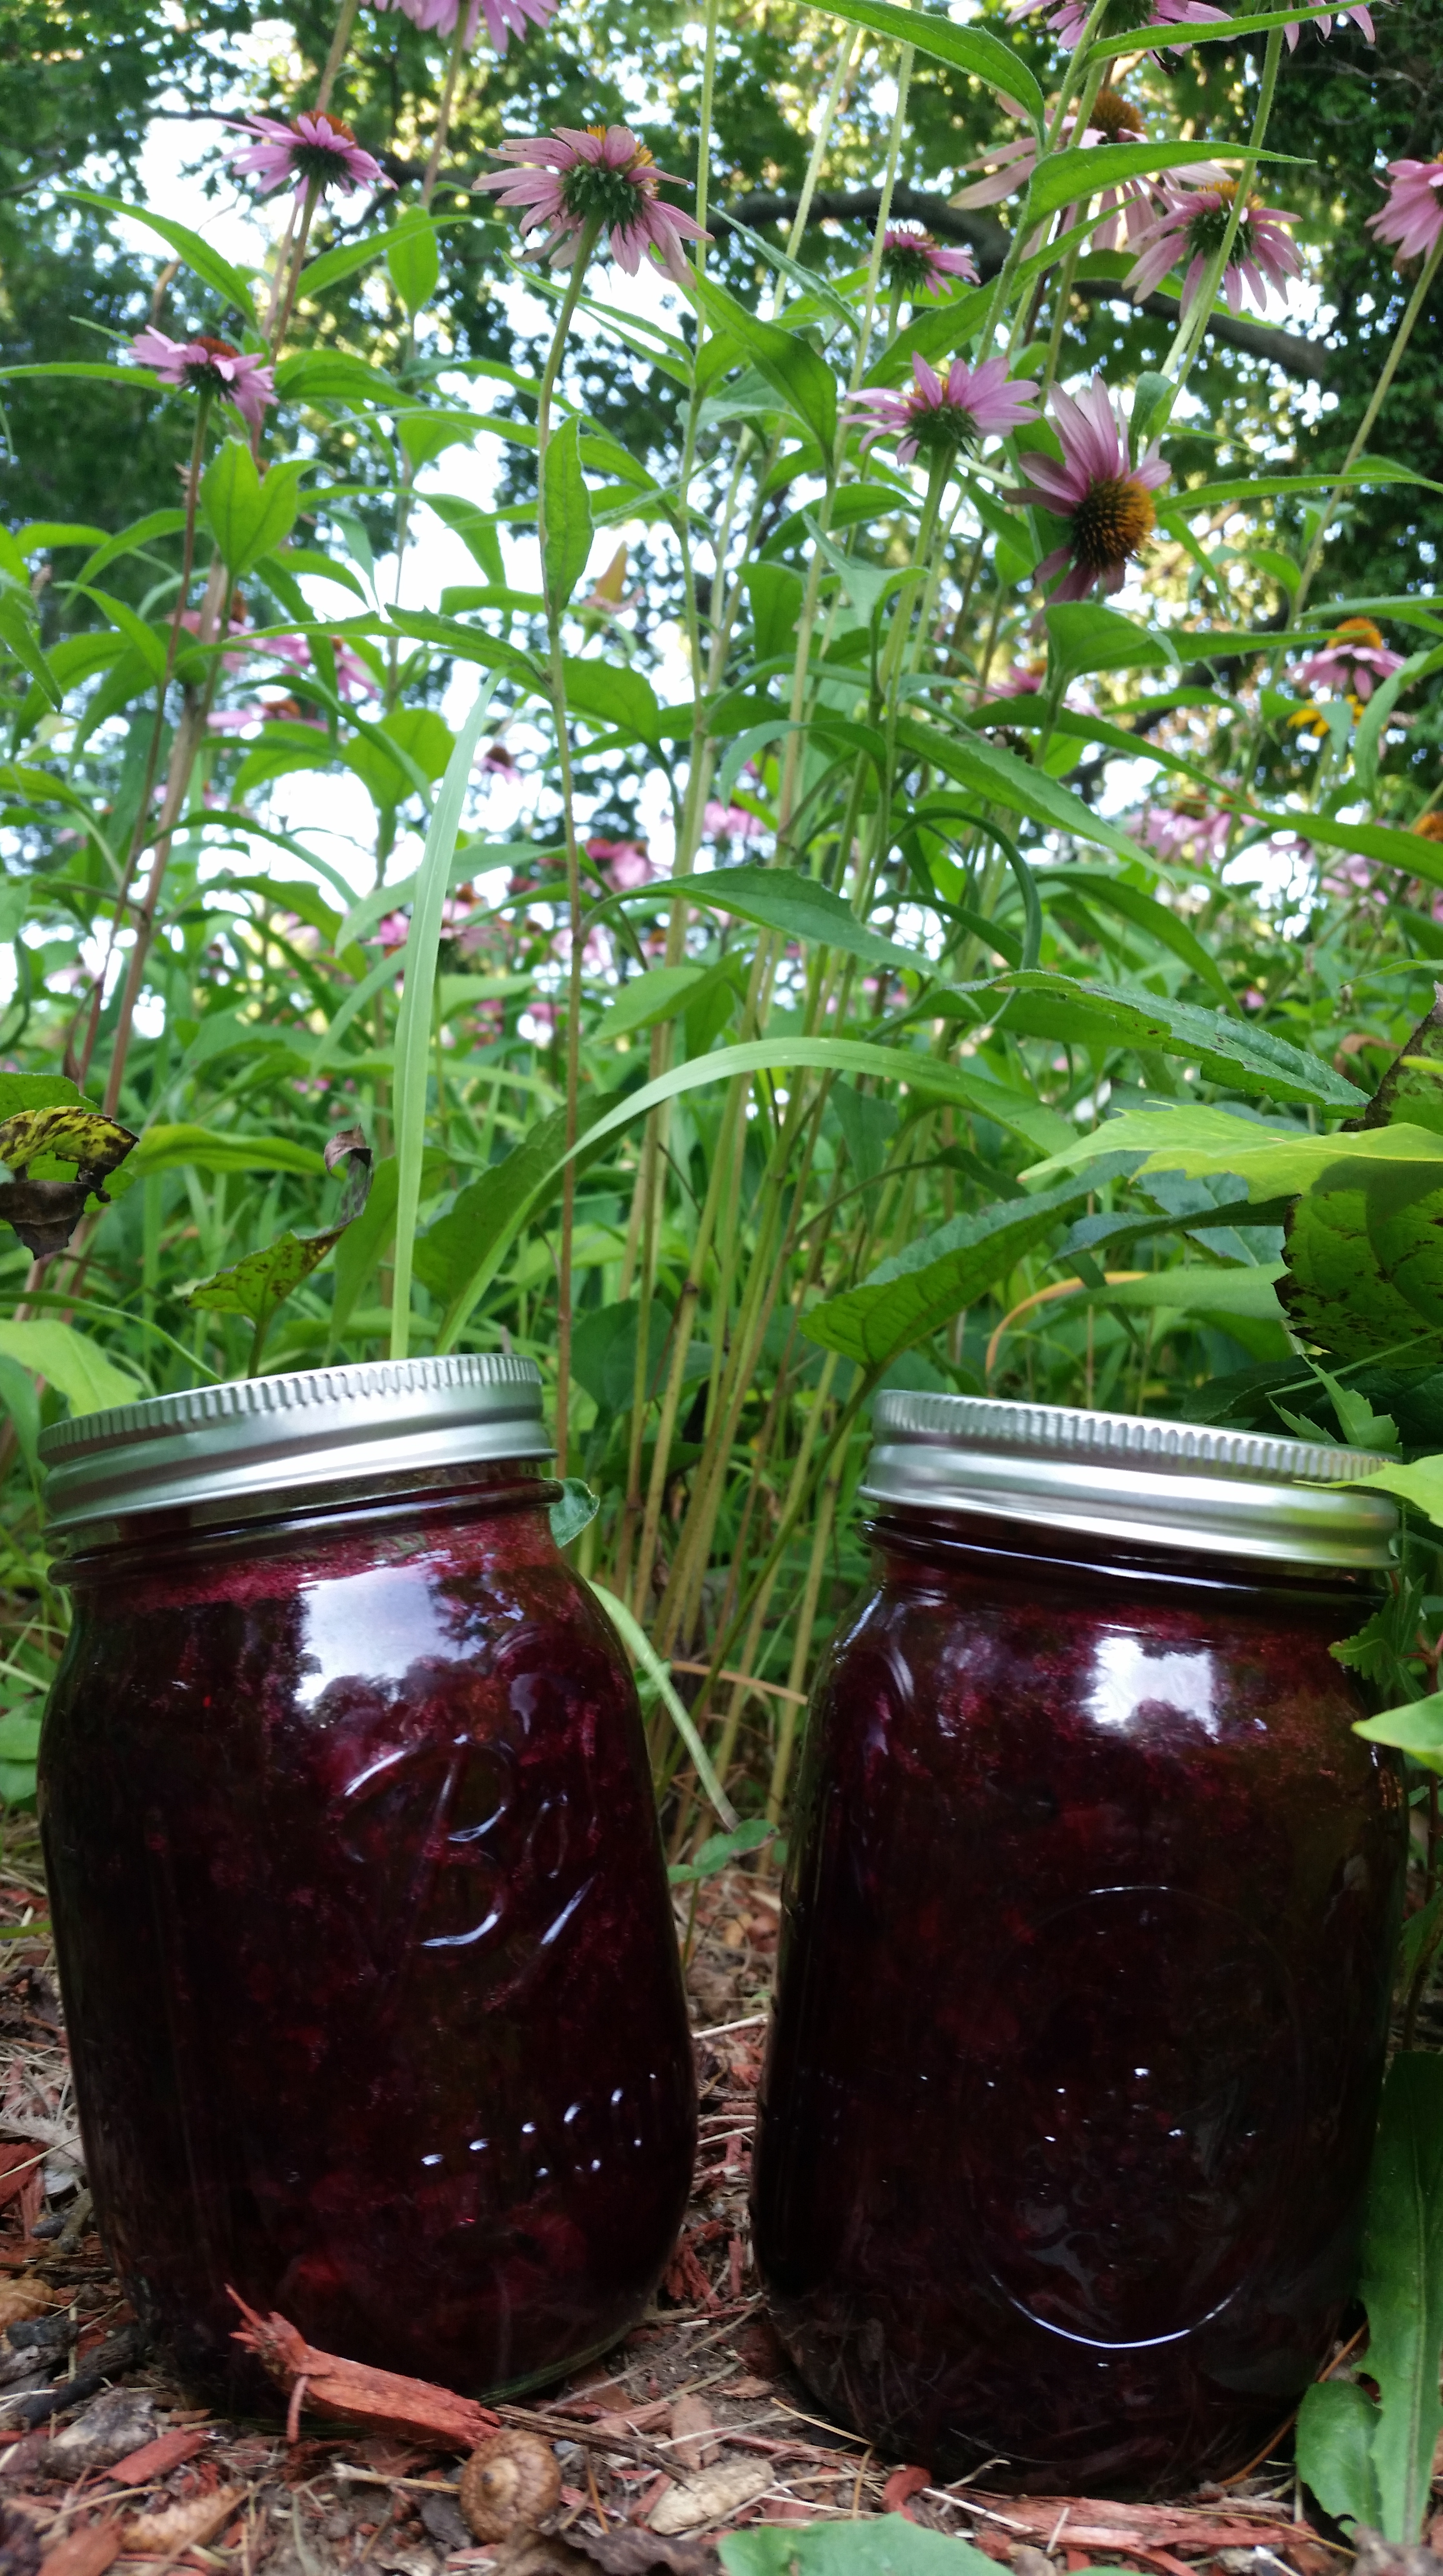
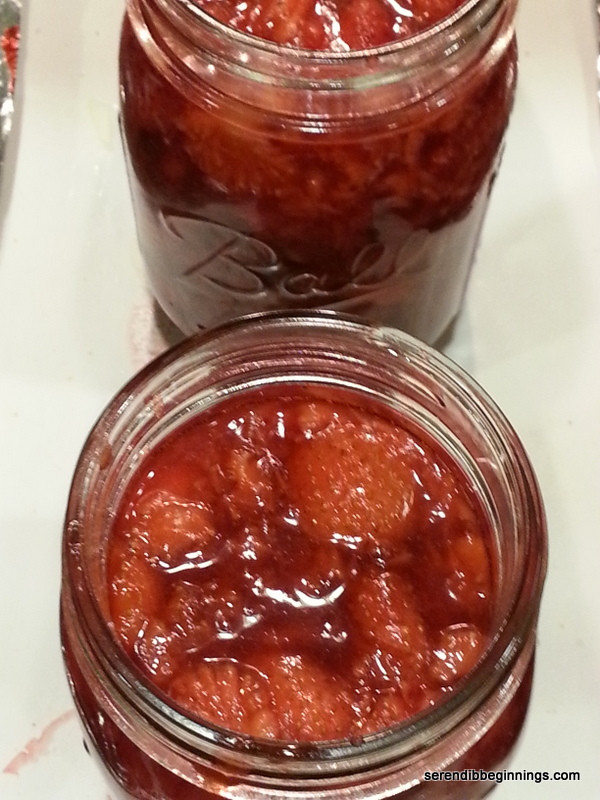
So, I couldn’t think of any better recipe to post but a wonderful, delectable, vibrant, fresh from the garden to a jar, blueberry preserve!

20140726_135732   20140726_172051

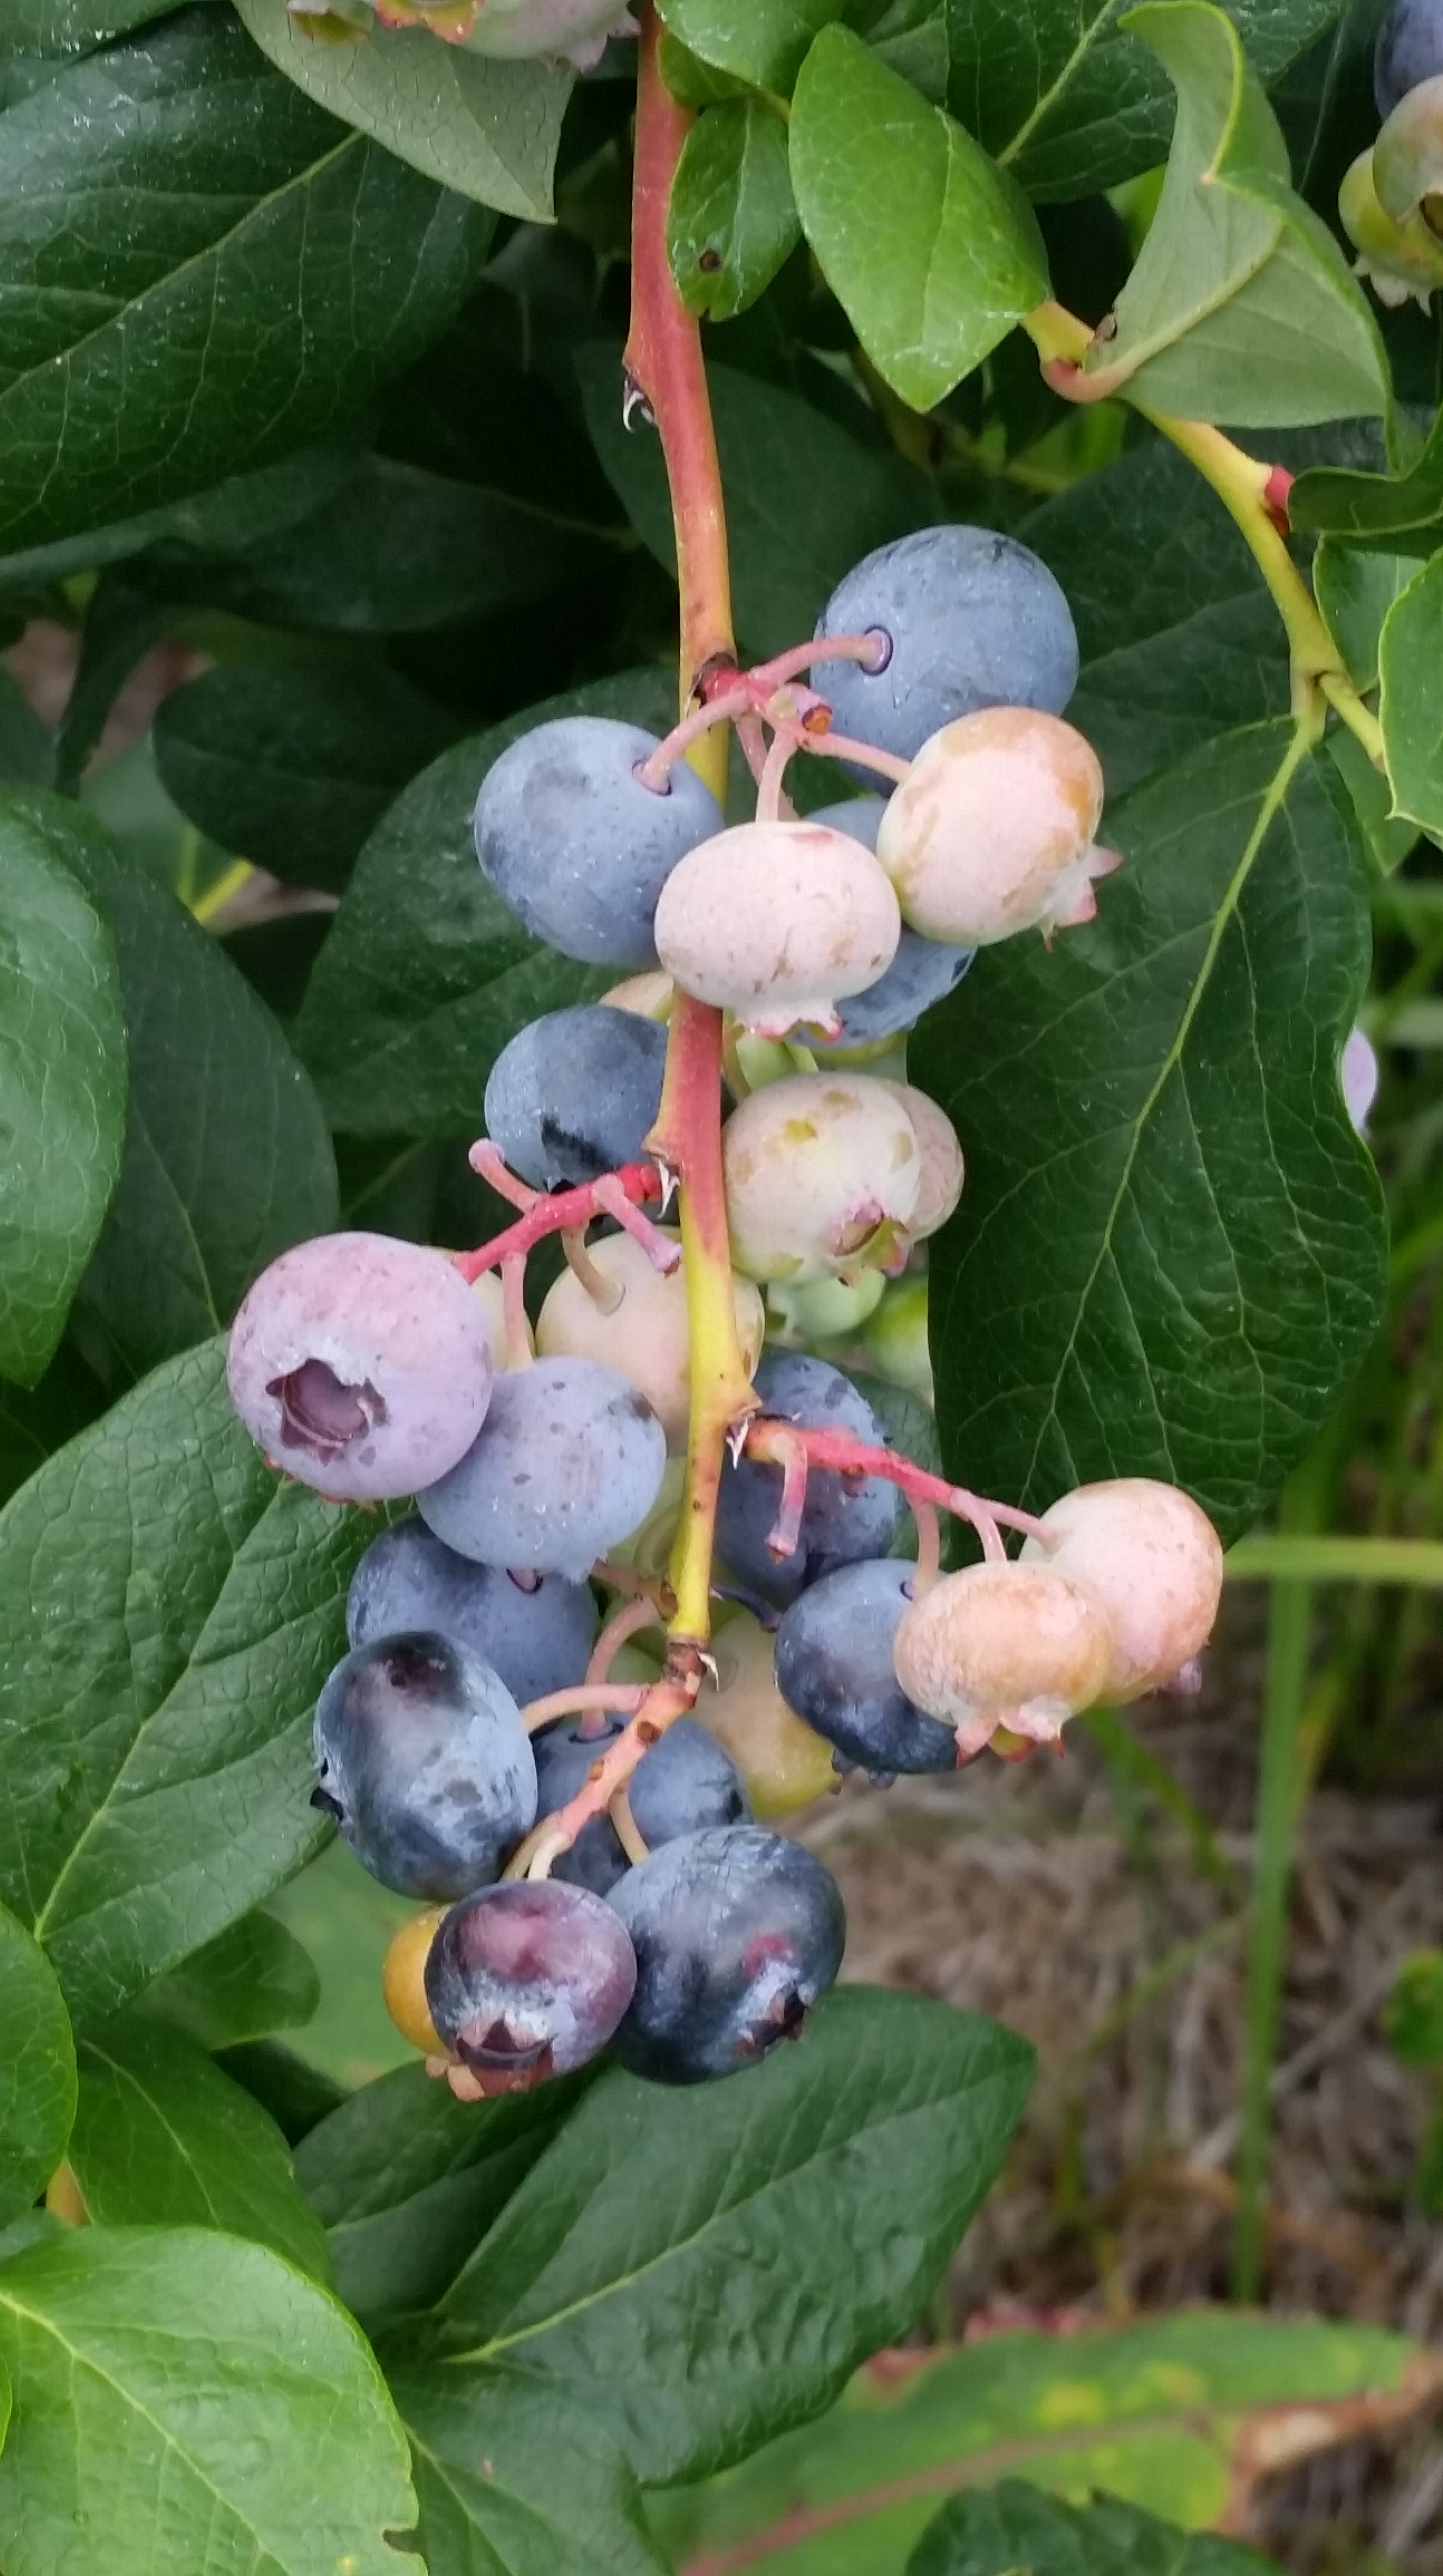
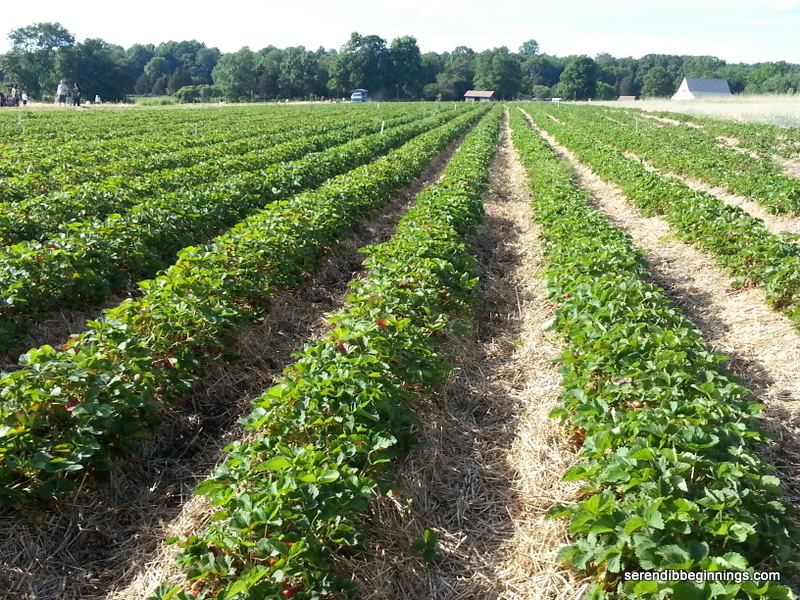
Yesterday, we had gone blueberry picking. We picked several pounds and after freezing most and saving some for eating fresh, I used up a bunch to make two 16-oz jars of delicious preserves.

20140726_173358  20140726_174758

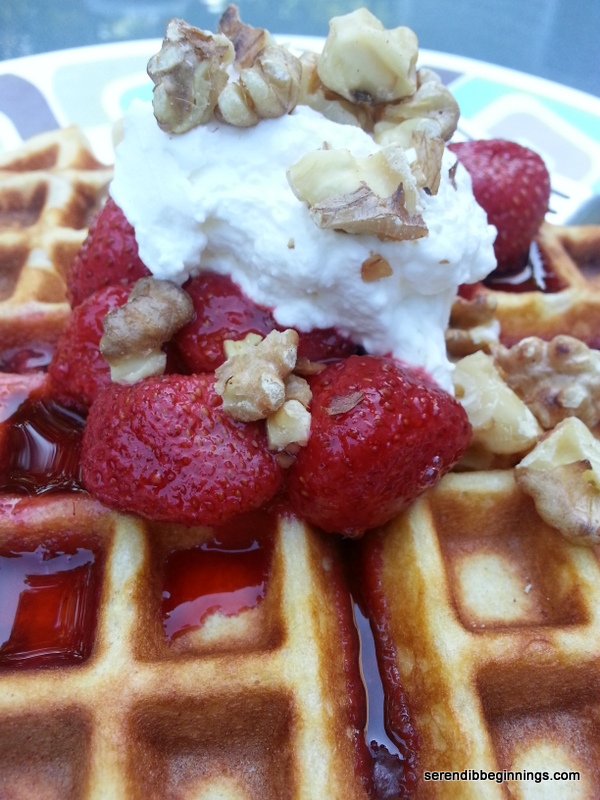
If you can get past the beautiful hue of the preserve, I assure you that you will be greatly rewarded by the taste of the spread on a lightly buttered toast or spread on a split muffin or scone! Yummmm….so what are you waiting for??!! Grab the few things you need to start twirling the kitchen, will you!

20140726_175055

Bright and Sunny Blueberry Preserve

  • Servings: two 16-oz jars
  • Print

Ingredients
3 1/2 cups of crushed blueberries
2 tablespoons sure-jell low-sugar pectin
1/2 cup granulated sugar
1/2 cup stevia
1 tablespoon unsalted butter

Preparation:
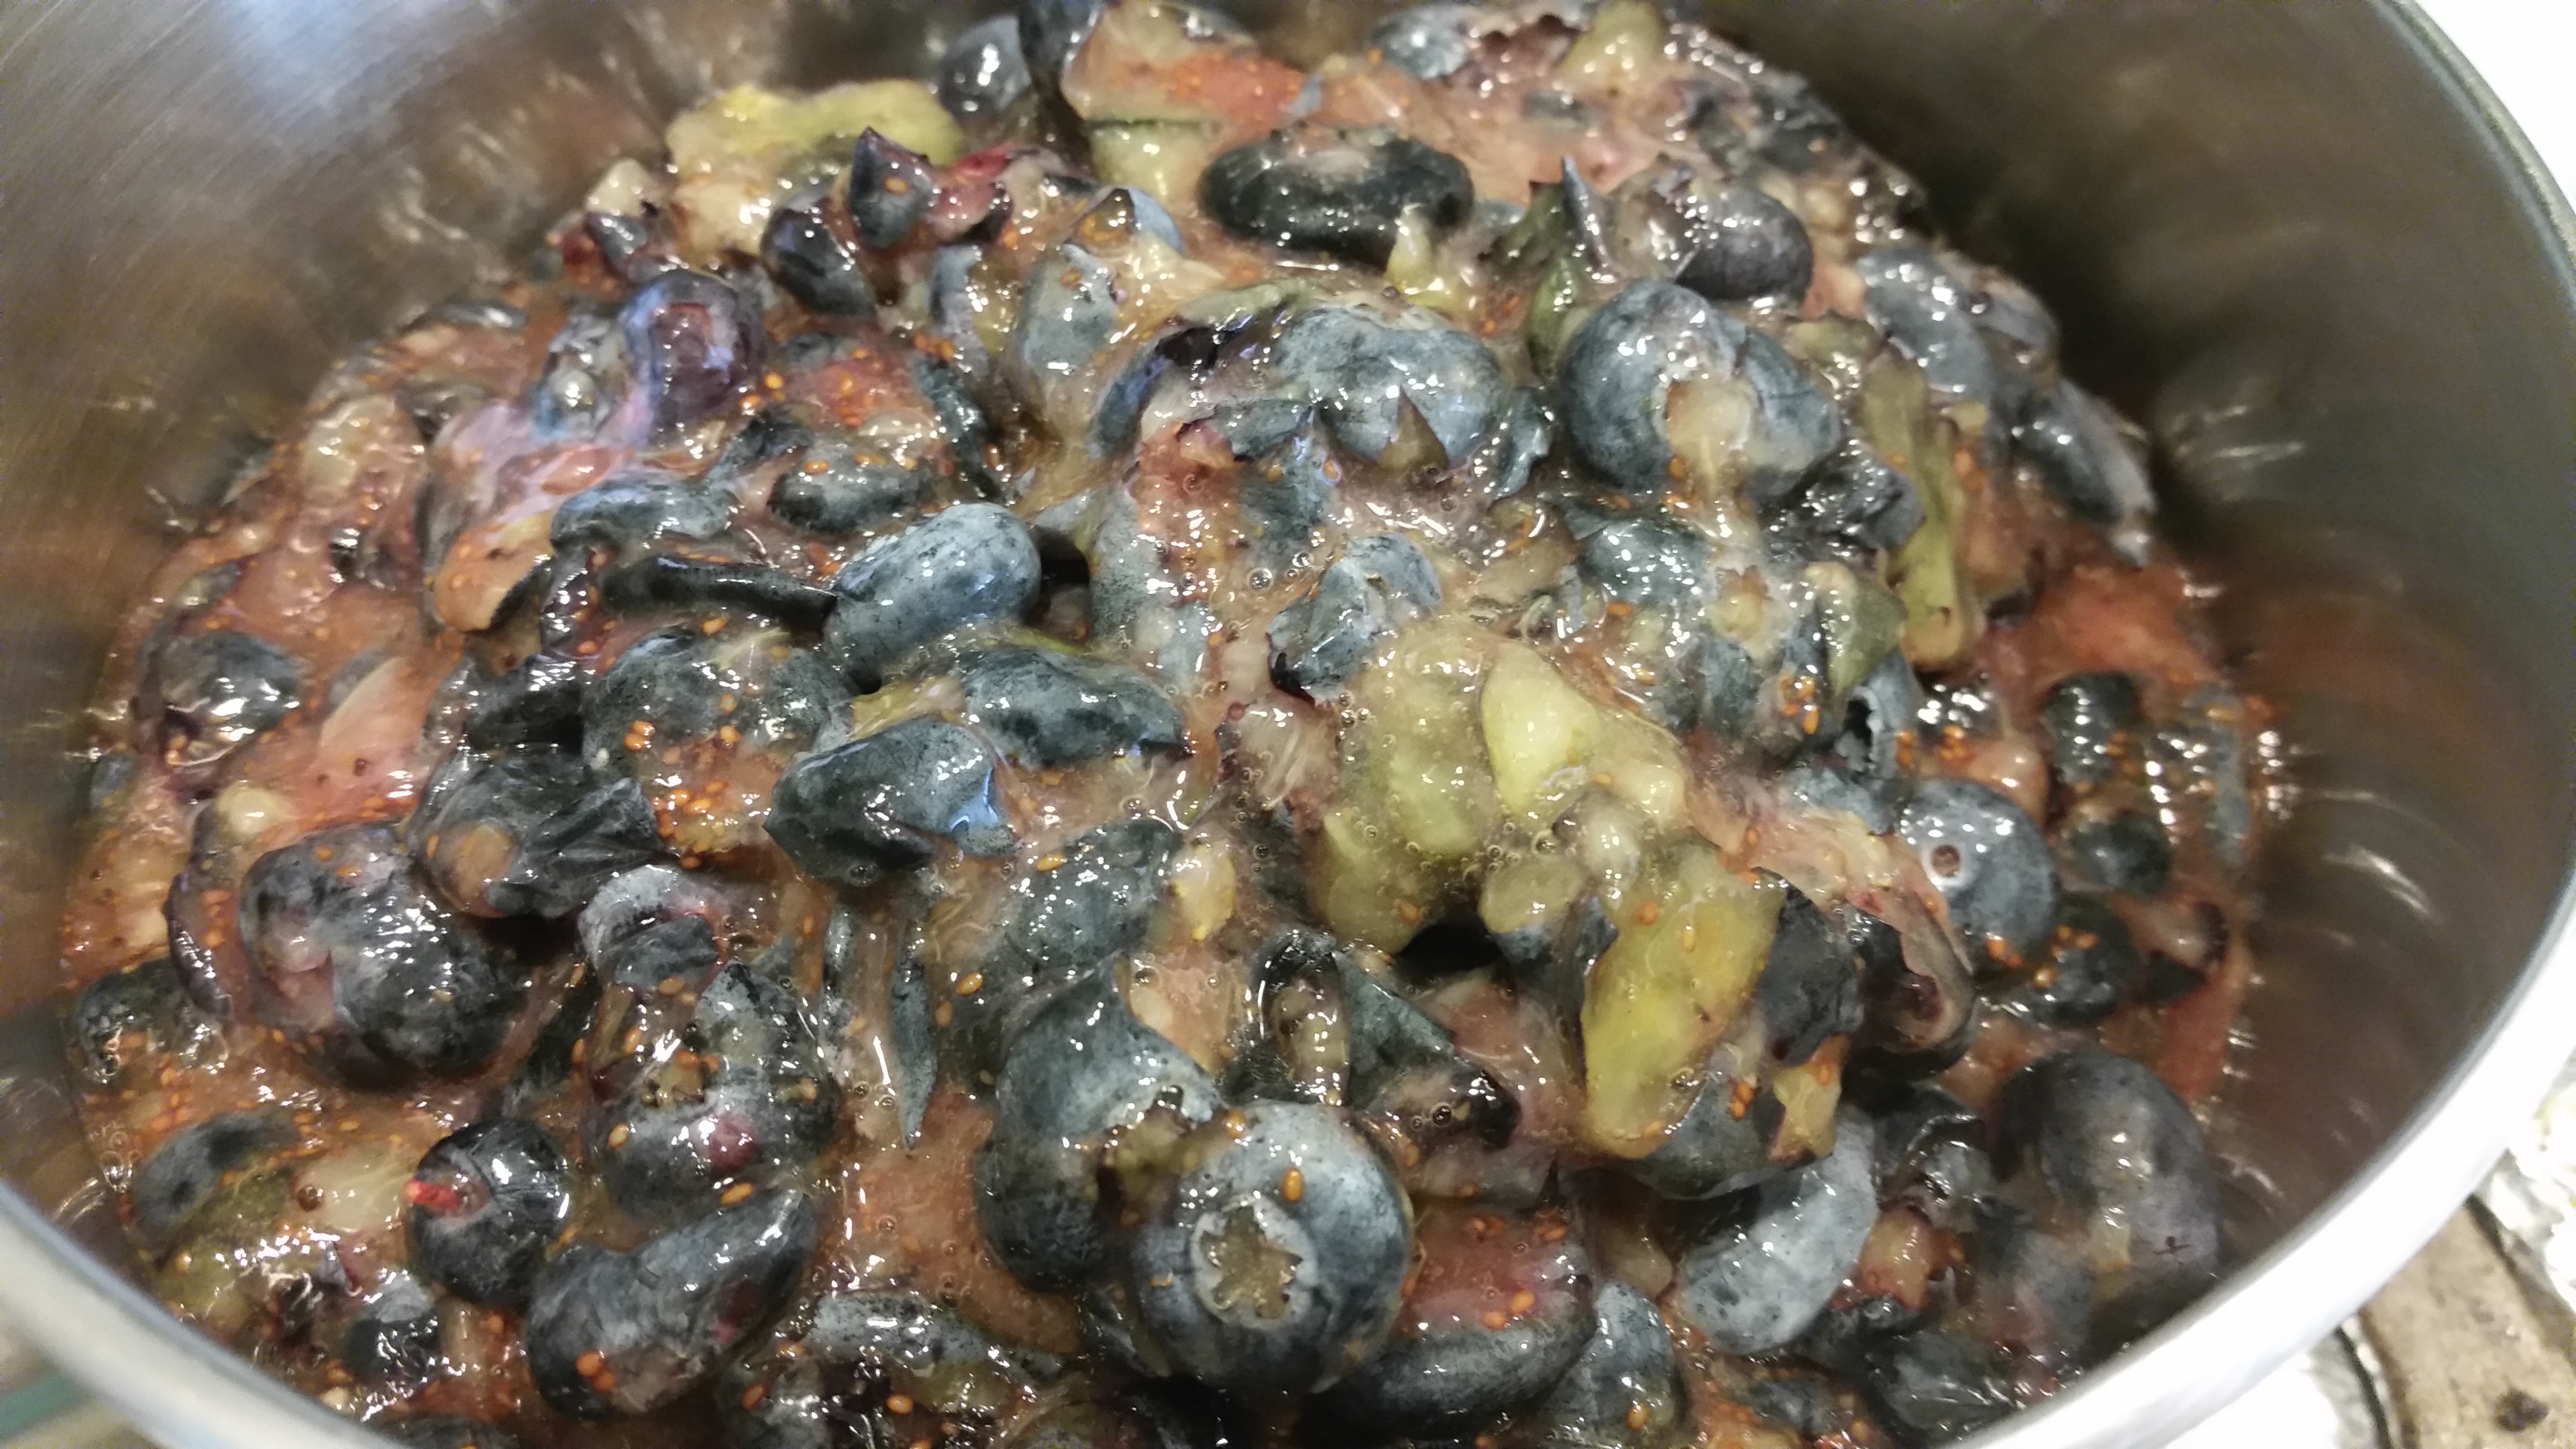
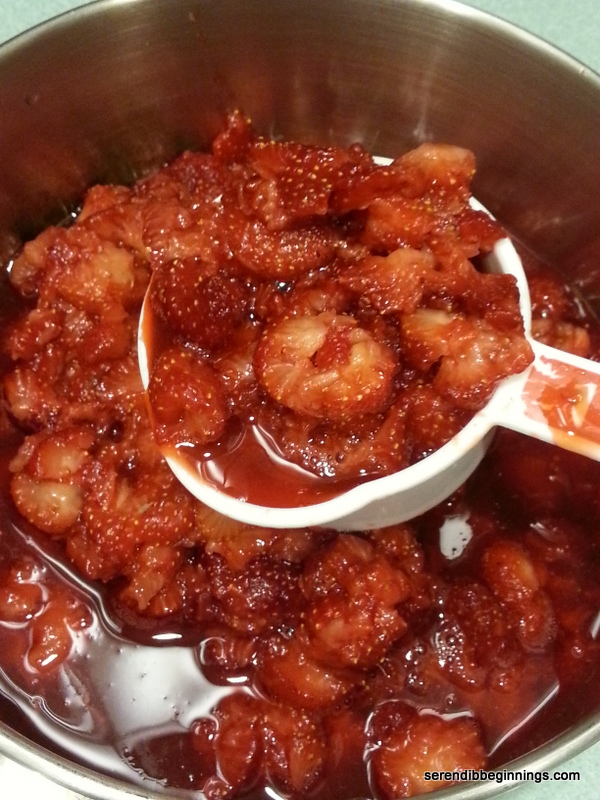
1. Prepare the fruit by crushing rinsed blueberries. Scoop 3 1/2 cups of the crushed fruit and pour into a small sauce pan.
2. Place over medium-low heat and add the pectin.
3. Stir the pectin into the fruit and cook for about 5 minutes.
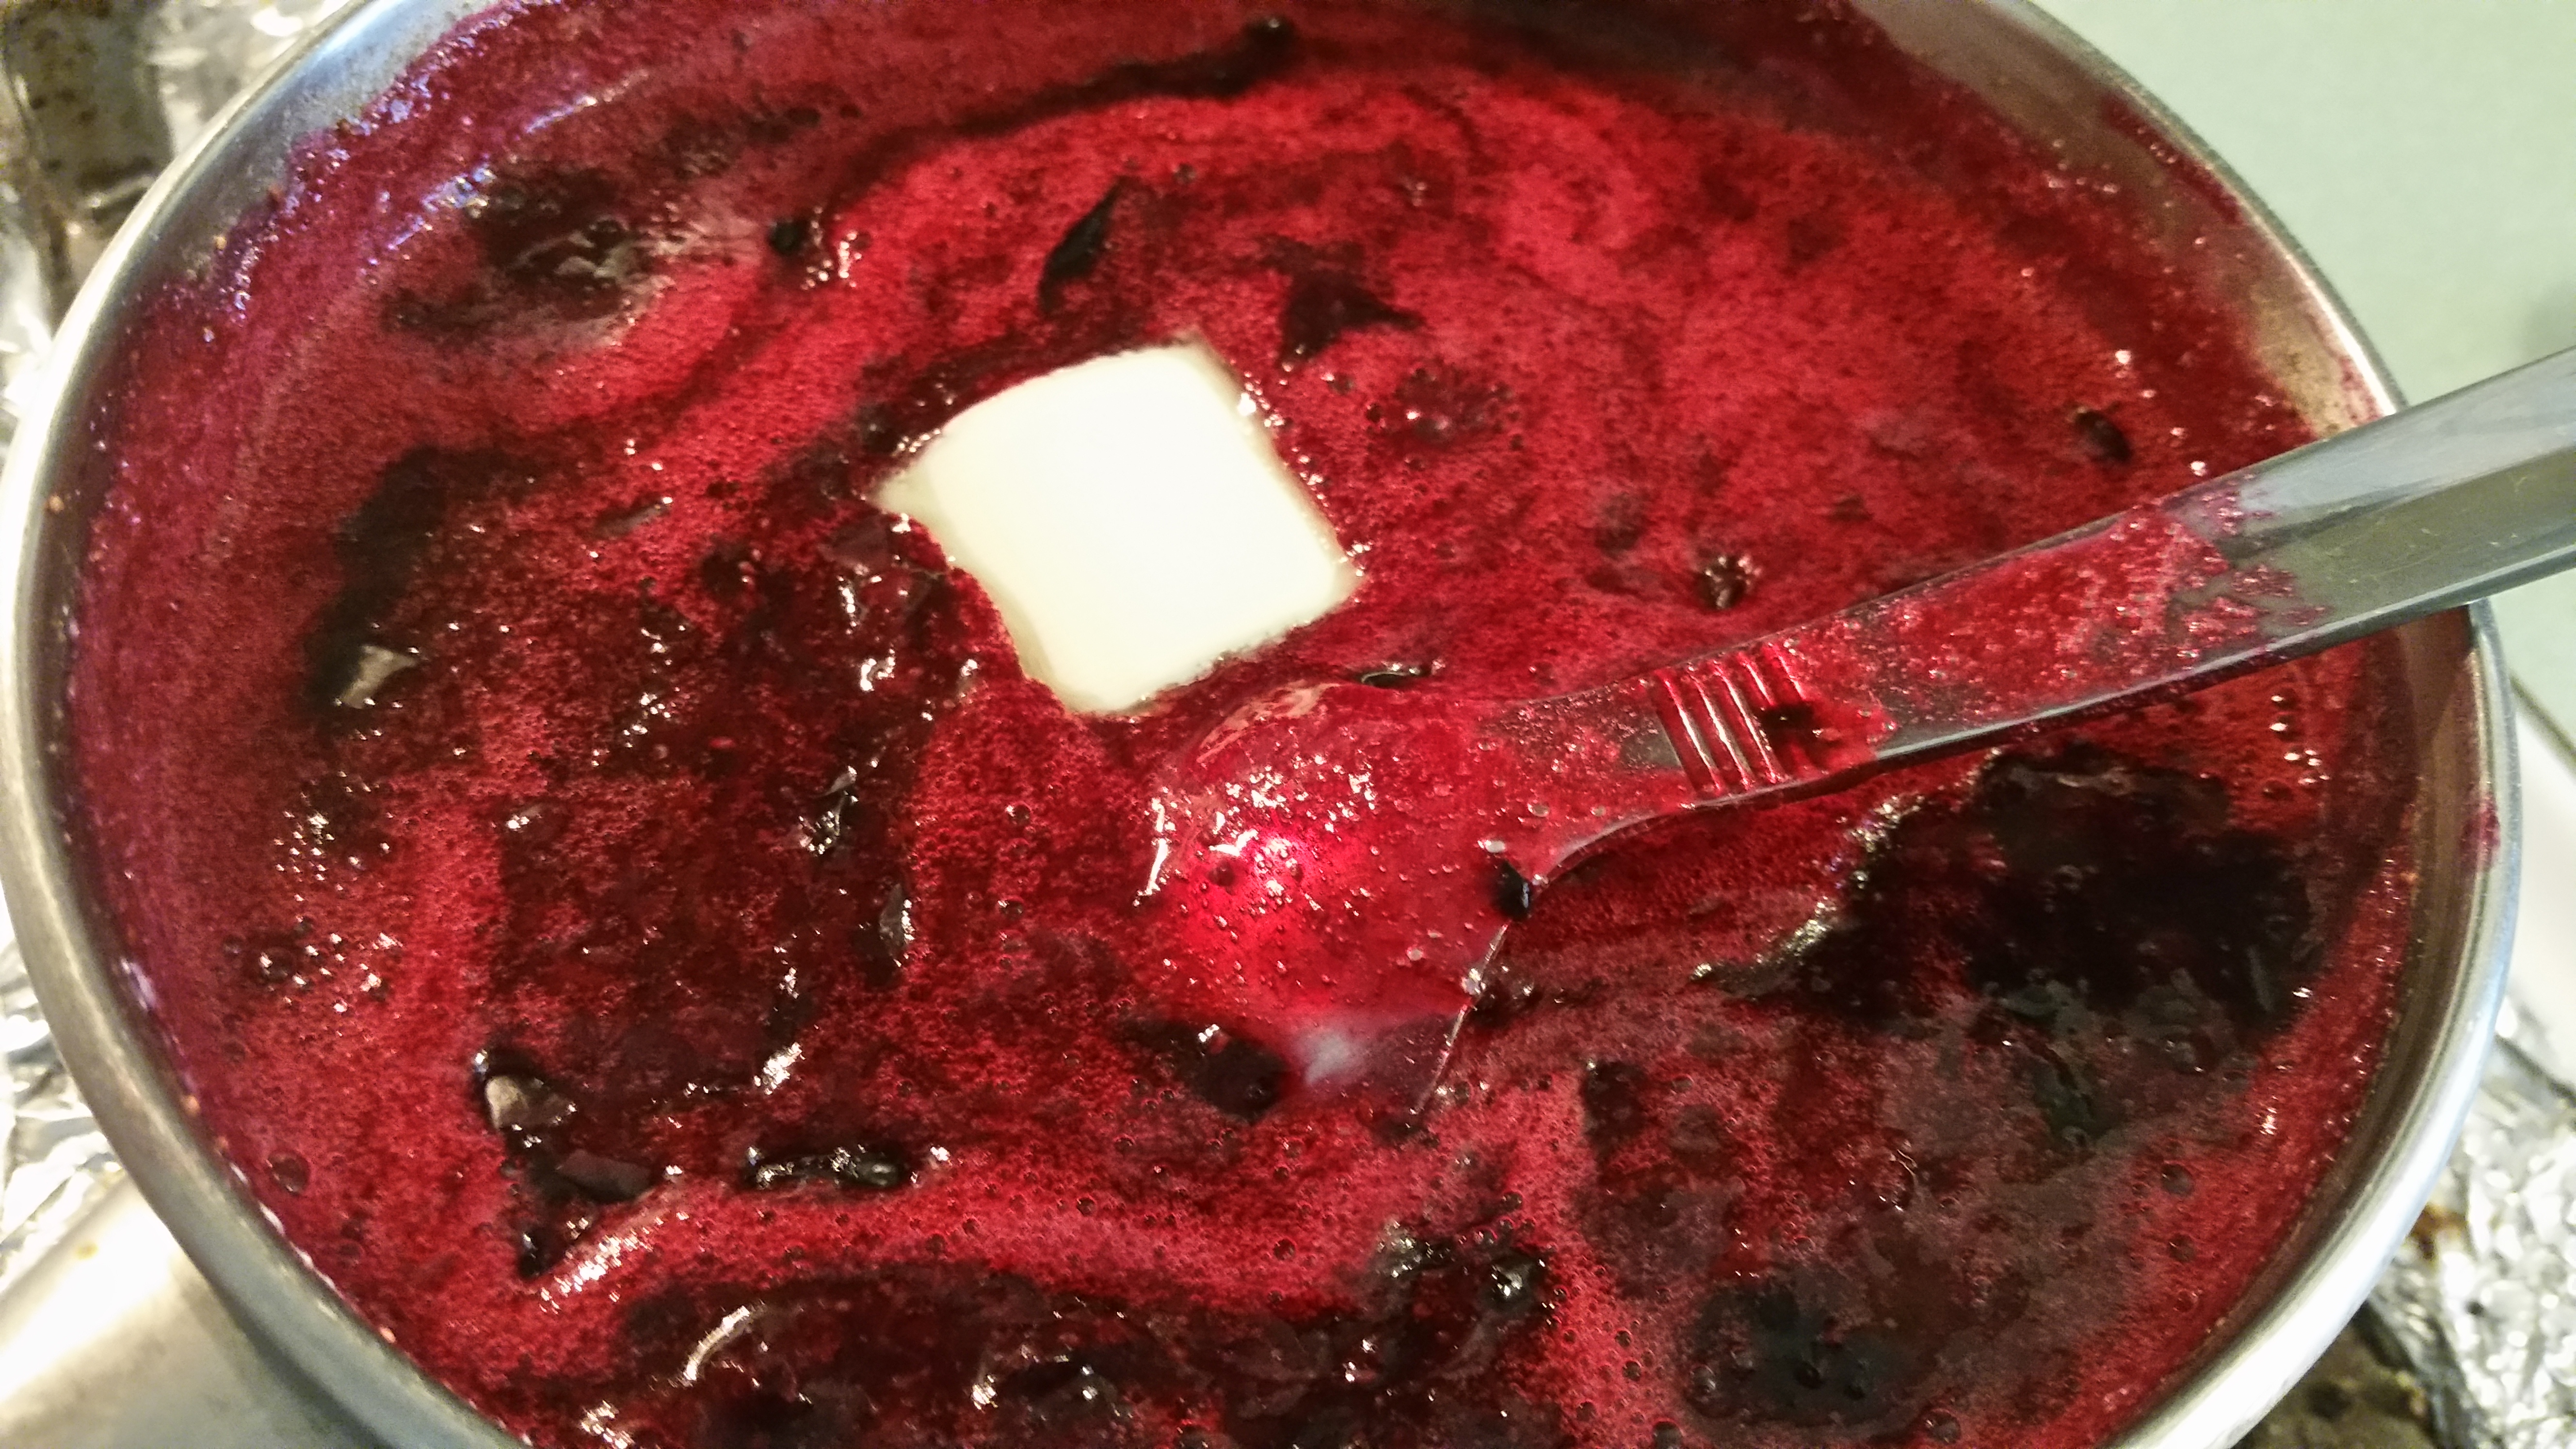
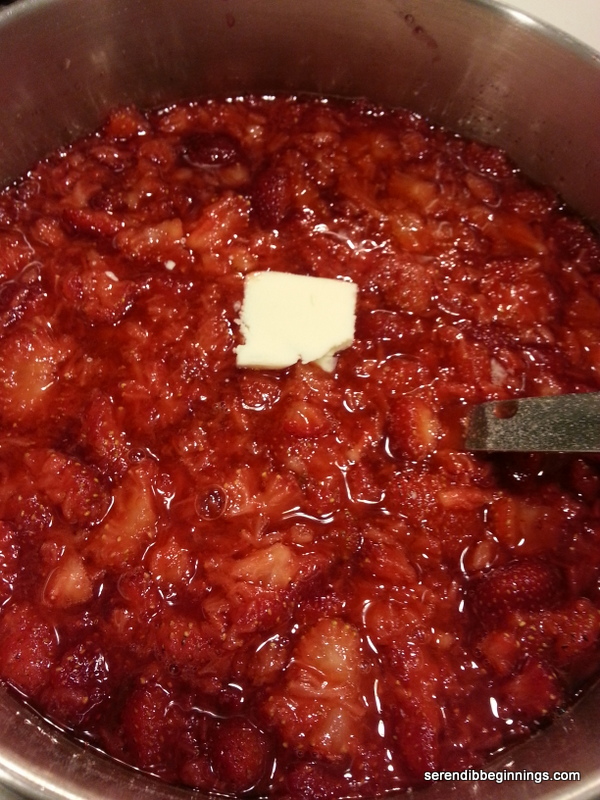
4. Add the sugar and stevia and continue cooking the fruit for about 20 minutes, stirring frequently.
5. The fruit may start to bubble and froth up. Stir in the butter to help reduce the froth.
6. While the fruit is cooking, place the two jars in a medium pot of simmering water and warm for about 5 minutes.
7. Remove the jars from the water, letting all the water drain out. Scoop the cooked fruits into the jars, leaving about 1/4 inch of head space. Place the lid and the ring and lightly tighten the lids.
8. Place the jars back into the pan with hot water and simmer for about 10 minutes. Make sure the water mark is well below the lid.
9. Remove the jars from the water and transfer the jars to the refrigerator to cool.
10. Check for seal after about 24 hours. You will see that when properly sealed, the lid will be slightly depressed down.

Enjoy!

Broiled Salmon with Cool Yogurt-Dill Sauce

20140623_190233

Salmon is a great fish for broiling, poaching, baking, pan-frying……pretty much any way you want to prepare it! Although it is a great tasting fish by itself or with just a touch of salt and pepper, it does transform into something extraordinary when you add seasoning and spices! I love to make it with an Asian twist with soy sauce, ginger and sesame! That’s usually a frequent go-to recipe! But, I wanted to try something more summery for dinner the other night.

20140623_190106     20140623_190901

A simple salt and pepper seasoned salmon broiled to perfection topped with a cool yogurt-dill sauce with notes of garlic and lemon juice! Yum, I know!

20140623_192758

Since this happened to be a weeknight dinner I scrambled to put together in few minutes, I forgot to take the many pictures I usually do with my recipes! I apologize! But, I hope the picture of the served dinner just in time before I devoured it makes up for it! 🙂

20140623_192147

Although salmon is the main character, I think the supporting role wins by leaps and bounds! Yeah, I am talking about the yogurt sauce that you whip up in less than 5 minutes!

20140623_192834

Broiled Salmon with Cool Yogurt-Dill Sauce

  • Servings: 4
  • Print

Ingredients
1-lb skinless salmon fillet
dash of salt
freshly ground pepper to taste
1 teaspoon extra virgin olive oil
1/2 cup plain fat free yogurt
1 tablespoon Dijon mustard
1 tablespoon honey
3-4 tablespoons chopped fresh dill
1 clove of garlic, finely minced
Juice from 1/2 lemon

Preparation
1. Preheat broiler at high (525F); Line a baking dish with aluminum foil and place the salmon filet in it.
2. Sprinkle salt and pepper on salmon filet; Drizzle the olive oil on top.
3. Place the salmon pan about 6 inches from the broiler and broil for about 15-20 minutes till the salmon is cooked through. This will depend on the thickness of the fish and heat distribution. Fish should flake easily with the fork when done.
4. While the salmon is cooking, combine rest of the ingredients in a small bowl and set aside in the refrigerator till ready to serve.
5. When salmon is done, serve it immediately topped with the sauce.

NOTE: If you don’t like your sauce sweet, feel free to add a bit of crushed red pepper or reduce the amount of honey.]

Berry Delicious Strawberry Sauce

20140621_170213

You can spoon it over a scoop of vanilla ice cream, drizzle over freshly made waffles, use it to dunk pancake bits cooked in ebelskiver pan or use it in whatever else you like! I am talking about a simple yet berry delicious strawberry sauce!

20140622_073742

So, you already saw my post about my first ever strawberry preserve recipe! So, here is another recipe using the gorgeous berries! Feel free to cut down the sugar as much as you want – less sugar you use, chunkier the sauce will be, but I promise you, it will still be super delish!

20140622_073706  20140622_073848  20140622_073958

All you need for this recipe is a good amount of fresh berries, bit of sugar and a splash of water! Yes, just three ingredients!

20140622_081539

Berry Delicious Strawberry Sauce

  • Servings: About 1 1/4 cups
  • Print

Ingredients
2 heaping cups fresh strawberries, washed, hulled and patted dry
1/4 cup sugar
1/4 cup water

Preparation
1. Combine sugar and water in a small pan and bring to a simmer.
2. Add 1/2 the strawberries to the pan to lightly soften the berries. Scoop the berries out of the sugar syrup and set aside in a small bowl.
3. Repeat with remaining berries.
4. Bring the syrup to a low boil and continue cooking till it reduces to a syrupy consistency. If any juices accumulate in the bowl with the berries, strain into the simmering sauce.
5. When syrup is your preferred consistency, turn the heat off and pour over the berries.
6. Chill the sauce in the refrigerator till ready to use.


Easy Summer Berry Preserve

20140622_205233

Warm weather is here and that means strawberries! Bright, red, juicy berries so full of flavor and nutrition that you can enjoy in many ways! That brings me to canning!

I have long admired the talent, passion and patience of folks who make it their summer mission to not only source season’s freshest produce, but also take the time to prepare and preserve them for months to come! When we visited our friends last winter, we had the opportunity to sample some homemade jams and preserves! They tasted so pure and delicious! Best of all, they were free of commercial preservatives and had significantly less added sugar. My friend insisted it was so simple to make! OK!

Since then, I sort of dabbled with the thought of trying my hands at making some homemade jam myself but kept putting it off! So, when the strawberry season came around, I just had to take the plunge! So, we went to the local farm to pick some berries. Ahh….what an enjoyable experience! From toddlers to grandparents, it was an afternoon of fun for everyone!

20140621_173134

After a bit of crawling around on piles of hay and red fingers, I managed to keep the family working long enough to pile on about 10 lbs of berries! That was the easy part! Seriously! The hardest part is setting aside the time to sort through, rinse, hull, blot and prepare the fruits!

20140621_170213

Since this is the first time making preserves, I wanted to make just enough to fill a few 16-oz jars!

After seeing how much added sugar is in a traditional homemade or store bought jam/preserve, I wanted to control the amount of sugar in my recipe. I heard from a fellow shopper in the pectin aisle that stevia has a weird taste and flavor and she uses raw turbinado sugar to reduce the amount of added sugar. After a bit of contemplation and a quick Google session, I decided to try a combination of few sweeteners – raw turbinado, stevia and regular refined sugar! So, after grabbing a small jar of pectin (for low/no sugar recipes), a large bag of stevia (swallow) and a pouch of turbinado, I raced to get a few canning jars! Armed with a dozen Canning jars, I started to feel like a pro!

20140622_202822         20140622_202853

Once you clean and prepare the fruits (or if you are lucky, recruit family and friends to do it for you!), rest of the process is very quick and easy.

After a few minutes of cooking, you are ready to scoop into sterilized jars and seal for later! See, I told you the cooking process is easy!

20140622_203526

NOTE ABOUT TASTE/TEXTURE: After opening many a jar of store-bought jelly and preserves, the look of this preserve closely resembles other low-sugar versions you get at the store. It’s not as “glossy” looking as regular sugar versions, but I didn’t mind it much. It tastes great and most importantly it was a winner with my kids!

20140622_205246

This recipe is a winner even for the most challenged cook! So, give this a try and see for yourself! You still have a few days left of the strawberry season in your local area, so make it a berry fun weekend!

Easy Summer Berry Preserve

  • Servings: 3 16-oz jars
  • Print

Ingredients
4 cups of crushed fresh berries
1/2 cup refined sugar
1/2 cup raw turbinado sugar
1/2 cup stevia
3/4 cup water or strawberry juice
6 tablespoons fruit pectin for low/no sugar recipe
1 teaspoon butter, optional
3 16-oz canning jars with lids

Preparation
1. Wash the canning jars and the two-part lids with dish soap and warm water. Bring a large, wide pan of water to a low simmer and place the jars and the lids. Keep them in the water till the preserve is ready to be poured in.
2. Scoop the crushed berries, sugars and water into a large, heavy bottom pan and place over medium heat.
3. Add the pectin, while continuously stirring so as not to allow the pectin to clump up.
4. Stir in the butter. Increase the heat to medium high and bring the mixture to a rolling boil.
5. Continue to maintain the boil for 2-3 minutes and turn off heat.
6. Using tongs, carefully remove one jar at a time and spoon (or funnel) in the hot preserves, leaving about 1/4″ – 1/2″ space at the top. Using tongs, remove the flat lid from the water and place on the jar. Wipe away any spills from the rim and sides and seal using the lid rings. Repeat with remaining preserves.
7. Place the filled jars into a water bath with boiling water for 10 minutes. Turn off heat, wipe down the jars and place in the refrigerator.
8. Check for seal after about 24 hours. Lid should not have any bounce when you press on top. Your bottled preserves are ready for storage or giving away as gifts.

Seeni Sambol (Sri Lankan Onion Confit)

20140226_071216[1]

Seeni sambol is a very common accompaniment on many a breakfast table in Sri Lanka. My first childhood memories of this pungent, yet extremely flavorful spread goes back to our annual family pilgrimage to Kathirkama temple (http://en.wikipedia.org/wiki/Kataragama_temple). We went on this trip with several extended families and we all brought all necessary provision for preparing our meals. Seeni sambol was a must have! My grandma and other ladies brought their versions of this popular relish because it kept fresh without refrigeration for the week-long trip (or was it 10 days?) – thanks to the tamarind pulp and ample amount of oil in it. For breakfast, we were served this with rotis (flat breads), string hoppers, puttu or just plain freshly baked crusty bread (we called them “roast paan” – “paan” being a Portuguese word referring to bread)! Oh, the memories of childhood!

20140225_095846[1]  20140227_135042[1]  20140227_135428[1]

Regardless of any variation, the shining star in this dish is PLENTY of onions! A popular variation to an otherwise vegan dish is the addition of dried Maldives fish (which is really bits of dried tuna). Growing up, we kids would usually picked this out but as I grew older, I have come to enjoy the subtle flavor imparted by the fish. To think of it, I would like to make a version with a bit of shrimp paste one of these days! Hmmmmm…

Back to the dish, so, yes, be prepared to peel and slice plenty of onions. Other than that, there is no other prep work. So, the time you save prepping ingredients….well, you will need that for the cooking process! Just saying.

Seeni sambol (Sri Lankan Onion Confit)

Ingredients
5 to 6 cups of thinly sliced onions
3″ piece of cinnamon, preferably Ceylon cinnamon
1/2 teaspoon black mustard seeds
1 sprig of curry leaves
1/4 tsp cloves
1/2 tsp fennel seeds, lightly bruised
4-6 pods of green cardamom, crushed
1 tsp salt
1 to 2 tsp cayenne, or per taste
1/2 teaspoon turmeric
1 teaspoon of tamarind paste
3 tblsp oil (another tablespoon more if needed)
2 tblsp sugar

Preparation
1. In a large wok or heavy bottomed pan, heat oil.
2. Add mustard seeds and let them pop. Now, add onions and begin to sauté.
3. After about 3 minutes, add remaining ingredients except tamarind and sugar.
4. Continue to cook under medium low heat until onion begins to caramelize and become sort of pulpy and glazed. This should take about 20 minutes. Remember to stir well every few minutes as this recipe uses less oil and onion tends to stick to the bottom of the pan as it begins to caramelize. While stirring, just scrape up any bits of stuck-on onions. 🙂
5. Now, add tamarind paste and sugar and continue to cook for another 10 minutes. The end product should be a beautiful golden brown confit.

If you use more than 4 tablespoons of oil (like how my grandma used to make and ahem…my mom continues to make!), at the end of the cooking process, excess oil will separate from the onion mixture. This is one of the reasons seeni sambol keeps for several days without spoiling. 🙂 I use as little oil as possible without sacrificing too much flavor and taste! I think you will enjoy this recipe. Try it with a slice of toast, as a spread for a sandwich (mozzarella melt anyone?) or as in the picture below as a filling for baked empanadas! Yum!

20140227_140752[1]

Harissa Sauce

20140223_171343[1]
Harissa is a fiery hot sauce used in North African cuisine. As you might have guessed, primary ingredient is PLENTY of dried hot peppers. I used dried cayenne peppers this time around. Next time though, I would love to incorporate some fiery harbanero or other super spicy pepper for added heat.

20140223_172721[1]                                20140223_173651[1]

This sauce can be used as a condiment or as a seasoning for meats and seafood. I even used some of it to spice up pasta sauce and it was amazing. I also tried it spread on a cracker. Delicious! Who knows, if you like spicy things, this might become your new favorite dip for chips or veggies.

20140223_173735[1]

Harissa Sauce

Ingredients
20-25 Dried hot peppers (I used cayenne)
1 dried Pasilla pepper
1 tablespoon coriander seeds
1/2 teaspoon cumin seeds
1/2 teaspoon caraway seeds
3-4 cloves of garlic
2 tablespoons oil
2-4 tablespoon water
Sea salt to taste
Juice from 1/2 lemon

Preparation
1. Soak dried peppers in hot water for 10 minutes.
2. Dry roast coriander, cumin and caraway seeds for 3-5 minutes under low heat.
3. Grind them to powder using a spice grinder or mortar and pestle.
4. Drain the peppers and transfer to a blender or food processor along with all other ingredients except water.
5. Grind to a paste adding just enough water.
6. Transfer to a container and refrigerate.

Harissa can easily be stored in the refrigerator for few weeks – if it lasts you that long.

“Instant” Chicken Curry

Instant Chicken Curry

  • Servings: 4
  • Difficulty: easy/moderate
  • Print

finished chicken curry

Everyone that I know loves a good chicken curry – whether it is Sri Lankan chicken curry with coconut milk, a Thai curry, Indian butter chicken, Jamaican curry or myriad of other types! Regardless of their origin, most of these curries call for exotic spices that are likely to be found in an adventurous cook’s kitchen or requires a special visit to a well-stocked local grocery store or an ethnic grocer.

But, what if it is one of those days when you don’t want to make a sandwich, east some leftovers, or make another pot of soup? What if you want to decompress in the kitchen by creating something satisfying and different? What if you end up wondering, if only you could relish mouthfuls of some delicious curry with a piece of flat bread, steamed rice, or even a piece of bread? Only if!

You always thought your kitchen was pretty well stocked although you didn’t always have an assortment of Asian spices like cardamom, curry/garam masala powder, or special blend of chili powders! Can you still make great chicken curry with what might usually be in your pantry? YES, YOU CAN!

Today, I am going to share with you just one of those “instant” chicken curry recipes – “instant” not because you open up a frozen package of chicken curry and nuke it in the microwave, but because you can whip this baby up with mostly basic pantry items. I made it two nights ago and I have to say it was a big hit with my whole family!

Before we begin, let’s do a quick check to see if you have the following on hand – you can potentially skip couple of these ingredients without compromising on the flavor, taste and look of the dish! You will need about 1 ½ lbs of chicken (any type, although I used drumsticks in mine), onion, ginger, garlic, cinnamon stick, turmeric (can be skipped if you don’t have any), fine sea salt (or regular), cayenne powder, lime or lemon juice, fresh tomato, cilantro (can be skipped , but it does add a wonderful aroma), coconut milk or heavy cream and oil. So, assuming you have these on hand, let’s start!

First, we need to prepare the meat and veggies. Remove the skin of the chicken and make couple of slits on the drumsticks if you are using them. Otherwise, just cut the chicken into desired size. You can use thighs cut into 2-3 pieces, breasts cut into about fourths or bite sized pieces. You can even use boneless chicken breast, although in my humble opinion, a good chicken curry needs at least some red meat and/or pieces with bones. To me, curry made from boneless, skinless breast just doesn’t cut it! So, back to prep work. After you clean the chicken, rinse and drain all the water. You can even blot it dry, but I rarely do. Sprinkle about a teaspoon of fine sea salt, a tablespoon of lime juice and a heaping teaspoon (or per your taste) of cayenne on the chicken and mix well, making sure to get them into the slits. Let sit while you prepare rest of the ingredients.

All marinated and waiting for action

All marinated and waiting for action

Chop onions, tomato and cilantro. Mince ginger and garlic. Set them aside.

chicken curry veggies

Heat a wok or a heavy pot/pan over medium heat. Add a tablespoon of oil. To this, add ginger, garlic, onion and a piece of cinnamon stick broken up. Saute till onion turns translucent and starts to turn golden. Add ¼ tsp of turmeric powder and 1 teaspoon cayenne powder and stir for few seconds. Cayenne can be adjusted according to taste. I used a little more than a teaspoon because we love super spicy stuff in our house. You might want to turn your exhaust fan off to ward off any ill effects of cayenne in the air! Now, add tomato and ¼ tsp of salt.

tomato cooking for chicken currychicken added

When the mixture starts to turn pulpy and fragrant, add chicken pieces along with any juices left behind. Stir well in the spice mixture. Add about ¼ cup of water and cook covered under medium low flame for about 25 minutes or until chicken is cooked through and the sauce is fairly thickened. Keep an eye on the curry while it is cooking as you might need to add little bit more water if the gravy looks too dry. To finish, add about 3 tablespoon of unsweetened coconut milk or heavy cream, stir and garnish with chopped cilantro.

finishe chicken

Serve with cooked rice (in the picture above, I served with brown rice and “raita”)or bread and a side salad or another vegetable dish.

When it comes to being creative in the kitchen, if you put your mind to it, you can make incredible dishes with what you have on hand!

Ingredients:
1 1/2 lbs chicken pieces, skin removed
1 tablespoon lime juice
1/4 teaspoon turmeric powder
1 teaspoon fine sea salt
1 teaspoon cayenne (more or less, per your taste)
1 tablespoon oil
1 tablespoon minced garlic
1 teaspoon minced ginger
2″ piece of cinnamon broken up
1 cup chopped tomato
additional salt, if needed
3 tablespoons unsweetened milk or cream
2 tablespoons chopped cilantro