Let me be the first to admit I can’t remember the last time I cooked with barley. It is possible that I never did! Oh boy, am I glad I managed to bring some into my kitchen just couple of weeks ago!
Barley is one of those grains that can be easily passed off in favor of others such as quinoa etc. However, with its delectable chewy texture, thickening properties and satisfying nature, I think it could definitely be one of the most promising grains out there. If you have never had it before and are wondering how it tastes, it tastes like tiny bits of cooked pasta, but perhaps a bit chewier. Definitely a pleasant taste and texture.


For my first attempt at preparing a vegetarian entrée using barley, I wanted something very flavorful and substantial, yet without much heaviness. A pilaf-style dish should fit the bill and that’s what I did. The end product was very satisfying, especially with the addition of chickpeas and was very flavorful with just the right amount of curry flavor.

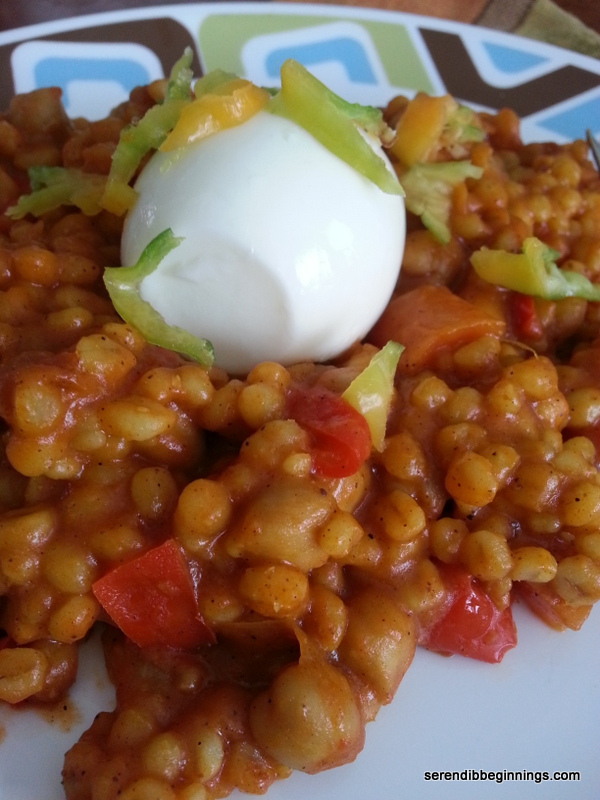
Curried Barley with Chickpeas
Ingredients:
1 cup of uncooked barley
2 tablespoons butter
1/4 cup chopped onions
1 tablespoon ginger/garlic paste
1 cup diced carrots
1/2 cup diced red peppers
1 6oz can tomato sauce
1 cup water
1/2 teaspoon salt
1 tablespoon Madras curry powder
1/4 teaspoon allspice spider
1/2 teaspoon turmeric powder
1 can chickpeas, drained and rinsed
Preparation
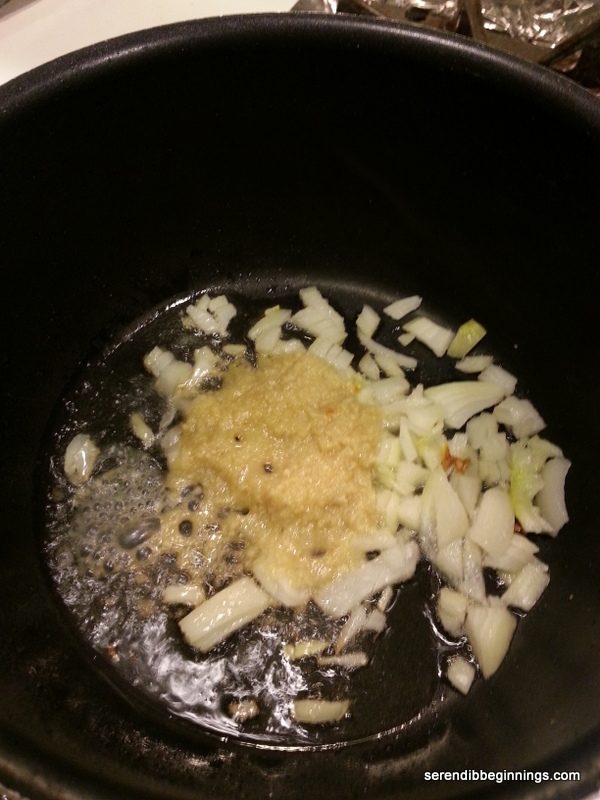
1. Melt the butter in a medium pan over medium heat.
2. Sauté onions and ginger/garlic paste till onion turns translucent and starts to turn golden.
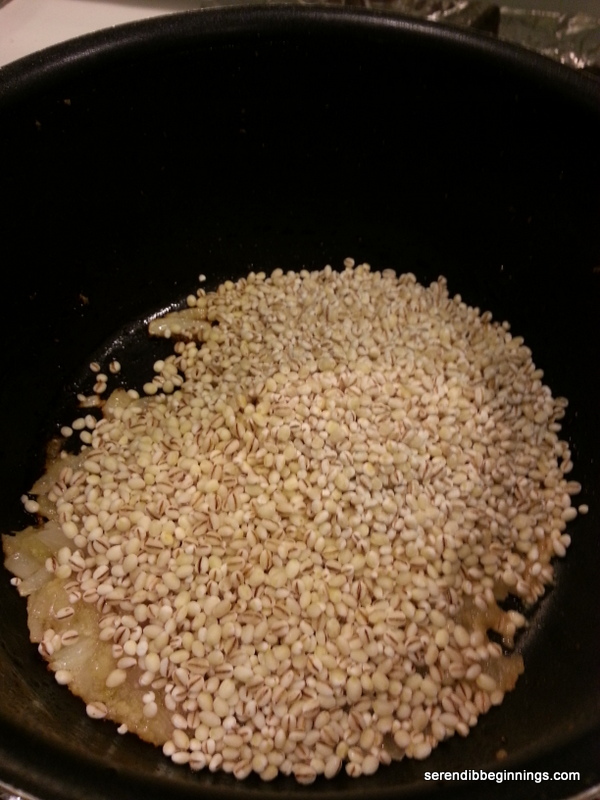
3. Add the barley (rinse barley before adding, if needed) and sauté for 2-3 minutes.
4. Add the vegetables and continue to cook for another 3 minutes. Now add the ground spices.
5. Stir in the tomato sauce, salt and water. Bring the mixture to boil, cover, reduce heat and cook for about 25-30 minutes till all the water is absorbed and the barley is fully cooked.
6. Finally, stir in the rinsed chickpeas and warm through for another 5 minutes.
7. Serve immediately. Leftovers can be refrigerated and reheated.