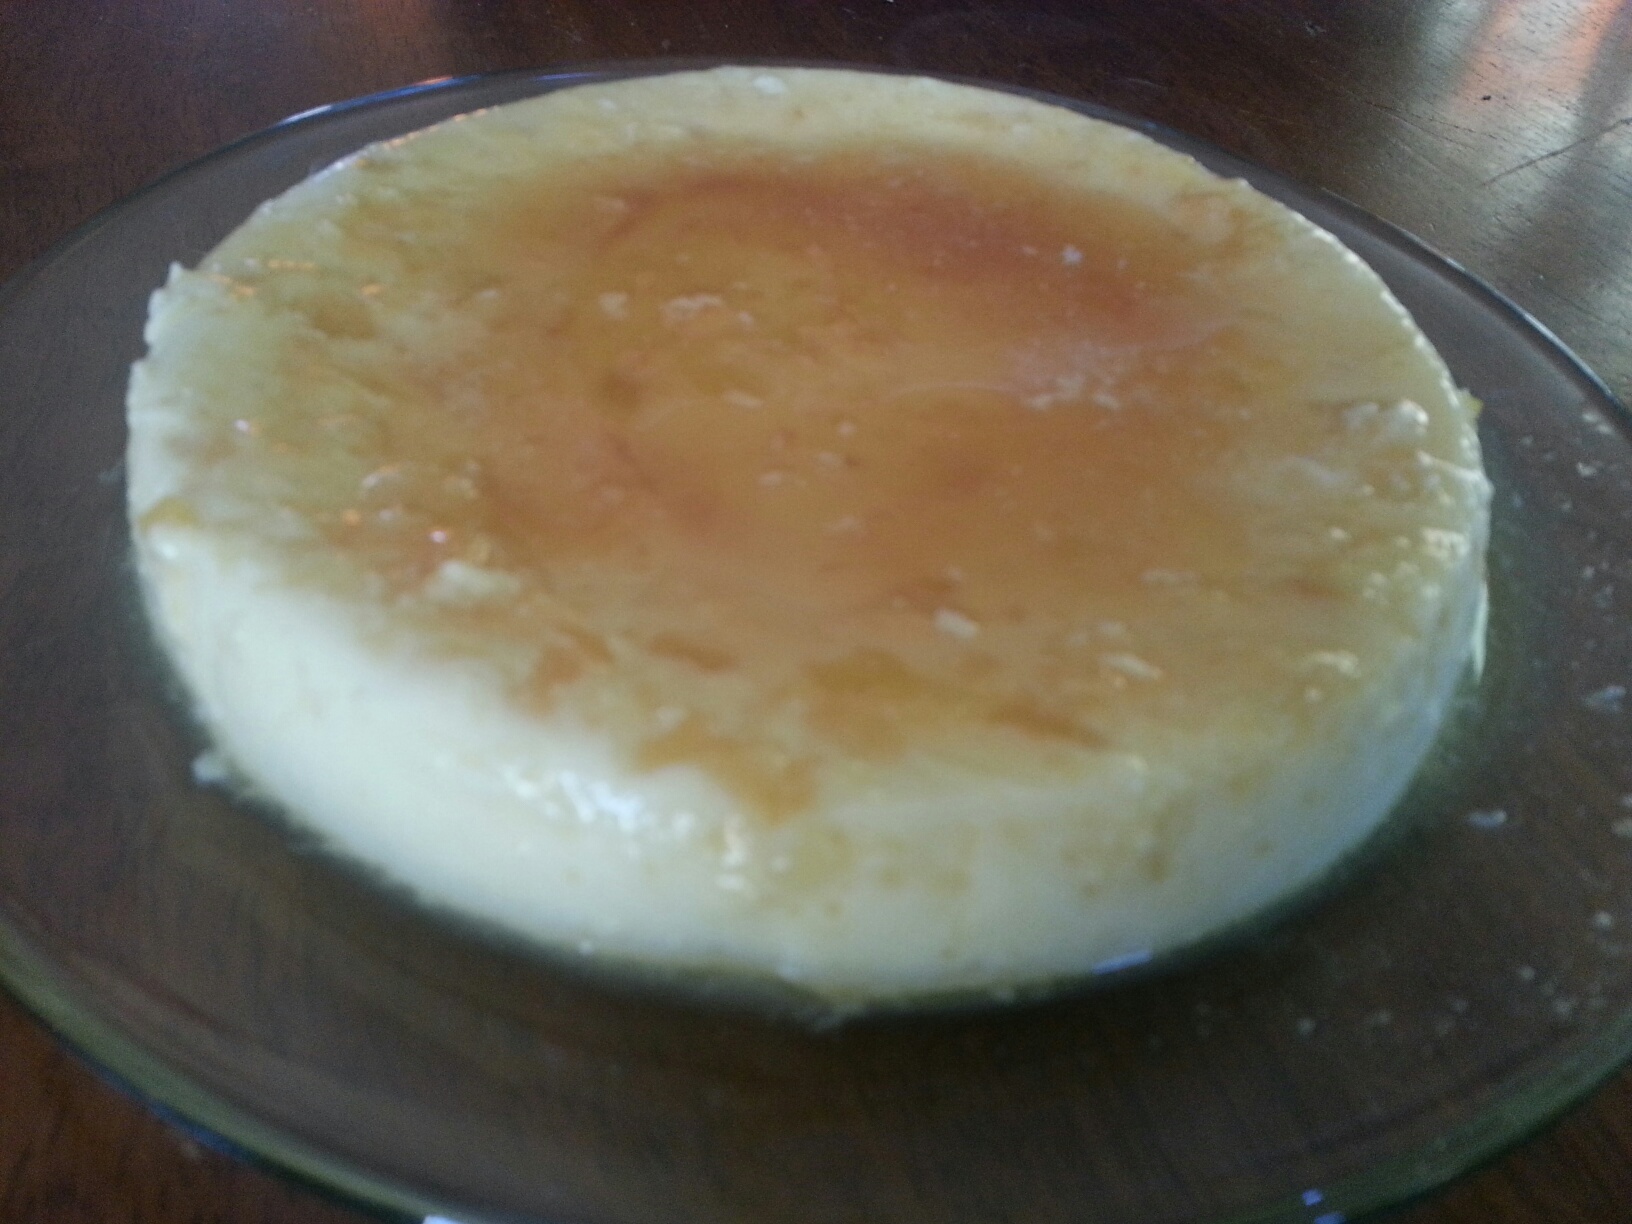
Rice and Wheat Flour Puttu

20140227_183217[1]
Puttu is a staple of Sri Lankan cuisine, and is also enjoyed in parts of India and countries such as Malaysia, Singapore and elsewhere where migrants have settled down.

It is typically made with rice flour – either from white or red rice mixed with some steamed all-purpose flour. In northern part of Sri Lanka, puttu is frequently made using toasted red rice flour. You can find this product online or if lucky, in a well-stocked Indian grocery store.

A simple dough is made using the chosen flour(s), bit of salt and hot water. The dough is then broken into tiny bits (much like coarse bread crumbs, perhaps a bit larger) either by hand, or using a food processor. The latter is a much easier if you use the pulse function.

20140227_180823[1]   20140227_184614[1]

Once the dough bits are formed, they are steamed in a special puttu equipment or regular steamer. If you use the special equipment, you get the traditional cylindrical pieces of puttu with each cylinder separated by a thin layer of grated coconut. More common steamer option yields equally delicious soft, fluffy puttu with a light touch of coconut that can be enjoyed in myriad ways.

20140228_121446[1]

Puttu can be eaten with some sweetened coconut milk (paal puttu),  any spicy curry, coconut (pol) sambol, seeni sambol or spicy scrambled eggs. As kids, we also enjoyed puttu with ripe mango, banana or jackfruit (similar to durian fruit), especially for breakfast. So, if you have made up your mind to make it, enjoy it with whatever is on hand. It will be delicious.

20140228_065844[1]

My favorite way to enjoy it – mixed with spicy scrambled eggs

Rice and Wheat flour Puttu

  • Servings: 4
  • Print

Ingredients
1/4 cup toasted red rice flour
1/3 cup steamed* all purpose flour
1/2 cup toasted** wheat flour
1/2 teaspoon salt
1/2 cup (or bit more) hot water
1/2 cup freshly grated or thawed frozen grated coconut

Preparation
1. Mix all flours and salt.
2. Slowly add just enough hot water to the flour mix to be able to form “crumbs”. Be careful not to add too much – you are not trying to create a dough that comes together in a ball like a pizza dough. You are just wetting the flour enough to form crumbs.
3. If using special puttu equipment, alternate about a handful of dough crumbs with a teaspoon of grated coconut till the top of the cylinder. Place it on the steamer base with hot water and steam the puttu till steam escapes from the top. This should take about 7-10 minutes.
4. Alternatively, if you are using the more commonly available steamers, line the steamer top with a white kitchen towel and place the dough crumbs in a donut shape, leaving a gap in the middle for steam to circulate through (to hasten the cooking process). Sprinkle with grated coconut. Cover and steam for 10-15 minutes till dough is cooked through.

* Steamed all purpose flour – Line the top portion of your steamer with a kitchen towel. Place about a cup of all-purpose flour. Cover and steam for about 20-30 minutes. Remove from heat, cool and sift using a sieve. As the flour gets steamed, it will tend to clump up. Just break it up and sift.
** Toasted wheat flour – Heat a pan under low heat. Toast the wheat flour in the pan for about 5 minutes till you notice a distinct toasted flour smell. Be careful not to let the flour burn.

Seeni Sambol (Sri Lankan Onion Confit)

20140226_071216[1]

Seeni sambol is a very common accompaniment on many a breakfast table in Sri Lanka. My first childhood memories of this pungent, yet extremely flavorful spread goes back to our annual family pilgrimage to Kathirkama temple (http://en.wikipedia.org/wiki/Kataragama_temple). We went on this trip with several extended families and we all brought all necessary provision for preparing our meals. Seeni sambol was a must have! My grandma and other ladies brought their versions of this popular relish because it kept fresh without refrigeration for the week-long trip (or was it 10 days?) – thanks to the tamarind pulp and ample amount of oil in it. For breakfast, we were served this with rotis (flat breads), string hoppers, puttu or just plain freshly baked crusty bread (we called them “roast paan” – “paan” being a Portuguese word referring to bread)! Oh, the memories of childhood!

20140225_095846[1]  20140227_135042[1]  20140227_135428[1]

Regardless of any variation, the shining star in this dish is PLENTY of onions! A popular variation to an otherwise vegan dish is the addition of dried Maldives fish (which is really bits of dried tuna). Growing up, we kids would usually picked this out but as I grew older, I have come to enjoy the subtle flavor imparted by the fish. To think of it, I would like to make a version with a bit of shrimp paste one of these days! Hmmmmm…

Back to the dish, so, yes, be prepared to peel and slice plenty of onions. Other than that, there is no other prep work. So, the time you save prepping ingredients….well, you will need that for the cooking process! Just saying.

Seeni sambol (Sri Lankan Onion Confit)

Ingredients
5 to 6 cups of thinly sliced onions
3″ piece of cinnamon, preferably Ceylon cinnamon
1/2 teaspoon black mustard seeds
1 sprig of curry leaves
1/4 tsp cloves
1/2 tsp fennel seeds, lightly bruised
4-6 pods of green cardamom, crushed
1 tsp salt
1 to 2 tsp cayenne, or per taste
1/2 teaspoon turmeric
1 teaspoon of tamarind paste
3 tblsp oil (another tablespoon more if needed)
2 tblsp sugar

Preparation
1. In a large wok or heavy bottomed pan, heat oil.
2. Add mustard seeds and let them pop. Now, add onions and begin to sauté.
3. After about 3 minutes, add remaining ingredients except tamarind and sugar.
4. Continue to cook under medium low heat until onion begins to caramelize and become sort of pulpy and glazed. This should take about 20 minutes. Remember to stir well every few minutes as this recipe uses less oil and onion tends to stick to the bottom of the pan as it begins to caramelize. While stirring, just scrape up any bits of stuck-on onions. 🙂
5. Now, add tamarind paste and sugar and continue to cook for another 10 minutes. The end product should be a beautiful golden brown confit.

If you use more than 4 tablespoons of oil (like how my grandma used to make and ahem…my mom continues to make!), at the end of the cooking process, excess oil will separate from the onion mixture. This is one of the reasons seeni sambol keeps for several days without spoiling. 🙂 I use as little oil as possible without sacrificing too much flavor and taste! I think you will enjoy this recipe. Try it with a slice of toast, as a spread for a sandwich (mozzarella melt anyone?) or as in the picture below as a filling for baked empanadas! Yum!

20140227_140752[1]

Food for Zombie Apocalypse anyone?

20140224_071806[1]
Either the movie industry has gone from make-believe to BELIEVE or the life as we used to know is heading towards a great big apocalypse – perhaps with zombies in them.

Why else do you think any company will spend money and manpower to manufacture, package and actually try to sell this 1 year emergency food kit???!!!!

Yes, you heard it right…it’s not emergency food in case you get stranded on a country road in the middle of a bad snow storm or you can’t get to the grocery store due to fallen electrical lines (let’s say again due to a freak storm). In both these instances, it might have meant a supply of emergency food for few days, NOT a supply to last a human for ONE WHOLE YEAR!

The smart hardworking people at this company probably have some sort of insider tip to come up with this great product. Who know, perhaps, it’s some insider connection with top guys at NASA or other space probing agencies who are in contact with Martians and other extra terrestrial beings. Perhaps, it’s a chance contact with an amateur space geek somewhere in the remotest part of the nation or the world who swears by his life and telescope that he saw little creatures get off a fancy little saucer in the fields behind his house! Really, who knows and who cares about why they manufactured and are trying to sell this product. The real question is much bigger than that! At least in my opinion!

The question is… HAVE WE HUMANS CHANGED THE WORLD SO FOR THE WORSE THAT WE ACTUALLY MAY ONE DAY CONSIDER STOCKING OUR PERSONAL BUNKERS WITH A PRODUCT LIKE THIS?

Seriously folks…during my next grocery shopping, should I really consider purchasing few packs of these to last my family for a year? Did you guys see the shelf life? TWENTY FIVE YEARS! OK….either the company expects something extraordinarily morbid to happen within the next 25 years (may be 24!) or they want you to have “peace of mind” for the next 25 years knowing that if something terrible should happen, at least you don’t have to worry about food.

Seriously?

Harissa Sauce

20140223_171343[1]
Harissa is a fiery hot sauce used in North African cuisine. As you might have guessed, primary ingredient is PLENTY of dried hot peppers. I used dried cayenne peppers this time around. Next time though, I would love to incorporate some fiery harbanero or other super spicy pepper for added heat.

20140223_172721[1]                                20140223_173651[1]

This sauce can be used as a condiment or as a seasoning for meats and seafood. I even used some of it to spice up pasta sauce and it was amazing. I also tried it spread on a cracker. Delicious! Who knows, if you like spicy things, this might become your new favorite dip for chips or veggies.

20140223_173735[1]

Harissa Sauce

Ingredients
20-25 Dried hot peppers (I used cayenne)
1 dried Pasilla pepper
1 tablespoon coriander seeds
1/2 teaspoon cumin seeds
1/2 teaspoon caraway seeds
3-4 cloves of garlic
2 tablespoons oil
2-4 tablespoon water
Sea salt to taste
Juice from 1/2 lemon

Preparation
1. Soak dried peppers in hot water for 10 minutes.
2. Dry roast coriander, cumin and caraway seeds for 3-5 minutes under low heat.
3. Grind them to powder using a spice grinder or mortar and pestle.
4. Drain the peppers and transfer to a blender or food processor along with all other ingredients except water.
5. Grind to a paste adding just enough water.
6. Transfer to a container and refrigerate.

Harissa can easily be stored in the refrigerator for few weeks – if it lasts you that long.

Pineapple Muffins

20140223_184010[1]
This recipe was the result of my attempt to use up a bunch of crushed pineapple I had leftover. I debated between a cake and a muffin. The more I considered the options, the more I was leaning towards a muffin. Ultimately, one has to think of the end users – in this case, primarily my kids.

20140223_180616[1]  20140223_180853[1]

Muffins are a great grab ‘n go breakfast item – especially if they are homemade with some love added to it in the form of healthier ingredients. This was you don’t feel like your kids are eating cupcake for breakfast.

  20140223_183902[1]  20140224_070812[1]

This is a rather simple recipe that could be put together in a jiffy. I actually made these while also preparing dinner.

Pineapple Muffins

  • Servings: 12
  • Print

Ingredients
1 1/2 cups all purpose flour
1/2 cup wheat germ
1 tablespoon ground flax
1/2 teaspoon sea salt
1/2 teaspoon baking soda
1/2 teaspoon baking powder
1 20-oz can crushed pineapple, undrained
2 eggs
1/2 cup minus 2 tablespoons sugar
1 tablespoon oil
1 teaspoon vanilla
1/2 cup fresh or frozen blueberries (if frozen, thaw and drain)
1 tablespoon flour

Preparation
1. Preheat oven to 400F.
2. Combine all dry ingredients from flour till baking powder in a large bowl.
3. Lightly whisk eggs and combine with crushed pineapple, oil, vanilla and sugar in a small bowl.
4. Slowly add wet ingredients to dry ingredients and stir gently to combine.
5. Coat blueberries in a tablespoon of flour so they don’t sink to the bottom of the muffins.
6. Slowly stir in the berries.
7. Scoop the batter and fill a 12-muffin pan almost to full. You can either use a paper liner or spray the pan with non stick spray. I went with latter to get a nice golden color.
8. Bake for about 18-20 minutes till muffin tests done (insert toothpick and see if it comes out clean).
9. Cool in the pan for 10 minutes and remove for storage.

Cajun Style Rice with Chicken Sausage

20140219_195000
I am one of those people who loves to use up leftovers fast. If I don’t plan to use them in the next day or two, I promptly freeze them up for the following week or so. Both options come in handy when I am looking for a quick meal idea.

And that’s exactly how this recipe was born! I had cooked brown rice in the refrigerator and also some leftover coconut milk. I also had a package of lean apple chicken sausage. I used to prepare more dishes with sausages but have cut down to using occasional chicken or turkey sausages. They are very handy to use in pasta or rice dishes and I usually have a package on hand.

<

p style=”text-align:center;”>20140219_193926               20140219_194148

This recipe utilizes the basic trinity – bell peppers, onions and celery along with kidney beans. It was a snap to put together and tasted so delicious that I will certainly make it again for a planned meal as well.

Cajun Style Rice with Chicken Sausage

  • Servings: 4
  • Print

Ingredients
1 1/2 cups of cooked brown rice
1 can of kidney beans (or other bean of your choice)
1 pkg chicken sausage
1/2 cup chopped green peppers
1/2 cup chopped red peppers
1/2 cup chopped celery
1/4 cup chopped red onions
1 heaping tablespoon minced garlic
1 teaspoon of fresh thyme leaves
1/2 cup tomato sauce
3 tablespoons unsweetened coconut milk
1 tablespoon olive oil
Salt to taste
1/2 avocado, sliced thin

Preparation
1. Slice the sausages into bite size pieces.
2. Heat the oil in a skillet and sauté all the chopped vegetables, including garlic.
3. Add the sausages and sauté for few minutes.
4. Add tomato sauce and thyme and simmer for 3-5 minutes.
5. Mix in the beans and rice.
6. Season to taste with salt. Be careful as tomato sauce and the sausage already add good amount of salt.
7. When the rice and beans and heated through with rest of the ingredients, gently stir in the coconut mil.
8. Serve immediately wit sliced avocado.


Mediterranean Style Beef Kabobs

20140218_192415
There is something about food on sticks…..satay, corndog, popsicle, lollipops, cakepops and kabobs among other delectables on sticks. My personal favorite is a well-spiced kabobs. This recipe uses beef, but I have made a mental note to attempt a vegetarian version one of these days.

20140218_182522  20140218_183603  20140218_190741

You find a version of these kabobs in several countries. Frequently lamb is used but not everyone in my family is a fan of that, so I opted for extra lean ground beef. A blend of coriander powder, cumin powder, cayenne, paprika, garlic, onions and mint lends an enjoyable blend of flavors without one note screaming out too loud. Lastly, using extra lean meat is an easy way to cut down on excess saturated fat from your meals. I must say even though I used 93% lean beef, the kabob was enjoyable with a dollop of plain yogurt.

20140218_192426

Mediterranean Style Beef Kabobs

  • Servings: 4
  • Print

Ingredients
1 lb extra lean ground beef (lamb or chicken)
1 tablespoon coriander seeds, toasted (or 1 tablespoon coriander powder)
1 teaspoon cumin powder
1 teaspoon paprika
1/4 teaspoon cayenne
1/4 teaspoon ground cinnamon
1 teaspoon salt
1 tablespoon or more garlic paste
1 tablespoon crushed dried mint leaves
12 – 14 small bamboo skewers, soaked in water for 30 minutes

Preparation
1. Preheat the broiler at high setting. You can also grill the kabobs on an outdoor grill.
2. If using coriander seeds, grind them in a spice grinder or using mortar and pestle.
3. Add all seasonings to the meat and mix well. It works best to use your hands to really mix in all the spices and herbs.
4. Divide the mixture into 12-14 equal portions and shape them around the pre-soaked skewers like a long kabob.
5. Line a baking tray lined with aluminum foil and spray with cooking spray.
6. Arrange the kabobs on the tray and broil for 12 minutes turning once. Spray with cooking spray after turning.

Perfect Waffle

20140223_100523[1]

Everybody loves a good ol’ waffle right? I enjoy waffles as a meal item or as a base for an occasional ice cream sundae! Back in the college days, I remember how my friends and I looked forward to waffle bar Sundays, when there will be a nice little waffle bar set in the cafeteria with all sorts of yummy toppings. Yeah, those days, we would create our own masterpiece of fully loaded waffle that served both as a meal and dessert in one! But that extent of indulgence is far and few in between now a days, but I continue to make different type of waffles about once a week. At this rate, I keep telling myself I need to buy one of those Belgian waffle makers or at least a rotating type of equipment, but so far I am still holding onto my regular old basic machine. (Note to self: Take the plunge and buy a new one already! Yes, along with an ice cream maker!).

This particular recipe uses an unusual ingredient – cornstarch. It somehow helps to decrease the potential sogginess caused by steam during the cooking process and results in a waffle that is pretty toasted and crispy on the outside, yet soft and chewy on the inside. Also, incorporating stiff egg whites into the batter results in a light crispy texture.

20140223_094555[1]   20140223_094740[1]

Personally, I prefer a plain waffle topped with fruits, honey and occasionally a tiny dollop of fresh whipped cream. Sometimes, I do like to make it a bit special with some semi sweet or dark chocolate chips and maybe a sprinkling of chopped nuts. Let your creativity run wild and use whatever topping your little heart desires! I promise you will enjoy every last bite of it!

A quick note about this recipe: Sometimes you hear people say when you use buttermilk/yogurt in a batter, you typically will have to use baking soda instead of baking powder. I used the latter in this recipe and it worked great!

20140223_101525[1]

Perfect Waffle

  • Servings: 4
  • Print

Ingredients
1 1/2 cups enriched all purpose flour
1/4 cup corn starch
1 tablespoon baking powder
2 tablespoons sugar
1/4 teaspoon salt
2 eggs, separated
1 cup fat free plain yogurt
1/2 cup 1% milk
1 teaspoon hazelnut extract (or vanilla)
1/4 cup oil
Cooking spray

Preparation
1. Measure out the dry ingredients and mix well in a medium bowl.
2. Combine egg yolks, yogurt, milk, extract and oil in another bowl and set aside.
3. In a small bowl, whish egg whites till stiff peaks form.
4. Add wet ingredients to dry ingredients and mix gently with a spatula or whisk.
5. Now, slowly incorporate the beaten egg whites in two batches, taking care not to overwork the batter. You want to retain as much of the air as possible.
6. Follow your waffle maker directions and make your waffles.
7. Serve right away with your favorite toppings.

Coconut-Pineapple Flan

flan 6
My love for flan, crème brulee, caramel pudding – whatever you call it- dates all the way back to my childhood. It was one of those treats we kids devoured no matter what else was around. Those days, I grew up eating the version made with tons of whole eggs, condensed milk and sugar. Using all those eggs and condensed milk results in a delicious “pudding” that is firmer and “sliceable”. Growing up, I remember my mom making this caramel pudding and slicing it up to serve. It had the decadence of a crème brulee with the satisfaction of relishing on a slice of cake. Mmmmm….

flan 1          flan 2

These days, since I am trying to cut down on carbs, especially sugar, I wanted to attempt a recipe that was not so calorific, yet satisfies the sweet tooth. I know I can NEVER give up on desserts. That to me is like depriving myself of oxygen – ok maybe not that desperate but close enough. Only thing that seems to work for me is finding lower calorie substitutes in my recipes. With that in mind, I attempted a flan recipe with low fat milk, lite coconut milk and some splenda. Since a light caramel sauce is a “must” for a good flan, I took the traditional route with regular refined sugar but reduced the overall amount of sauce.

flan 3       flan 4

Lastly, instead of the traditional vanilla flavor, I opted for coconut pineapple combination for a tropical flair – to go with the balmy 50F in the middle of winter!

The resulting flan, crème brulee or caramel pudding – again whatever you want to call it- was velvety smooth, light and had a nice tropical flavor. Just what I was looking for!

flan 5

Coconut-Pineapple Flan

  • Servings: 4
  • Print

Ingredients

For Flan:
1/2 cup 1% or skim milk
7 oz unsweetened coconut milk, preferably the lite version
1/3 cup granulated Splenda
2 egg yolks
1 whole egg
1/2 teaspoon rum extract
Pinch of salt
2 tablespoons crushed pineapple, drained

For caramel glaze:
1/4 cup granulated sugar
1 tablespoon water

Preparation:
1. Preheat oven to 350F.
2. Prepare caramel by heating the sugar and water till sugar starts to caramelize. Make sure you don’t scorch the sugar.
3. Transfer the cooked caramel to a 6″ baking pan and sprinkle with crushed pineapple. Set aside.
4. Simmer 1% milk and coconut milk till tiny bubbles start forming around the edges. Do not boil. Add the rum extract.
5. Beat the yolks and whole egg lightly. Slowly add the milk to temper the eggs, being careful to add the milk in a steady stream while continuously stirring the egg mixture.
6. Add Splenda to the egg-milk mixture and stir to dissolve.
7. Strain the mixture to remove any bits of solids and transfer the strained liquid to the prepared dish.
8. Place a wet kitchen towel in a large pan (13″x9″). Place the 6″ pan with the flan mixture on the towel and place in the preheated oven.
9. Slowly pour boiling water into the larger container, carefully avoiding the flan mixture.
10. Bake for about 45 minutes till the top looks set.
11. Once cooled to room temperature, carefully run a thin knife or spatula around the edges and invert the flan onto a plate.
12. Chill in refrigerator for 3-4 hours before serving.


5.

Mafalde in Creamy Avocado Sauce

20140220_193420

If you are reading this, that means we share something in common – a love for avocados! Love as in anything with avocado in it – salads, smoothies, guacamole, desserts and whatever else.
20140220_191250
Going back to my childhood years, the only way I remember eating these velvety smooth fruits is in the form of an Avocado Fool – a sweetened and chilled concoction of mashed avocado, sugar and milk (or just condensed milk). Even now, I can recollect admiring the huge smooth green fruits (like the Florida type) hanging from trees waiting for someone to transform them into a Fool, the only way I think anyone there knew how to enjoy them! Fast forward to the present time and gosh only imagination is the limit!

20140220_191647 20140220_192757

I love creamy pastas but cringe at the thought of consuming more than a day’s worth of fat in just a single meal. Needless to say, it is one of my kids’ favorites. Knowing that they don’t get treated to the full-fat version at home, they try their luck at restaurants and honestly, I feel like it is some sort of a dietary “abuse” every time I reluctantly allow them to order a creamy pasta dish. Now, being an aficionado of creamy sauces like alfredo, I look for ways to lighten up the recipes by substituting low fat milk for cream, less butter etc. Then I came across the idea for an avocado-based sauce at http://sweetlifebake.com. The original recipe calls for 2 ripe avocados for 4 servings but I found that just 1 worked perfectly.

Mafalde in Creamy Avocado Sauce

  • Servings: 4
  • Print

Ingredients
1/2 pkg of 16oz Mafalde* pasta or any other pasta of your choice
1 Hass avocado
1/2 lemon
1 tablespoon olive oil
1/4 cup of chopped onions
4 cloves of garlic, chopped
1/4 cup of cilantro leaves
1 large Roma tomato, chopped
Salt to taste

Preparation
1. Cook pasta according to package instructions. Drain, reserving about 1/2 cup of pasta water.
2. Heat olive oil in a large skillet and sauté onions and garlic till lightly browned.
3. Transfer cooked onion and garlic to a blender.
4. Wipe the pan and add remaining tablespoon of oil.
5. Add chopped tomato to the pan the cook just until soft. Reduce heat to very low while making the sauce.
6. Scoop out pulp from the avocado and place in blender with the juice from 1/2 lemon, cilantro leaves and salt.
7. Start blending, incorporating just enough pasta liquid to make a thick sauce of desired consistency.
8. Transfer the pasta back to the pan with the tomato. Increase heat to medium.
9. Add the avocado sauce and gently stir to warm through.
7. Serve with extra sprinkling of cilantro and chopped tomato if desired.

* Mafalde pasta resembles a thinner version of lasagna pasta. It can be found in stores that carry a good variety of international ingredients. It can easily be substituted with other pasta of your choice.