

Have you noticed that macarons and delicately frosted cupcakes are more or less mainstays on a dessert tables nowadays??
My quest for making a perfect French macaron started 3 years ago, after a visit to Paris. I tried a few “home-style” versions at a local farmer’s market and fell in love! They were “cakey”, delicately flavored and more interestingly, came in infinite array of vivid colors. Piles and piles of them, arranged in conical pyramids, with various fillings! Ahh…
So, after we returned home, I started dreaming, researching and dreaming some more to the point of a macaron obsession! I tried countless recipes, ruined tons of batches, fretted over perfect “feet” and that characteristic texture – fragile and crispy outside leading to a chewy and cakey inside. And after numerous trial attempts, I can say I have a recipe that I will likely stick to – at least until I get a personal training by someone at Pierre Homme (what wishful thinking, I know!). 🙂 OK, you guys, look at my pictures, feel free to try them at home, and let me know if they are quite worth it! I debated whether to share this recipe, but decided it is worth sharing the love with the readers of this blog! After all, macarons can’t be perfected by following a recipe – they really need love, patience, passion and lots of and lots of practice!

TIPS BEFORE YOU ATTEMPT:
1. Precise measurement is a MUST (if you don’t have a digital scale, I highly recommend getting one. I bought one just so I can make macarons)!
2. Oven-temperatures can uplift or totally ruin a perfect macaron!
3. Folding in the dry ingredients is an art and takes lots of practice! If you under/over mix, your batch is ruined, and you may not even know it till they start cracking while baking and push you into a meltdown!
5. You absolutely need parchment paper or silicone baking mat. Without it, you will have a sticky, gooey mess!
4. Lastly, make sure your mixer and bowl are grease free and you only use either gel or powder colors as macs don’t like grease or water!

To sum it all up, MACARONS ARE HIGH-MAINTENANCE! But, once you perfect your skill and see those beautiful things emerge out of the oven, I can guarantee you will be floating with pride! I did!


Fool-proof French Macarons
Ingredients
35g egg white
0.5g meringue powder
0.5g salt
20g granulated sugar
60g powdered sugar
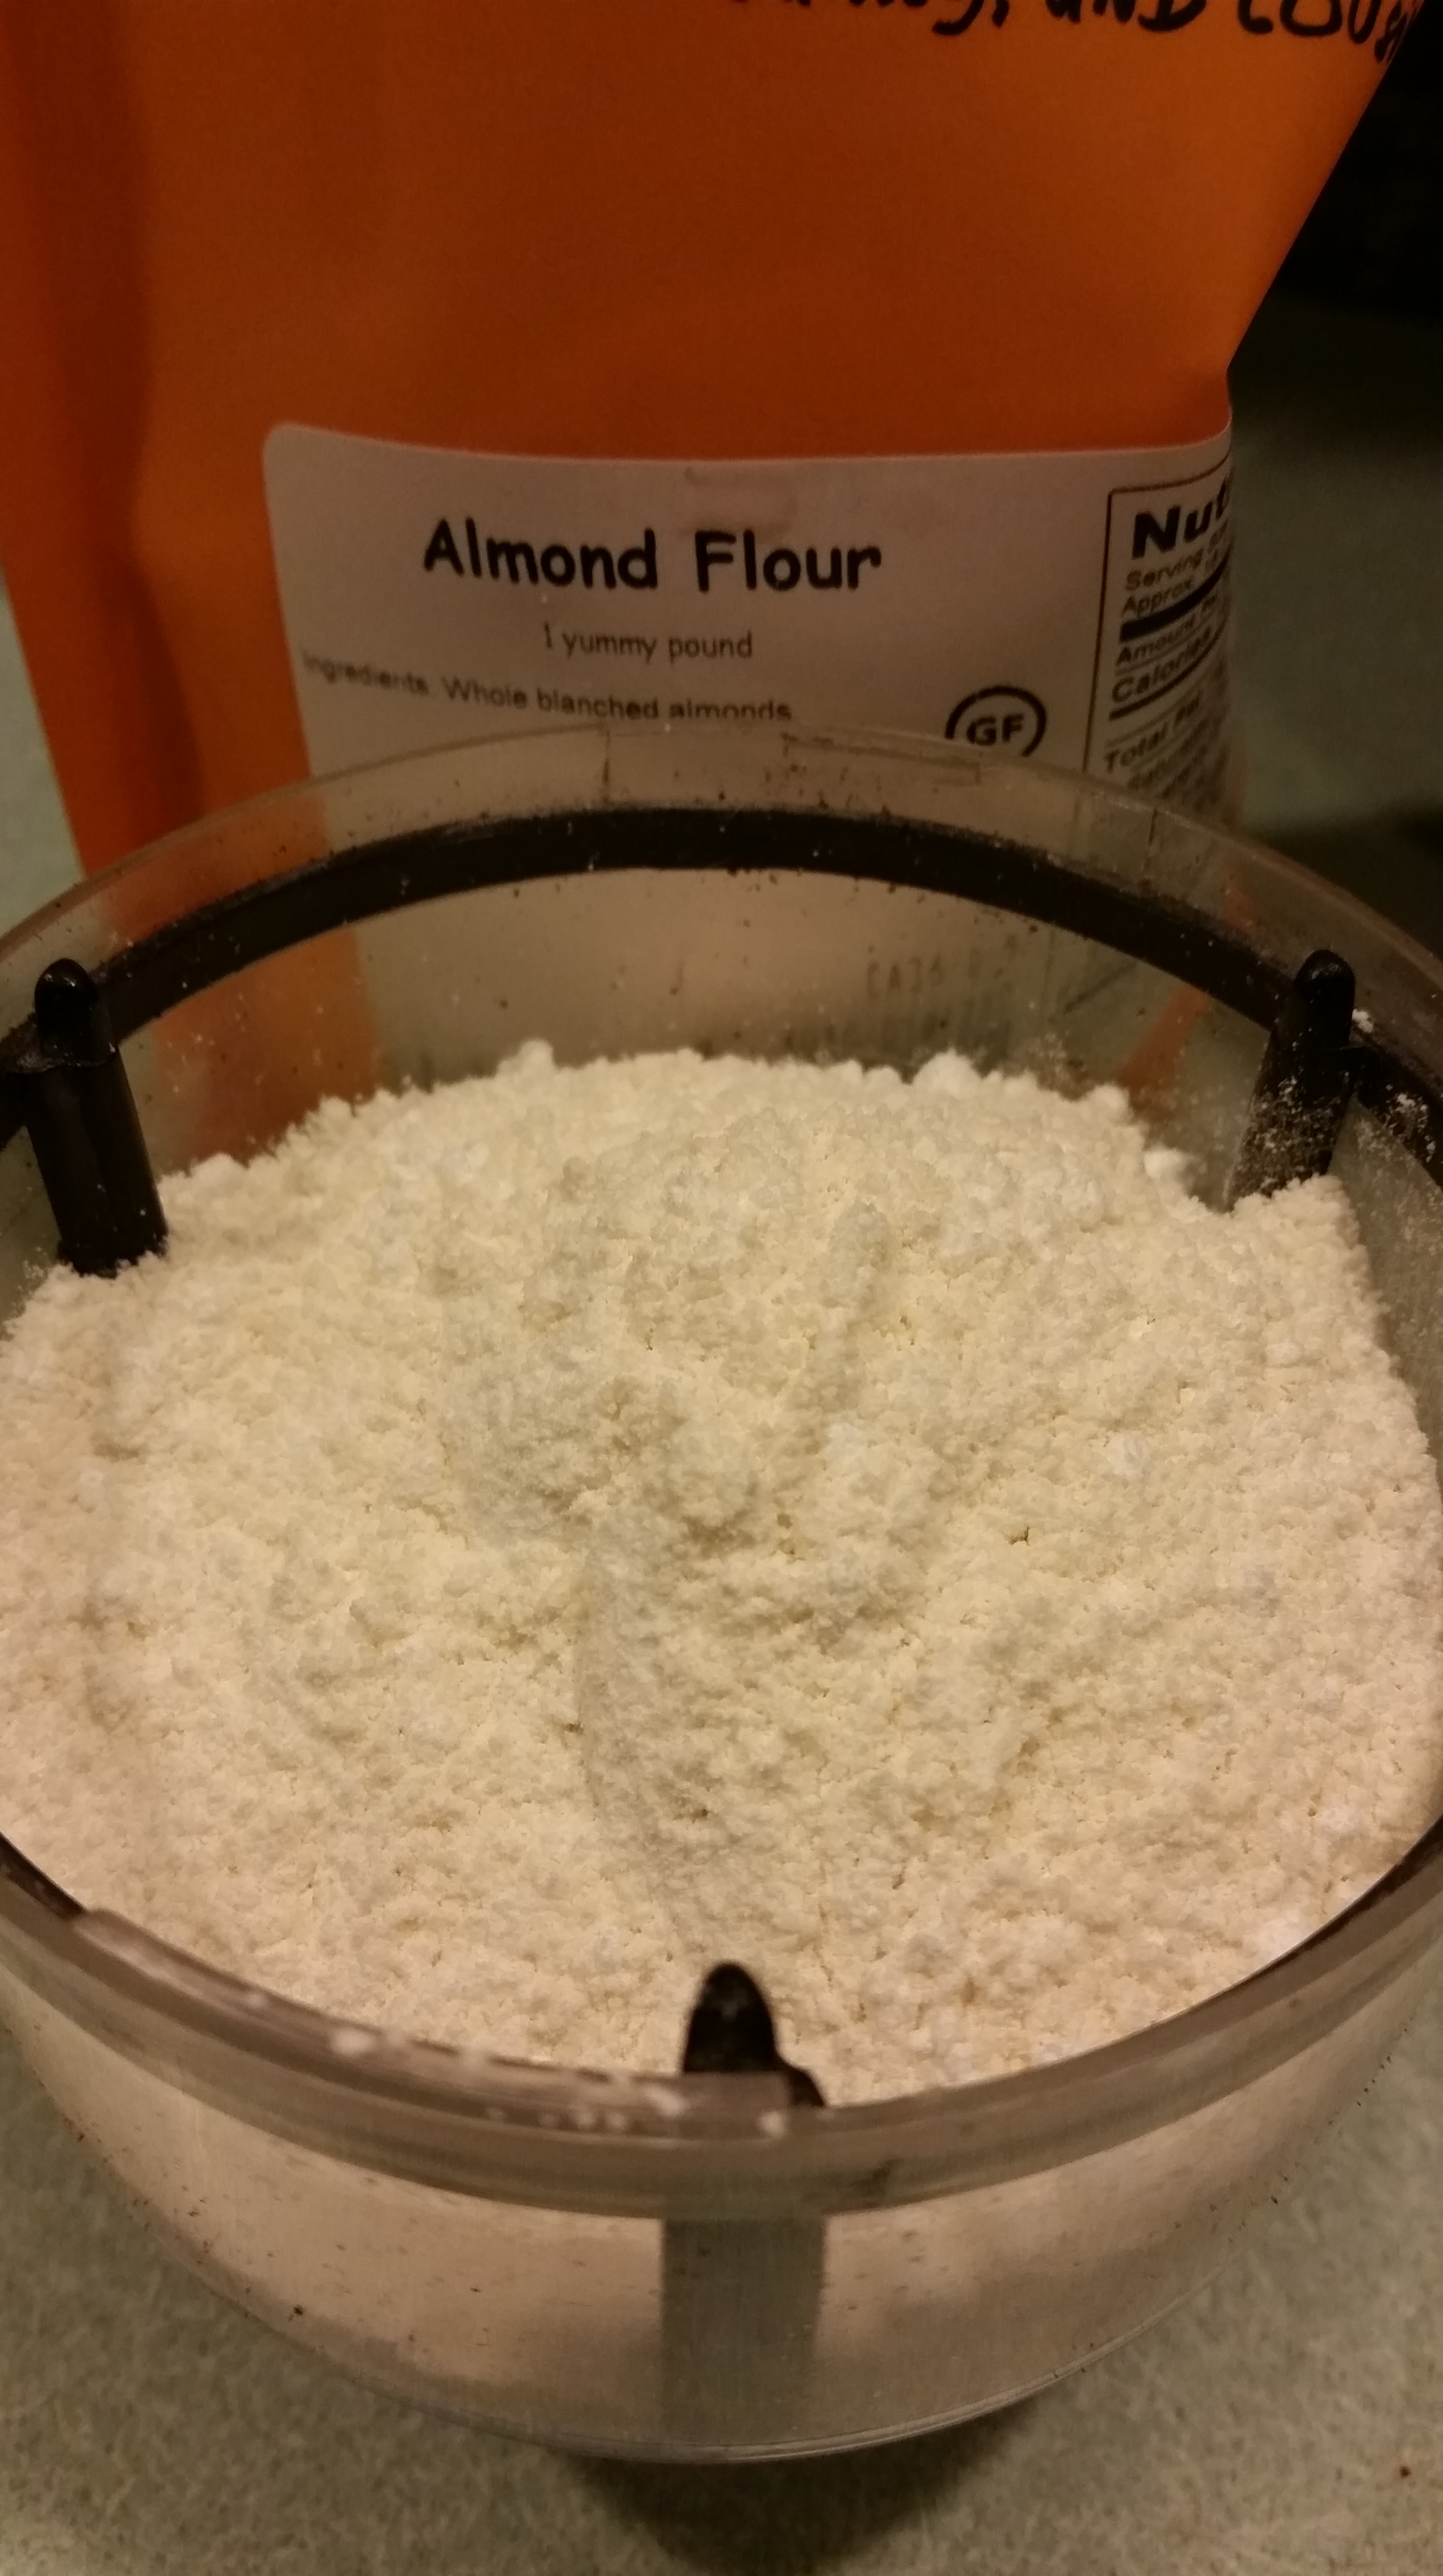
45g almond meal/ground almonds
Fillings of your choice: Chocolate ganache, nutella, buttercream, salted caramel, jelly etc.
optional: gel or powder colors
Preparation
1. Begin with carefully measuring out your ingredients.
2. Preheat oven to 350F. Line a baking sheet with parchment paper or silicone baking mat.
3. Grind together (in a spice/coffee grinder) the almond meal and powdered sugar for few seconds till the mixture is fine. Set aside.
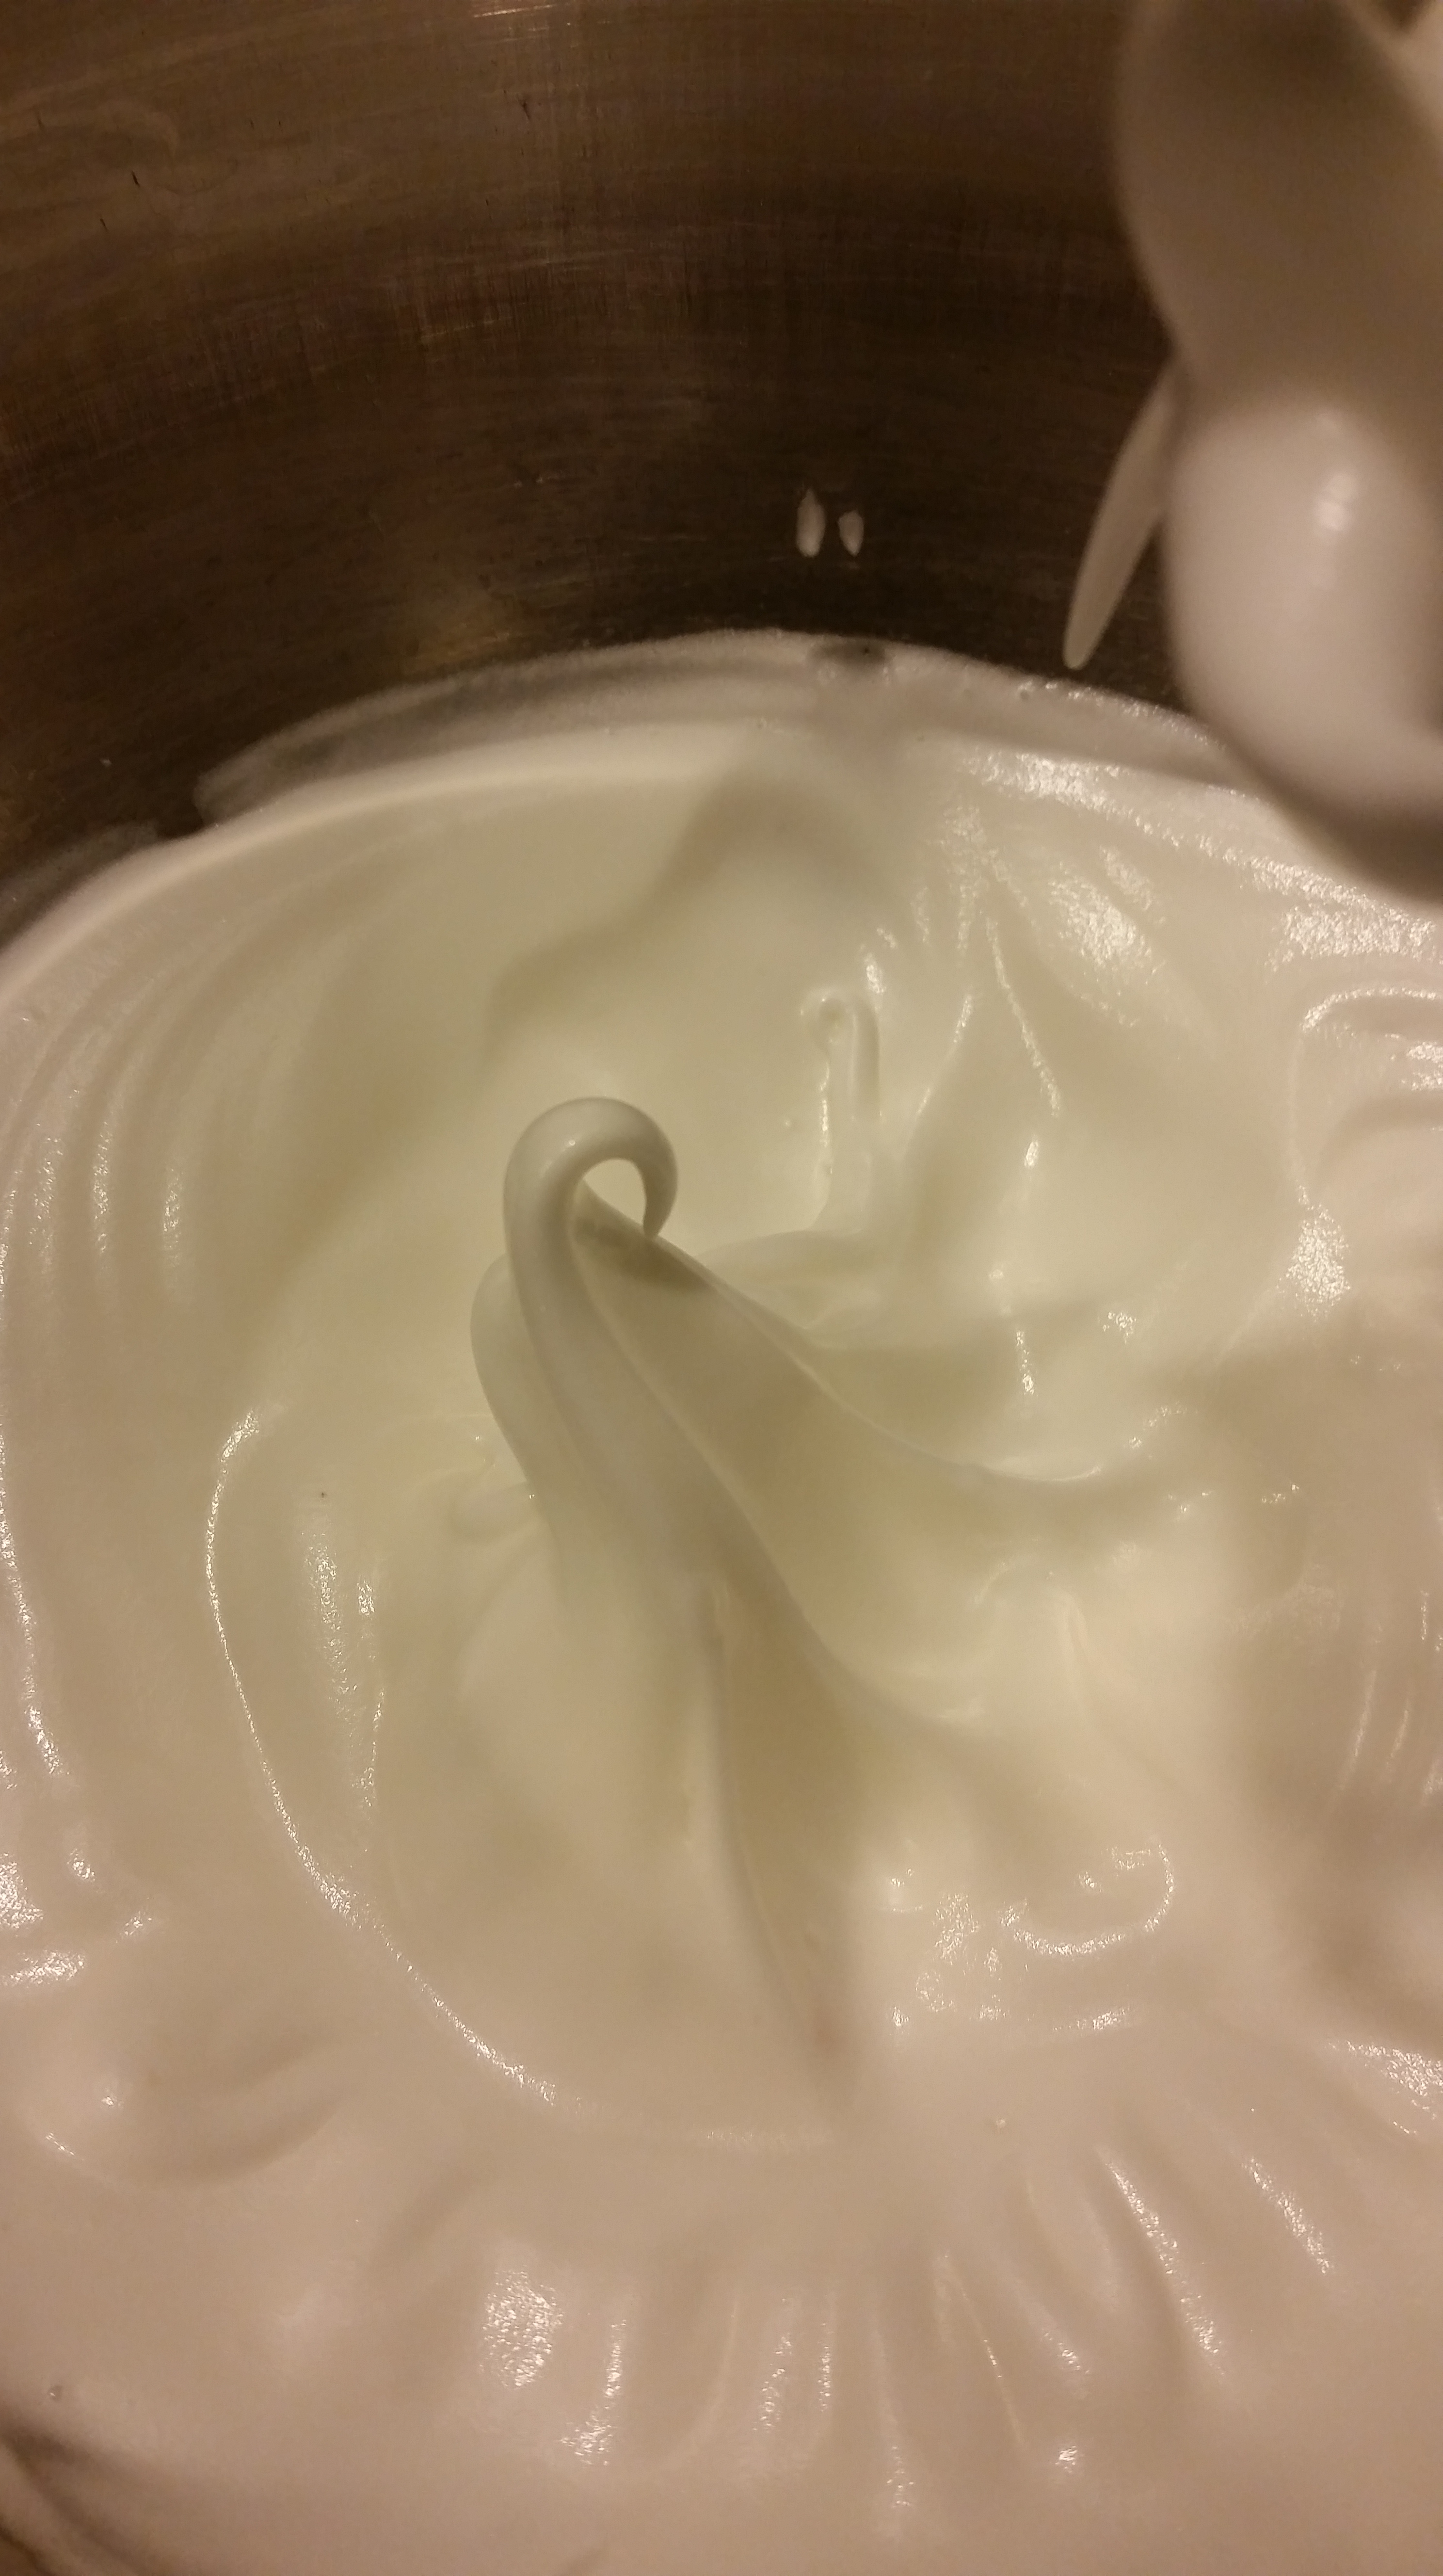
4. In a large stainless bowl, whip together the egg white, meringue powder and salt till frothy.
5. Slowly add in granulated sugar till soft, shiny peaks form.
6. If using color, add at this point.
7. Carefully fold in the almond meal/powdered sugar mixture in two batches. A rubber spatula is immensely helpful with this process.
8. STOP mixing when the dry mixture is incorporated and the macaron mix falls in a ribbon and slowly disappears into the mix. This part is extremely critical to the perfect mac.
9. Pipe the mix in 1″ circles on parchment or baking mat, leaving about an inch between circles. Try to keep the size consistent so it is easy to sandwich them with fillings.
7. Tap the tray a few times to pop out any air bubbles. Again, air bubbles, if not removed, will pop in the oven and crack your macarons. Sad, but true!
8. Let the macarons rest for 10-15 minutes.
9. Place the tray in the oven and immediately lower the temperature to 290F.
10. Bake for 15 minutes, rotate tray and bake another 5 minutes. The times given are general guidelines. Keep an eye on those babies – I have ruined a few batches just because they decided the same temperature setting used for the previous batch was too hot for the next one! Weird and I am still scratching my head for reasons, but for now, just keep an eye on them.
11. At the end of the baking time, remove the tray from the oven, let the macs sit on the tray for 5 minutes and move them to a cooling rack.
12. Pair the macs of similar size and sandwich them with fillings of your choice.
13. Sandwiched macs must be kept refrigerated for at least 24 hours to let the flavors and texture meld.
Warning: Once you make your first perfect batch, it becomes a near obsession to make more! 🙂

Oh wow they look so delicious!! ❤