Let’s interact!!!

Hello dear friends! It’s been more than a month since I started on this blogging journey! Needless to say, I am enjoying every minute of it!

Of late, I notice in my other cyberworld (aka Facebook) more posts and ads about various diets out there – Paleo, clean eating, Atkins, Gluten-free etc. May be there is some value or benefit in each of this diet plans, but I thought it will be nice to hear your thoughts on eating. What works for you? Are you the 5-6 small meals person, do you prefer a hearty breakfast and lunch, but a light dinner, do you follow any cleanse regimen? If you follow a vegetarian diet, how do you get quality protein, especially if you count your carbs? So, let’s interact!

What type of eating works for you?????

Roasted Veggie Melt with Mozzarella

20140306_180621

I love eggplants! Chunky purple American eggplant, somewhat smaller confetti purple Italian eggplant, long and slender Chinese eggplant, golf-ball sized Indian eggplant, white round Thai eggplant….you name it, I love it! I like them prepared in any way – curries, roasted and added to salads or transformed to baba ganoush, layered in vegetarian lasagna, indulgingly breaded and fried, or simply layered on with other roasted vegetables as a “melt”! As you can see, I am somewhat obsessed with this vegetable and my love goes back to my childhood. My other favorite vegetable is bitter gourd or Chinese bitter melon. I will have to add a post on that as well!

20140306_181140  20140306_183614  20140306_185421

I bought this beautiful Italian eggplant the other day and was debating which route to take with it. After bit of self contemplation, I settled for a “melt”. I had some fresh mozzarella and sweet red peppers sitting around and figured they would go well together. This recipe is so quick and easy to put together. You start with roasting the eggplant and red peppers. Then, you just layer them with sliced tomato and mozzarella and bake them till the cheese melts into a ooey gooey goodness. Just top it with a bit of prepared pesto and voila, you have yourself a delicious stack (or two) of cheesy, yummy veggie melt!

20140306_192109

Roasted Veggie Melt with Mozzarella

  • Servings: 2-4
  • Print

Ingredients
1 medium sized Italian (or American) eggplant, cut into 1/4 inch thick slices
2 tablespoons plus 1 tablespoon olive oil
2 beef steak tomatoes, cut into 1/4 inch thick slices
1 medium sized sweet red pepper, core removed and quartered
Eight 1/8″ slices of fresh mozzarella
2 tablespoons prepared pesto
Salt and pepper to taste

Preparation
1. Turn broiler on to “high”
2. Arrange eggplant slices and red pepper on a baking sheet sprayed with non stick cooking spray. Drizzle with 2 tablespoons of olive oil and turn to coat the other side as well.
3. Roast the vegetables for 4-6 minutes in the top rack of the oven till they turn golden. Turn over and roast the other side as well (another 4 – 6 minutes).
4. Remove the veggies from the oven. Turn oven to 375F.
5. Stack the vegetables on a greased baking tray in the order of eggplant, tomato and mozzarella, seasoning each layer with a light sprinkling of salt and pepper. Repeat the layer once more. Top with a piece of roasted red pepper. Secure the “deck” with a toothpick.
6. Bake for about 4-6 minutes till cheese melts and the “deck” is heated through.
7. Serve immediately with a light drizzle of pesto and olive oil.

Pad Thai Style Asian Noodles

20140217_190912-001

Pad Thai is probably the most common Thai dish enjoyed in North America! It is a dish that offers a perfect balance of flavors. One down side is that if you prefer spicy food, this probably won’t be your top choice at a Thai restaurant. I prefer Pad See Ew or other spicy options when we dine at Thai restaurants, but occasionally I do enjoy the delicate flavors of Pad Thai.

20140217_182706-001 20140217_182732-001 20140217_190341-001

This recipe is inspired by traditional Pad Thai. I say inspired because it uses different blend of sauces/seasoning and vegetables. Served with a side of crispy cucumbers, red onions and jalapeno in a sweet and sour dressing, this noodle will taste light and refreshing.

20140217_183138-001

Pad Thai Style Asian Noodles

  • Servings: 4
  • Print

Ingredients 8 oz wide rice noodles
2 tablespoons oil
2 cups of shredded napa cabbage
1 large carrot, shredded
3 green onions, chopped
2 large cloves of garlic, minced
1/4 inch piece of ginger, minced
½ lb medium uncooked shrimp or boneless, skinless chicken, cut into bite size pieces
1 tablespoon corn starch

Sauce for the noodles 3 tablespoons sweet dark soy sauce
2 tablespoons fish sauce
1 dime sized ball of tamarind pulp dissolved in ¼ cup warm water
1 clove of garlic, minced,
¼ inch piece of ginger, minced
1 tablespoon sugar
1 tablespoon rice wine vinegar
1 green onion, minced

Garnish
1 lime quartered
¼ cup toasted peanuts, crushed

Preparation
1. Bring a pot of water to boil and cook noodles according to instructions. Drain and set aside.
2. Prepare the sauce for the noodles by combining all the ingredients and simmering under low heat for 5-10 minutes. Remove from heat and set aside.
3. In a large skillet or wok, heat one tablespoon of oil under high heat. Stir fry shrimp (or chicken) coated in cornstarch till cooked through. Remove to a plate and set aside till later.
4. Add the remaining tablespoon of oil to the wok and add ginger and garlic, followed by all vegetables. Stir fry the vegetables for about 3-5 minutes.
5. Add the cooked shrimp or chicken and follow with the sauce. Mix well.
6. Add the cooked noodles and gently toss to combine.
7. Serve immediately with a wedge of lime, a generous sprinkling of peanuts and a crisp cucumber salad!

Swiss Style Muesli with a Twist

20140304_062728
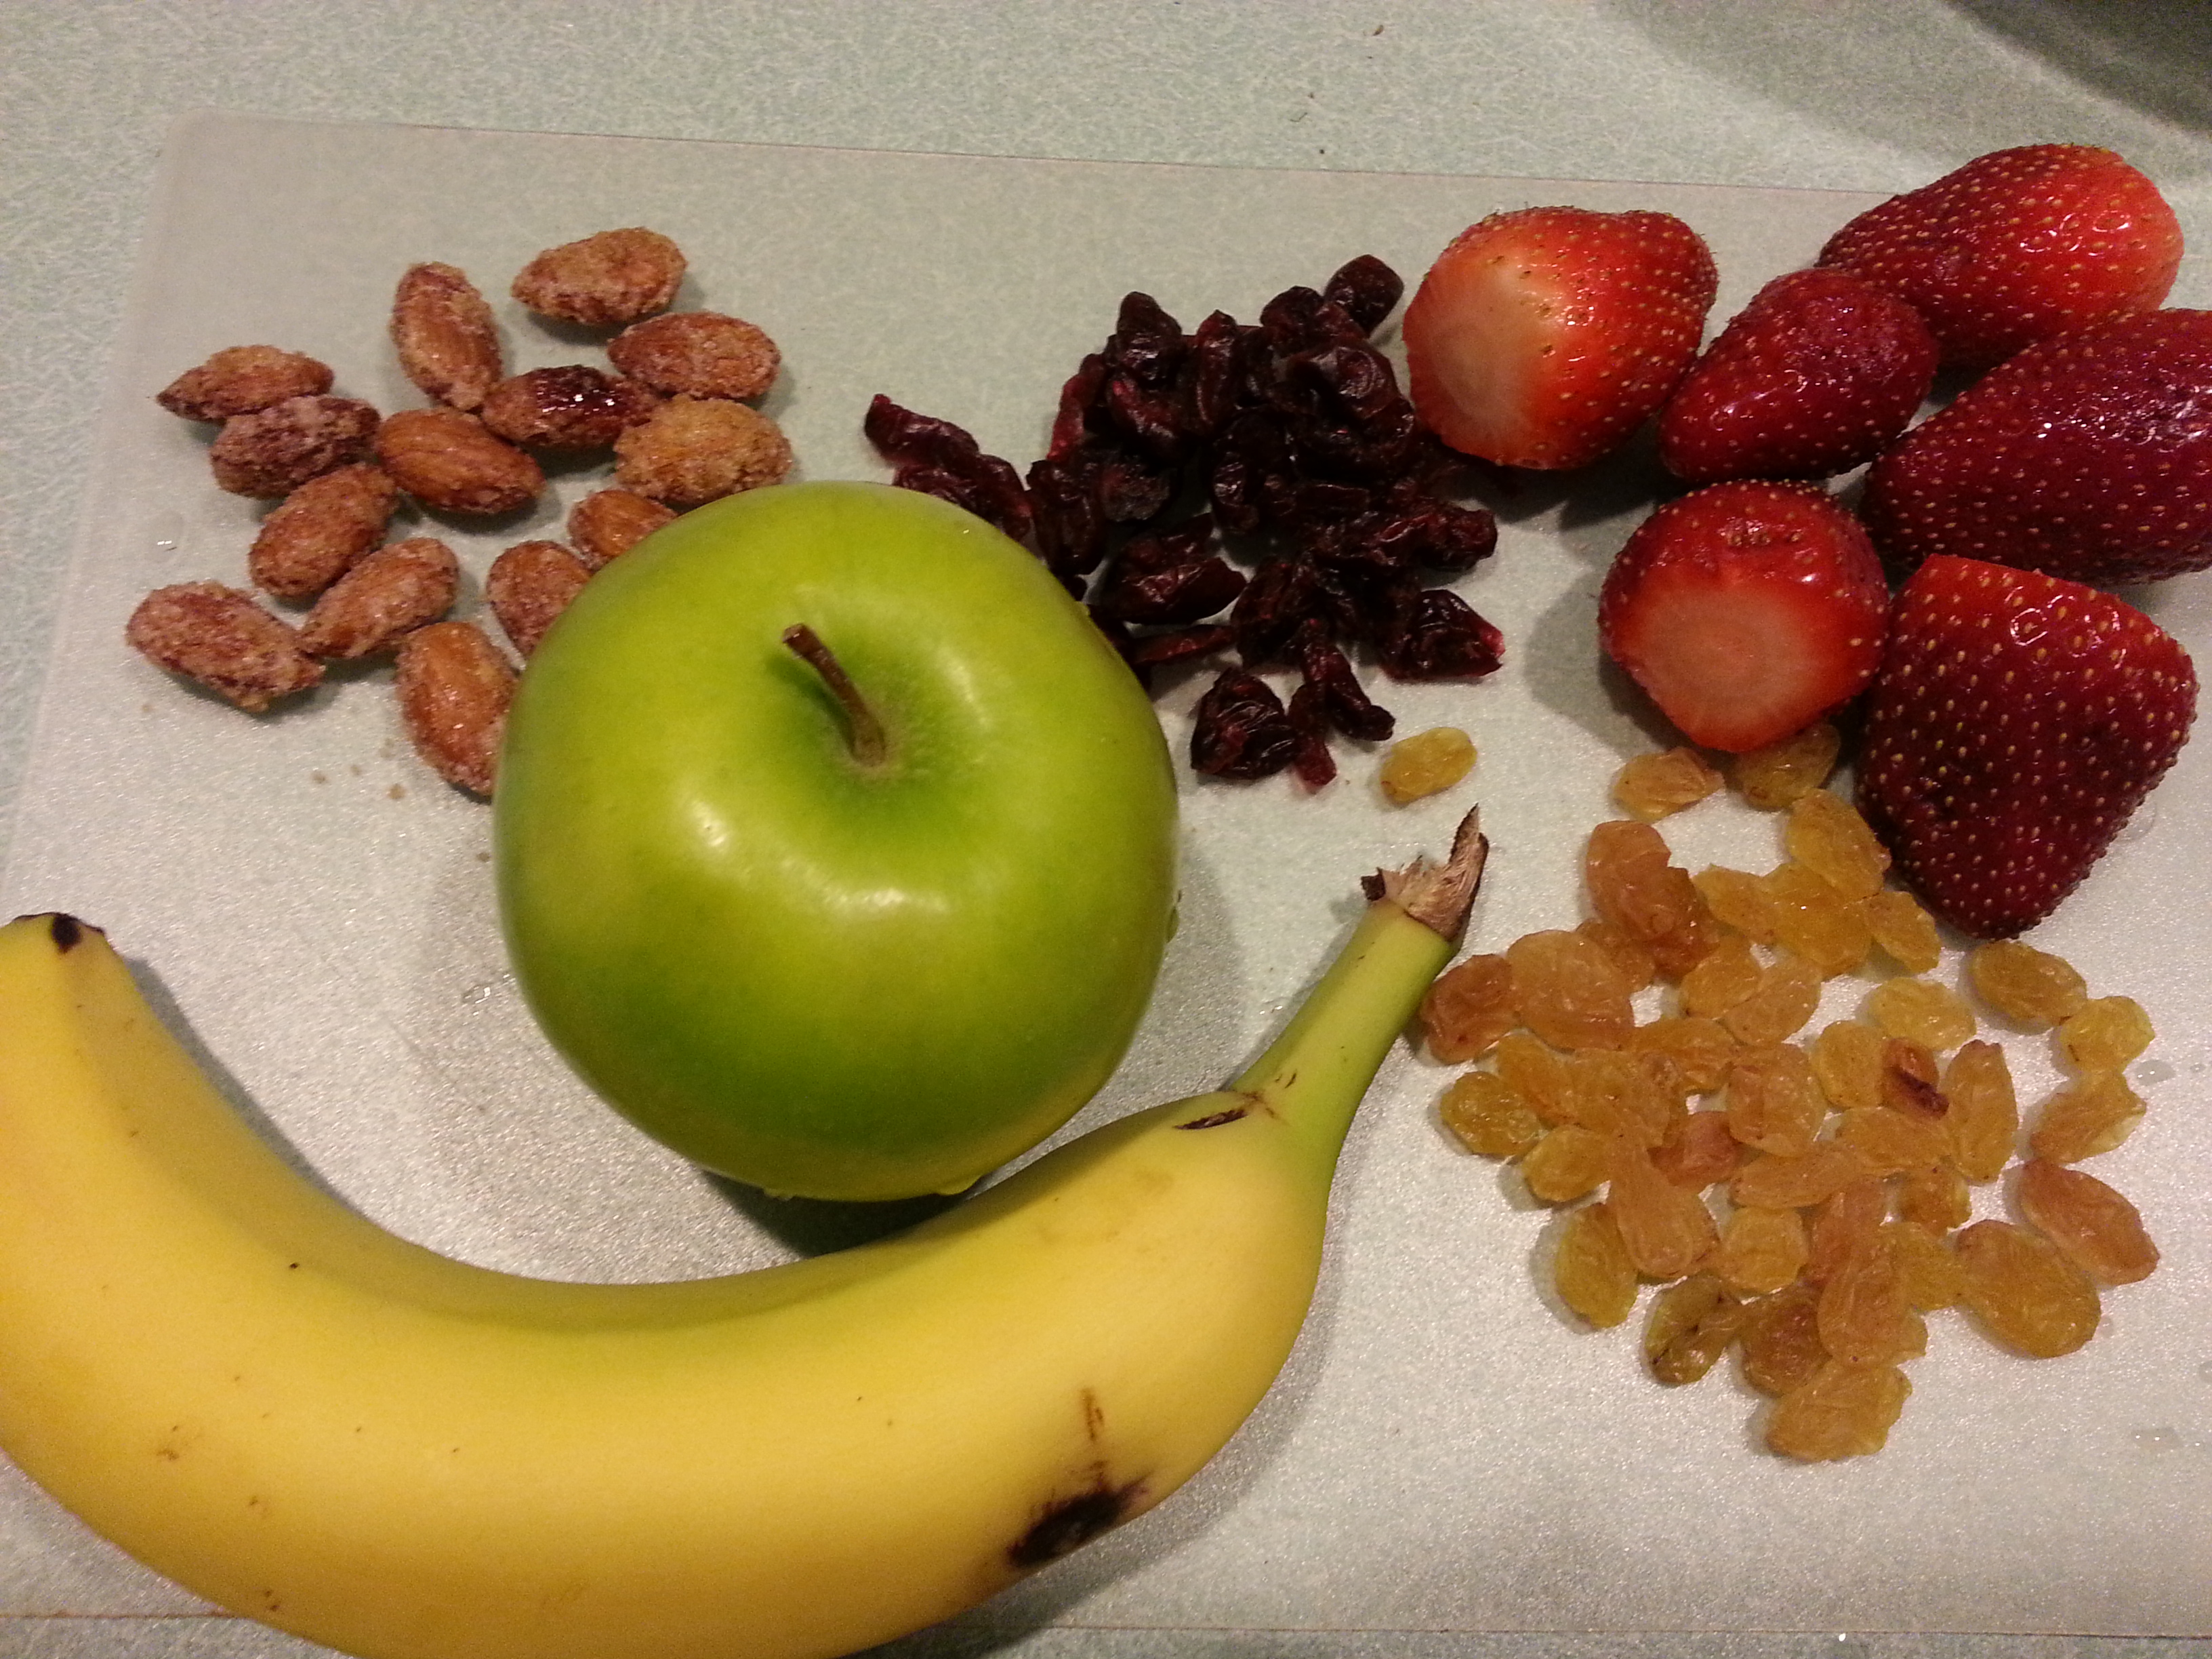
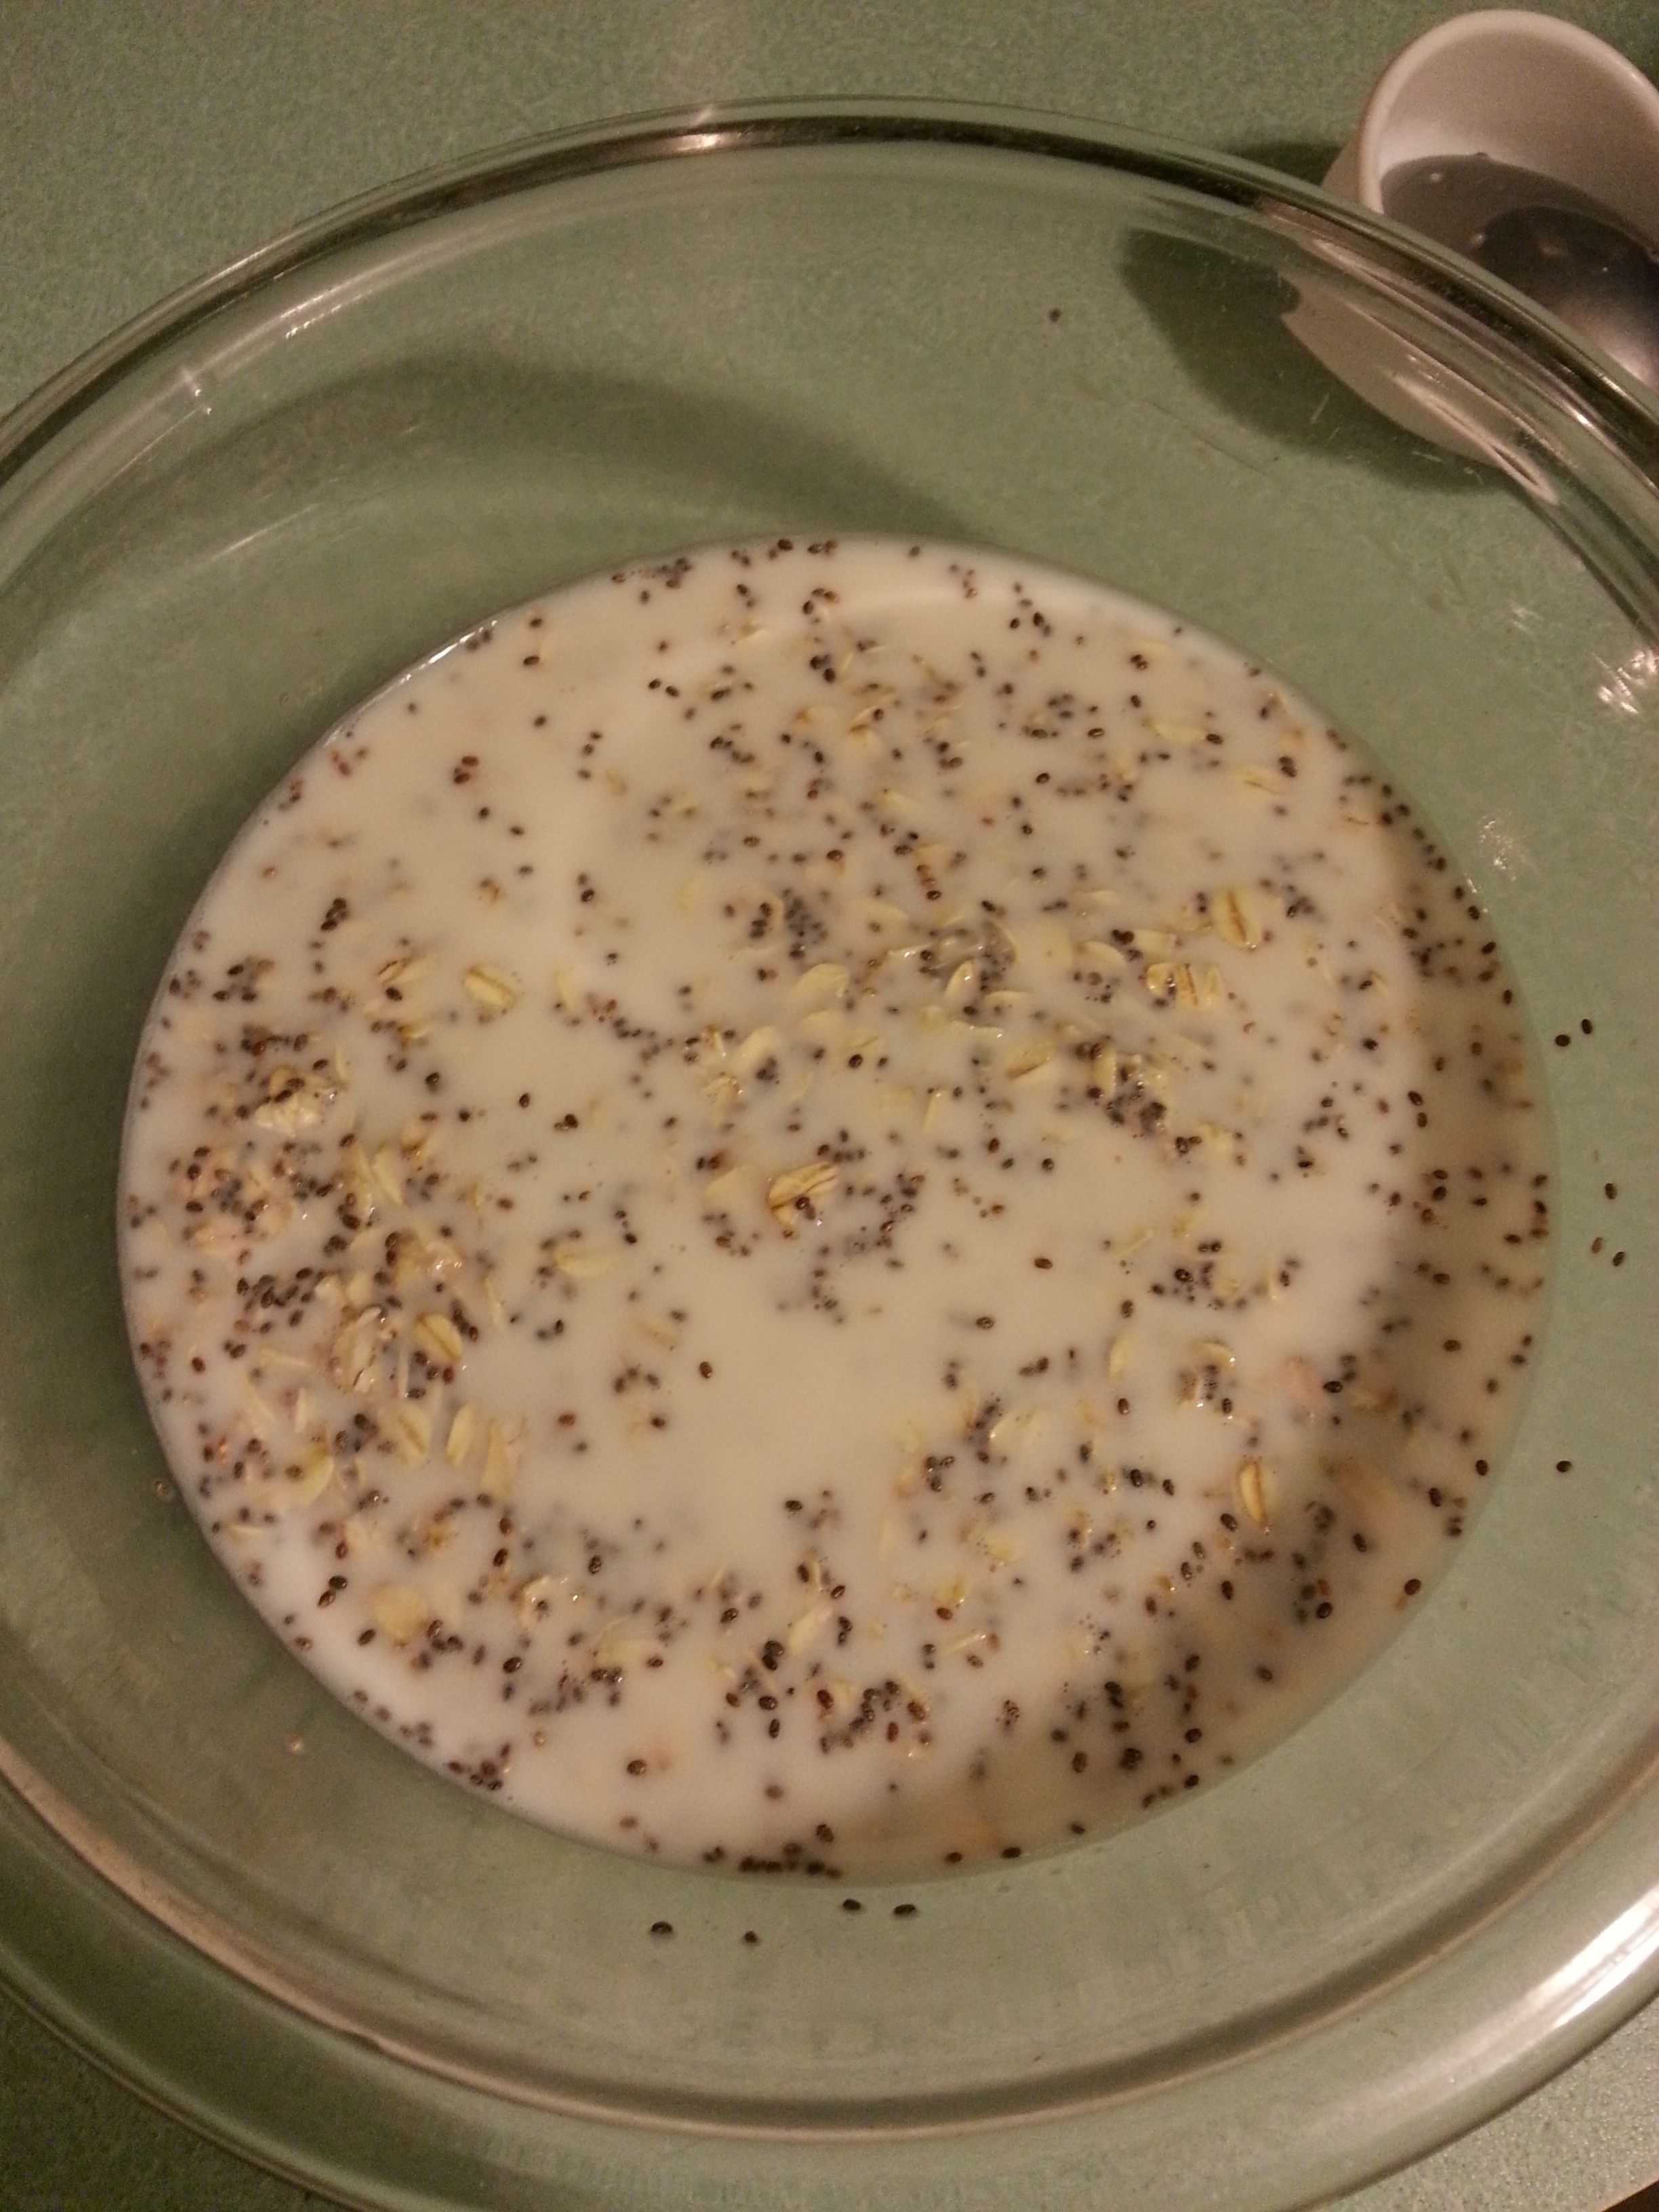
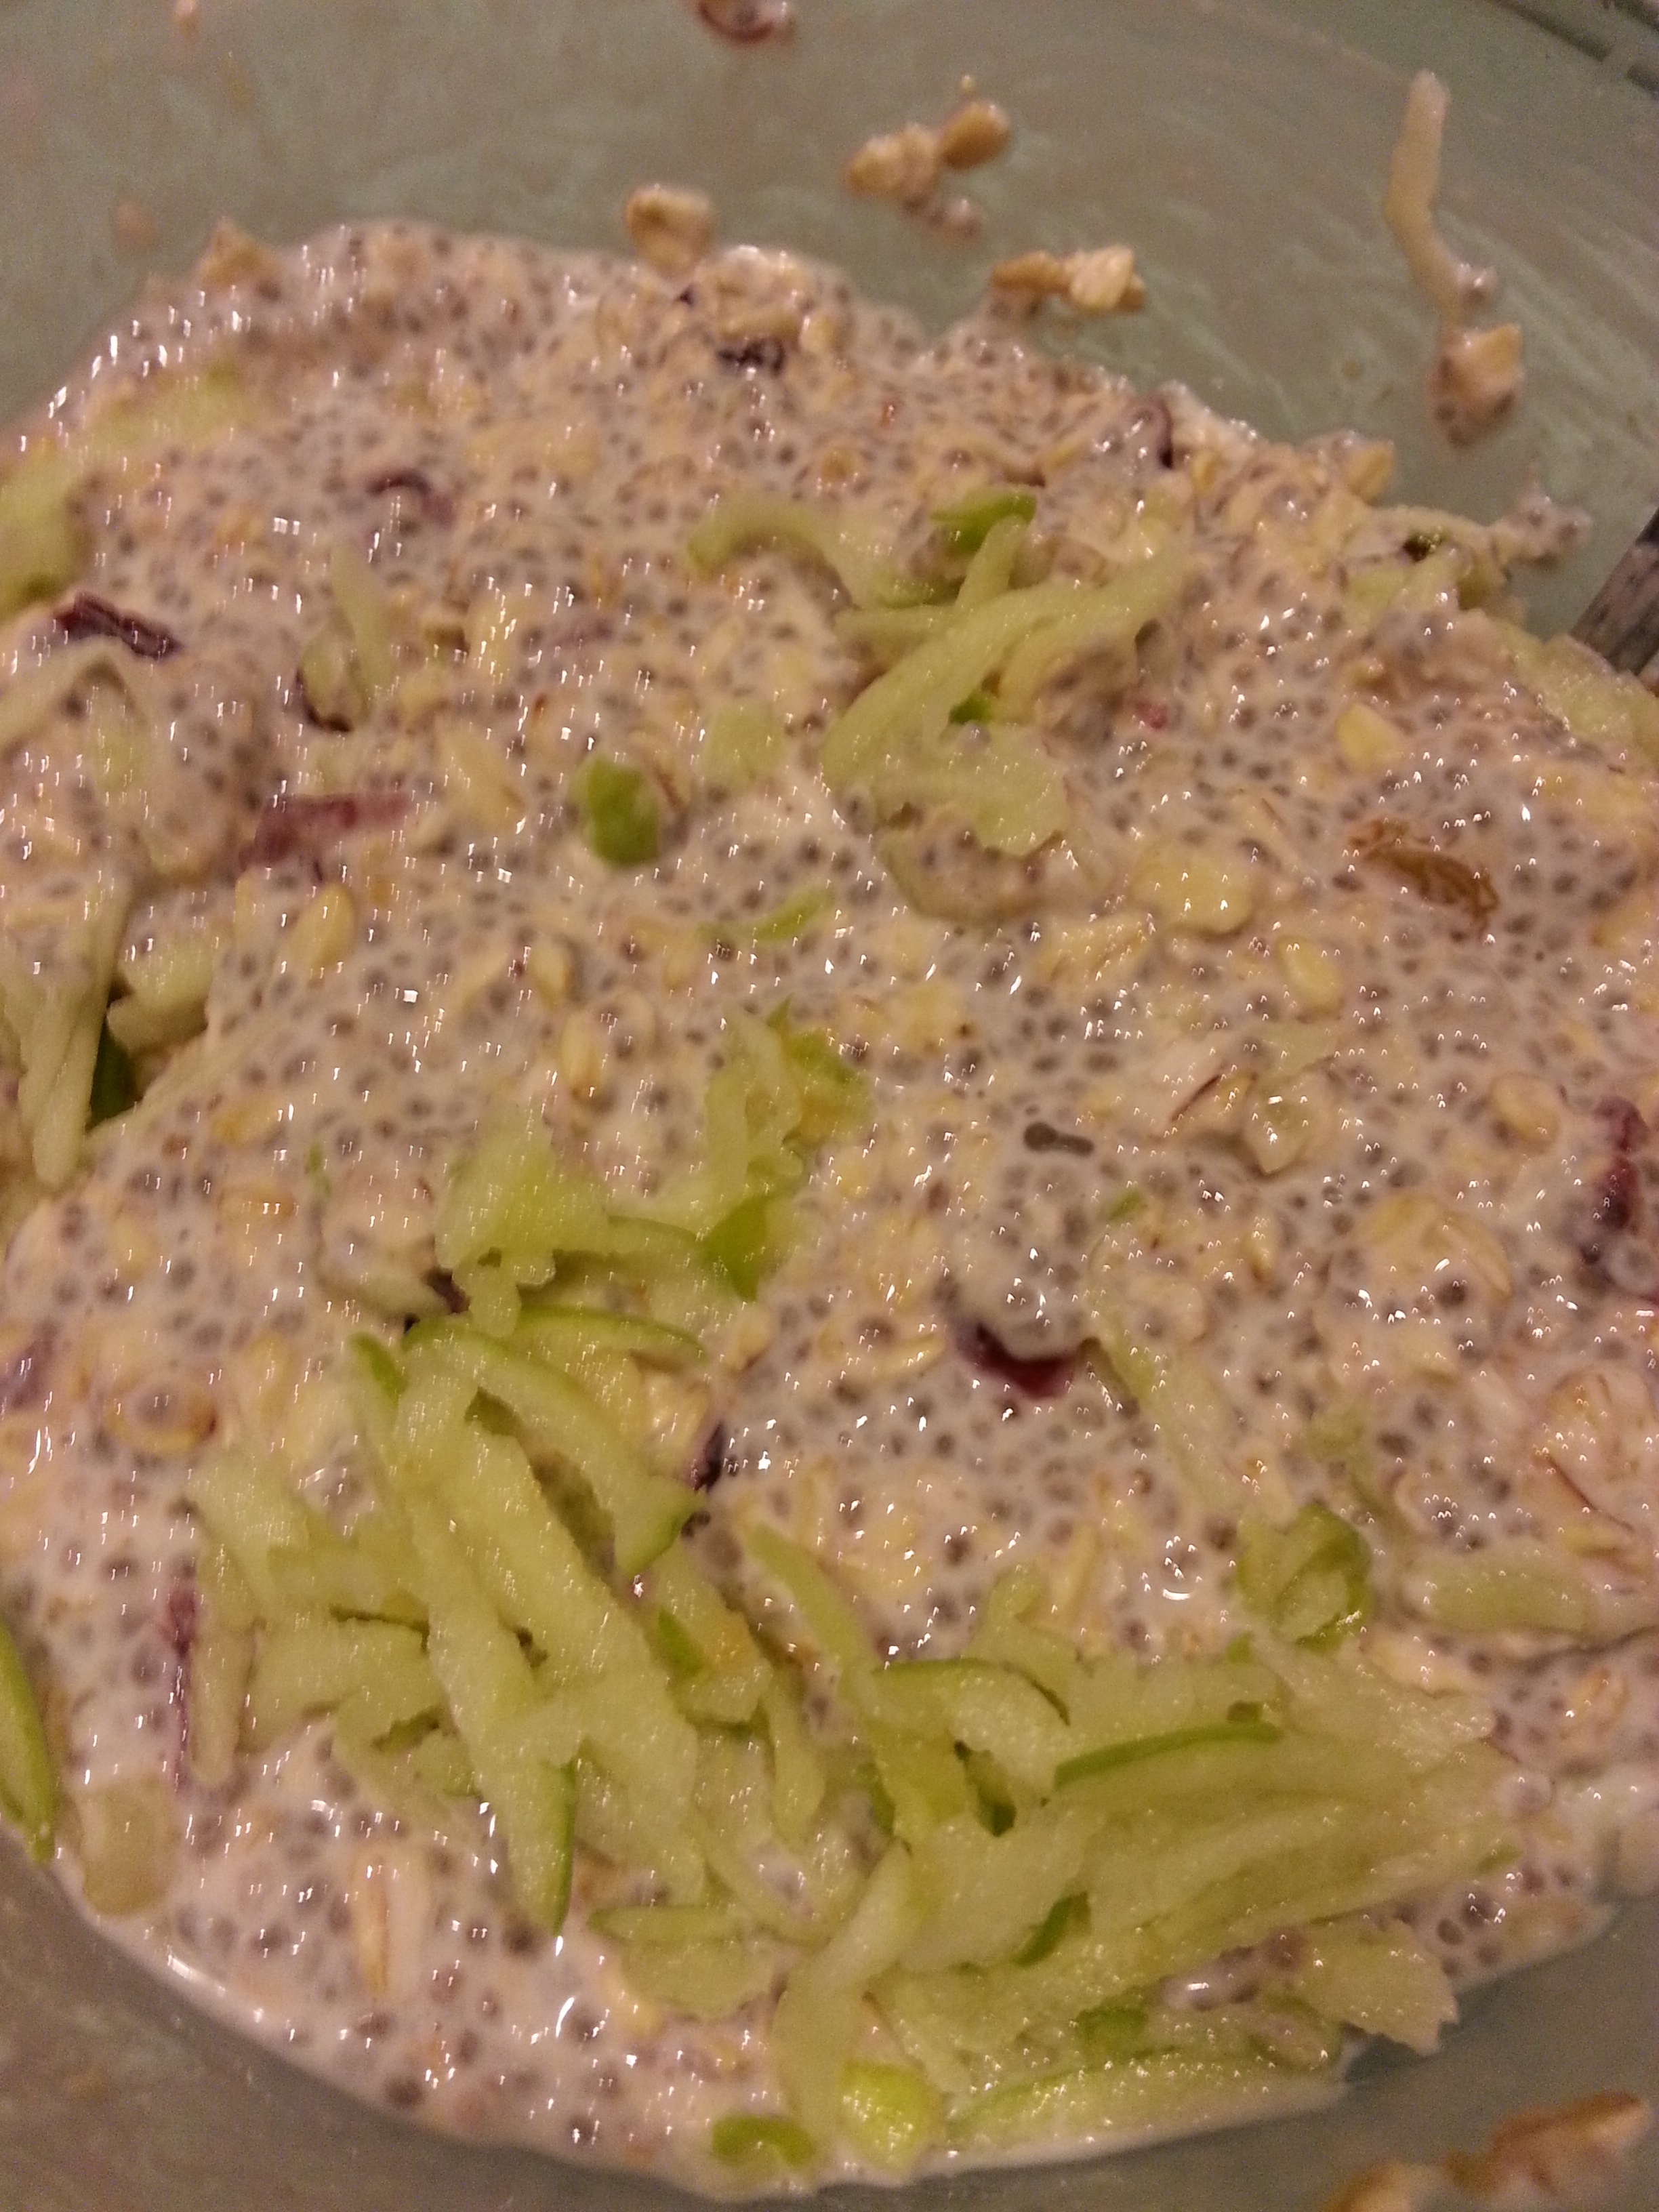
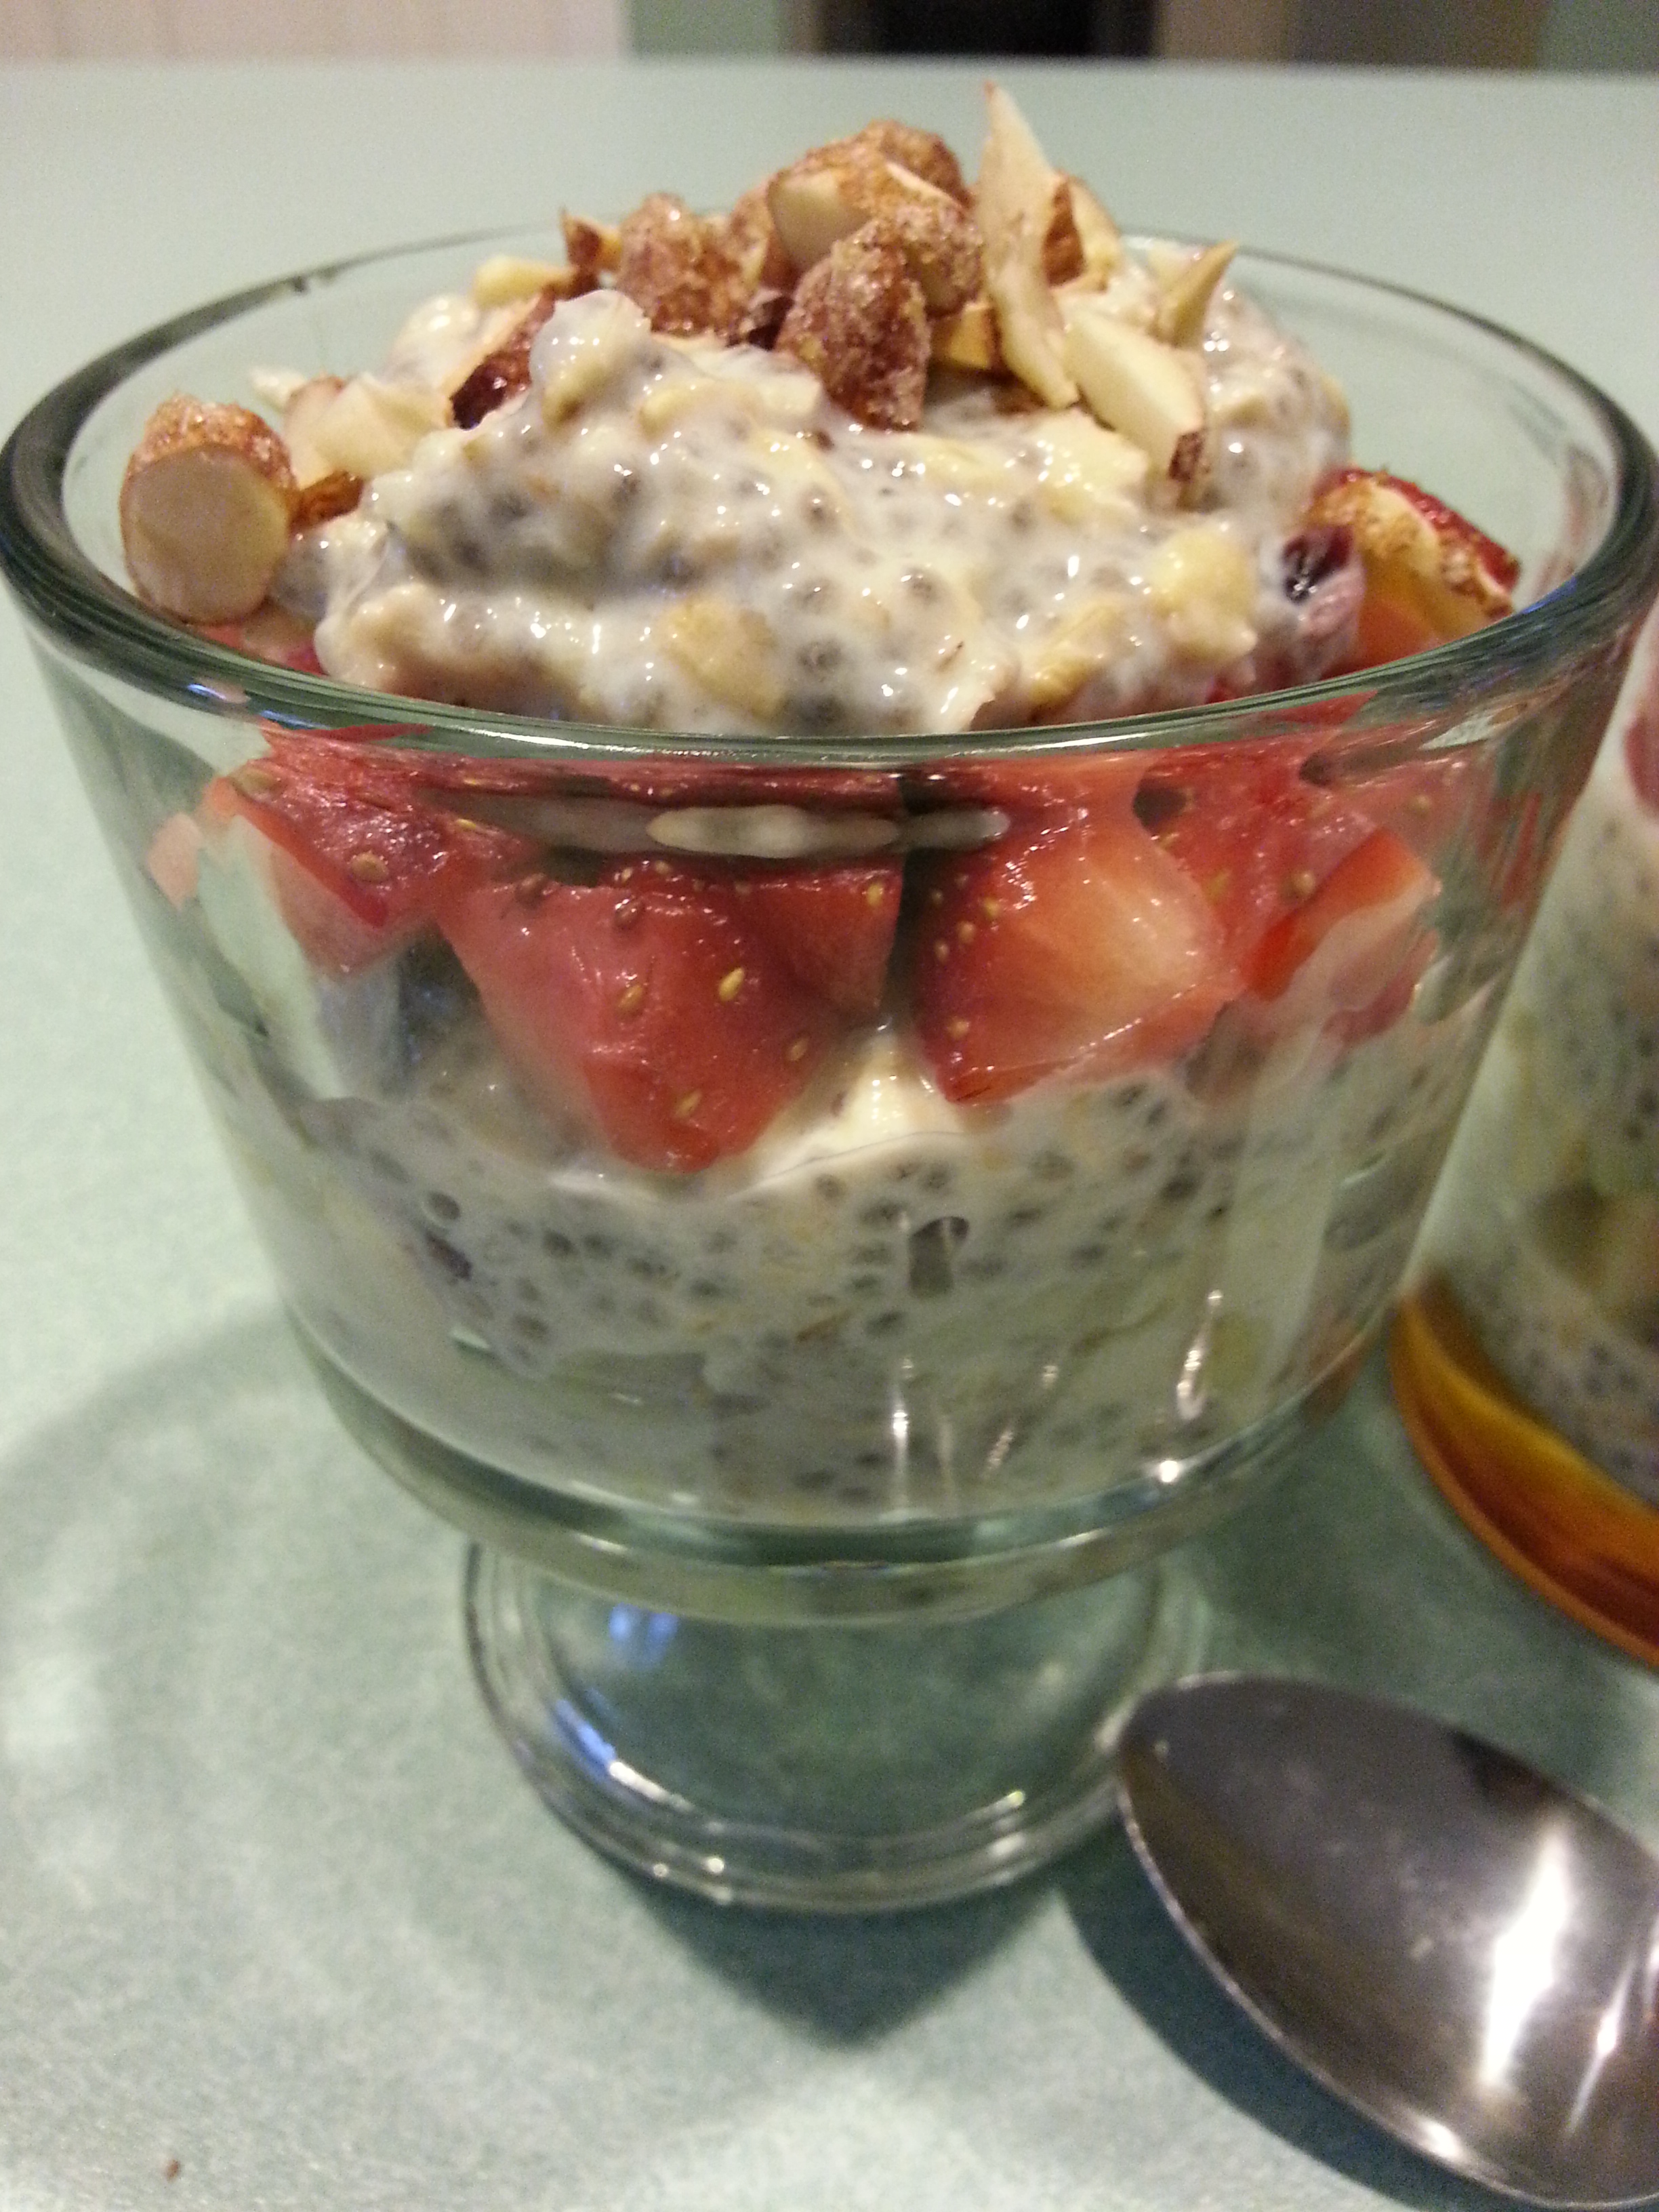
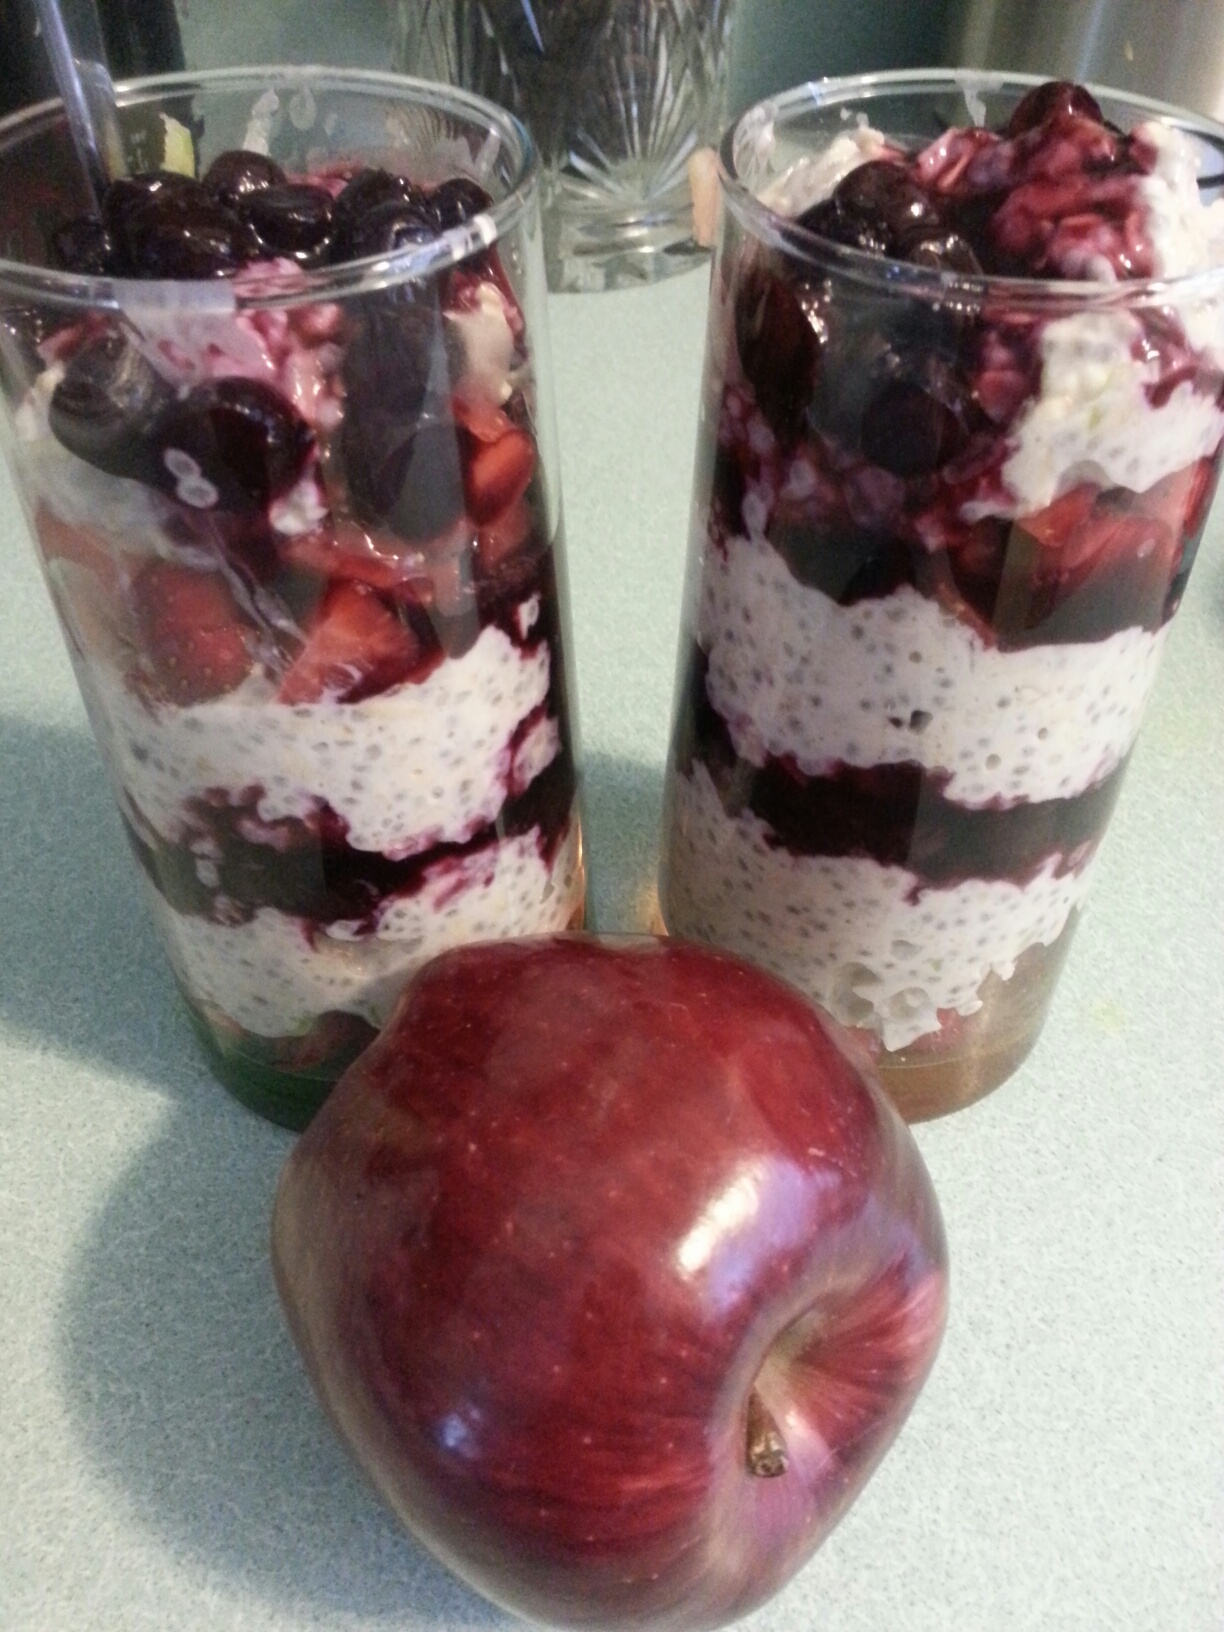
Muesli brings to mind the Kashi type of cereal, doesn’t it? Well, that’s pretty much what it is! A mix of wholesome cereal like oats, fresh/dried fruits and nuts softened in milk or yogurt. Identical twin of granola cereal perhaps? With everyone going bananas for healthy eating, this could potentially become your favorite breakfast item to enjoy at home or pack to work so you could be the envy of your colleagues! 🙂 You know what is the best part – only your imagination is the limit to making every bowl taste! Now, how many wholesome breakfast meals can do that!!!! Honestly, I could occasionally have this for lunch or light dinner as well, especially in the summer months!
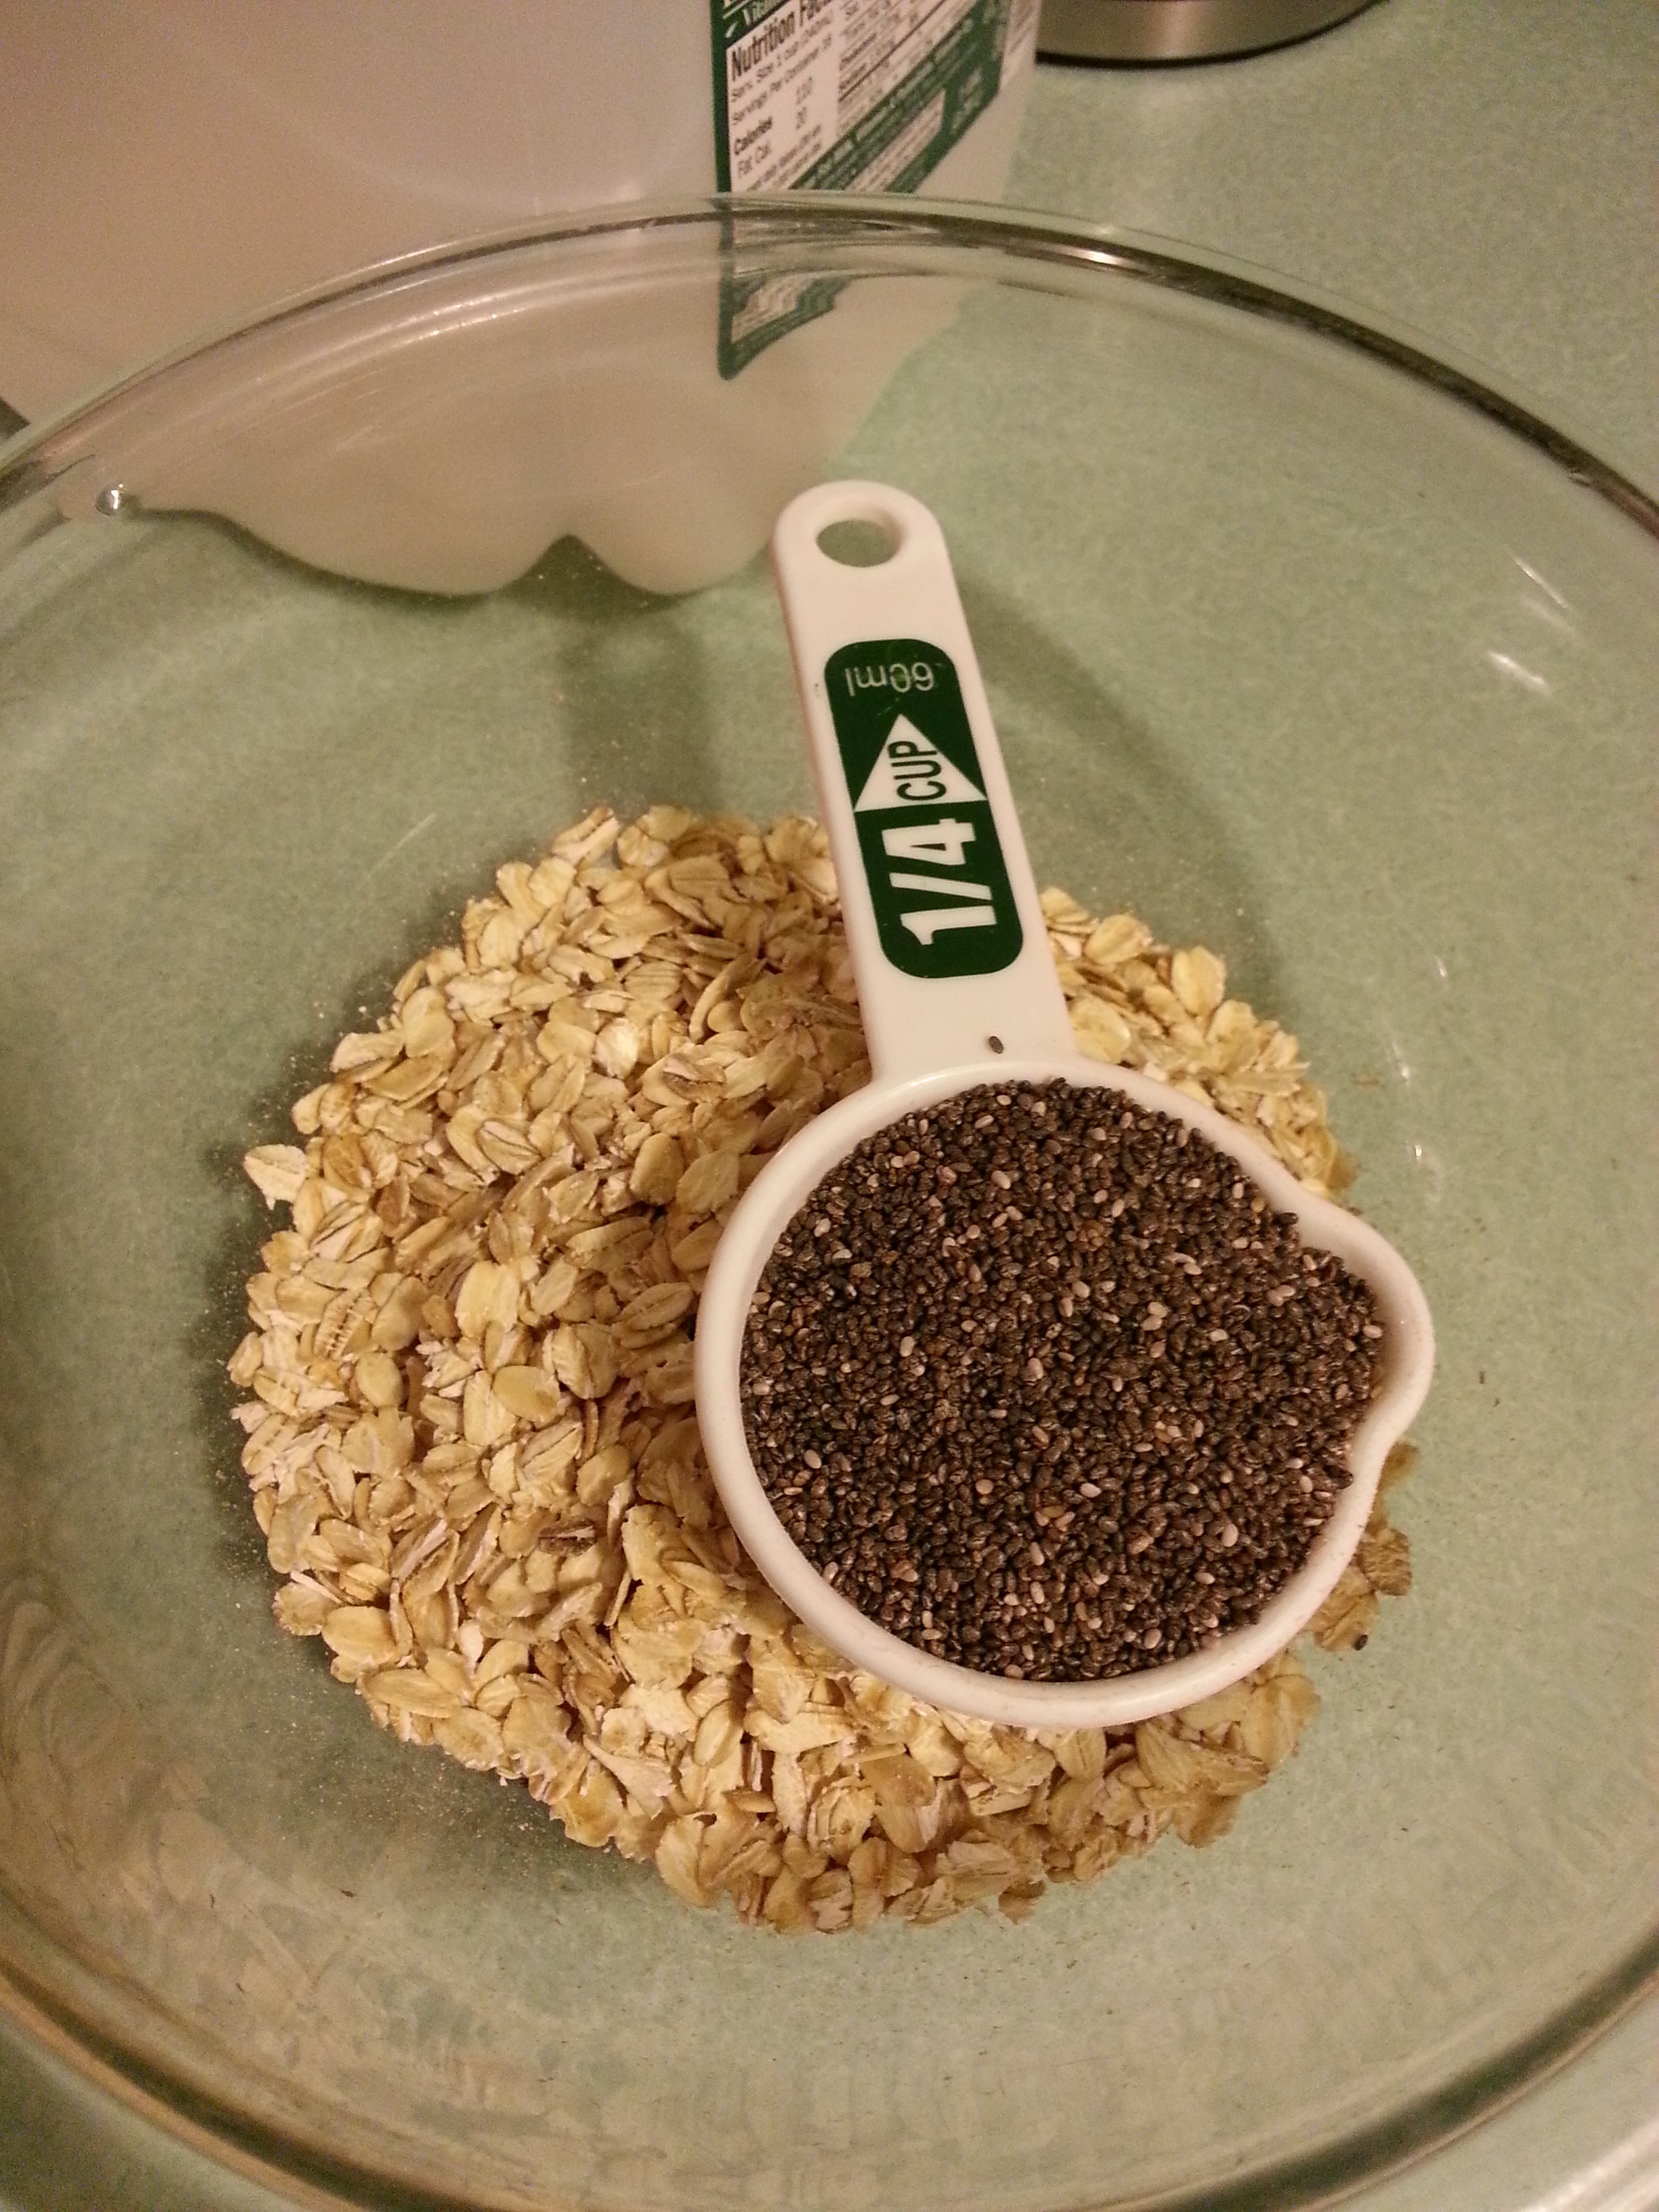
20140303_195143  20140304_060952  20140303_195424

So, what has long been a popular breakfast or light evening meal in Switzerland and Germany has now found an ardent following in North America. You will hear it being referred to as overnight oats or if you are familiar with Chicago breakfast scene, “Swiss Oatmeal”. You can amp up the goodness with the addition of chia seeds or even ground flax.

 20140304_060333  20140304_061929  20140304_061452

This recipe uses a mix of old fashioned oats and chia seeds, the latter adding such a wonderful textural element and a boost of wonderful nutrients! Also, the fresh and dry fruits in the muesli provide the natural sweetness that you may or may not need to sweeten it further.

20140304_062843

To make it even better…..here is a time saving tip. Double the recipe and save for breakfast next morning with perhaps different topping for a different taste!

chiaoats

Swiss Style Muesli with a Twist

  • Servings: 4
  • Print

Ingredients
Muesli Base
1 heaping cup old-fashioned oats
1/4 heaping cup chia seeds
1 1/4 cups skim, 1% or almond milk (enough to mellow the oats and chia)

Toppings/Stir-ins (LET YOUR IMAGINATION RUN WILD WITH THIS!)
1/2 Granny Smith or other sweet-tart apple, grated
1 cup sliced strawberries
1 large banana, halved and sliced thin
1/4 cup chopped nuts
1/4 cup chopped sweetened dried cranberries or cherries
1/4 cup golden raisins
1 6-oz container Greek yogurt (I used pineapple Chobani)
1/4 cup orange juice
2 tablespoons honey and additional milk and , if needed
Freshly grated nutmeg or ground cinnamon

Preparation
1. Combine oats, chia and milk in a medium bowl. Cover and refrigerate overnight (or at the very least few hours).
2. Either prepare the toppings the previous night (saves time in the morning) or in the morning.
3. In the morning, remove the muesli bowl from the refrigerator. Add the Greek yogurt, orange juice, honey and additional milk, if needed and stir well.
4. Stir in grated apples, dried cranberries and golden raisins.
5. Layer like a parfait with bananas and strawberries and finish with chopped nuts and a sprinkling of nutmeg or cinnamon.

Minty Avocado Brownie

20140303_154707[1]

It’s March! And that usually is characterized by GREEN!

From Facebook posts, it is quite clear people are already enjoying their minty Shamrock shakes! So, when the thought for brownies came about, I wanted to combine chocolate and mint, but in a healthier unison! Avocados anyone?


20140303_143058[1] In many ways, I guess a good ripe avocado is nature’s butter! Or creamy milk substitute (gosh, can’t wait to try an avocado ice cream or froyo!). Since I had a perfectly ripe fruit tempting me to transform it into something even more divine than its natural indulgent self, I figured I would try out an avocado brownie recipe that I saw at http://www.kirantarun.com. So, that’s what I did! Avocados have a lot of the good fat – but they do pack some serious calories if you eat too much. This recipe that serves 8 uses one large avocado, so not bad. The only cholesterol that is in this recipe comes from a single egg used.

Also, I replaced wheat flour with all purpose flour and ground flax. The end result was a very moist, soft, “choco-minty” brownie that prompted calls for seconds! Next time, I would like to add some chopped nuts (pistachios sound good) to add a bit of textural element. All in all, I think you will not be disappointed in this recipe. In fact you will probably have this as your go-to recipe when you run out of mint-chocolate chip ice cream! This is one of those recipes that definitely needs to find a place in the “guilt free indulgence” category!

20140303_144225[1]  20140303_144911[1]  20140303_145210[1]

Minty Avocado Brownie

  • Servings: 8
  • Print

Ingredients
1 large ripe avocado
1/2 cup minus 2 heaping tablespoons all purpose flour
2 heaping tablespoons ground flax
pinch of salt
1/4 teaspoon baking soda
3 heaping tablespoons Dutch process cocoa
1 egg, very lightly beaten
1 teaspoon instant espresso powder dissolved in 1 tablespoon warm water
1/2 teaspoon mint extract
2 tablespoons chocolate chips, optional
2 tablespoons chopped nuts, optional

Preparation
1. Preheat oven to 350F.
2. Mash avocado until quite smooth in a medium bowl.
3. To this, add lightly beaten egg, mint extract and espresso mixture.
4. In a separate bowl, mix well the dry ingredients except chocolate chips and nuts.
5. Gently fold in the dry ingredients into the avocado mixture.
6. Stir in chocolate chips and nuts, if used.
7. Scoop batter into a small loaf pan sprayed with nonstick cooking spray. Level with a knife or back of spoon.
8. Bake for about 25 minutes, till center tests done (toothpick test).
9. Cool in refrigerator and cut into eight squares, about 2″ wide.

Jamaican Style Meat Curry

20140302_193633[1]Mutton, although not as common in the United States, is a shining star in Southeast Asian nations as well as Africa and Caribbean Islands. Mutton curry was/is at least a weekly occurrence in most households in Sri Lanka. Sri Lankan mutton, as in India and other southeast Asian  countries, is predominantly derived from goats rather than sheep. Personally mutton from goats tastes leaner than that from sheep. Sheep meat tends to taste a bit gamey – not my first preference by any means. Another note about mutton that you might already know is that it is a red meat. Darn it!

I don’t cook mutton often – few times a year tops! This way we can really relish a good mutton curry every once in a while without risking our lipid panels too much! 🙂 Mutton is one of those things we love but can go for months without missing it! It works out well!

20140303_142603[1]

So, when I came across some mutton at the local grocery store, I bought it on impulse. I think this was the 3rd purchase of mutton in almost 9 months –  not bad eh! Then my recent interest in African and Caribbean cuisines took the better of me and I grabbed a cellophane wrapped package of habaneros in different hues. Oh, what potent fiery bombs are those little guys! I wonder what those lovely Jamaican and African ladies do with the multiple packages of peppers they pile in their shopping carts! Perhaps I will ask one of them during my next shopping trip!

So, this recipe is a deviation from how I would normally prepare mutton. This uses a good amount of curry powder, dash of cayenne and as many habaneros as you can handle while consuming the curry and afterwards! In my case, I tried two peppers for about slight over a pound of meat and ended up scooping out one in the middle of cooking. The other one that was left still made the curry super spicy – and I know spicy, so please be warned! Just an FYI, I used the seeds and all!

20140302_175848[1]  20140302_181312[1]  20140302_181630[1]

The resulting curry, simmered in wonderfully spiced, fiery, coconut-based gravy was rich and saucy – just the right dish to go with a small serving of white or brown rice or a piece of flat bread. Enjoy!

20140302_190941[1]

Jamaican Style Meat Curry

  • Servings: 4-5
  • Print

Ingredients
1 1/4 lbs of mutton or chicken pices cut into 2 to 2 1/2 inch pieces
2 tablespoons oil plus extra tablespoon of oil
1 1/2 tablespoon Jamaican* curry powder plus 1 tablespoon
1 – 2 habanero peppers halved (be very careful handling these. Remove seeds if you don’t want your curry very spicy)
A spring of curry leaves or 2 bay leaves
1/2 cup of diced onions
3 large cloves of garlic, minced
1/2 inch piece of ginger, minced
1/2 teaspoon cayenne
1/4 teaspoon of turmeric
1 teaspoon salt
1/2 cup light coconut milk
3/4 cup canned tomato sauce or crushed tomato2 large Yukon gold potatoes, cut into 2″ chunks (optional)

Preparation
1. Heat 2 tablespoons of oil in a wok or heavy bottomed pan and add 2 tablespoons of curry powder.
2. Brown the mutton pieces in the curry powder spiced oil. Remove to a plate and keep aside.
3. Heat the additional tablespoon of oil in the same pan. Add onion, ginger, garlic, curry leaves, cayenne, additional tablespoon of curry powder, salt, turmeric and habanero. Stir fry for 3-5 minutes under medium heat till onion starts to brown.
4. Add the browned meat pieces, tomato sauce and coconut milk and simmer under low medium heat for about an hour. Check after 3o minutes and adjust salt.
5. If using potatoes, add them in the last 20 minutes of cooking.6. At the end of the cooking time, skim and remove any fat that collects on the top of the gravy.
7. Serve with brown or white rice or roti and sliced cucumbers, tomato and plain yogurt.

* If you don’t have Jamaican curry powder on hand (I didn’t either), use equal amount of Madras curry powder with a 1/4-1/2 teaspoon of ground allspice.

Crispy and Healthy Pizza

20140301_191550[1]

I like pizza. I don’t know if I love it, but I certainly enjoy it every now and then. Having said that, anytime someone suggests a carryout pizza, I am usually not keen with the choice. I just don’t feel good about chomping down on a slice of a typical carryout pizza – with a massive crust made with all white flour, tons of cheese (I wonder if it is all 100% dairy based), so-so sauce and a smattering of toppings that you may or may not really care for – leave alone worry about the calories! So, that pretty much leaves me with wanting (and in a peculiar way, longing) to make home-made pizza that not only tastes good but better for you!

20140301_152742[1]              20140301_153049[1]

I like to try out different recipes for the crust, preferring to use a combo of flours. This recipe, to everyone’s delight, turned out to be soooo good – crispy and chewy with a nutty note. I wish I had some whole wheat flour on hand to replace some of the all-purpose flour with (what a crime!). Next time! Anyway, if you are the type that loves this type of crust, forget about the Chicago-style deep dish crust, and give this one a try. I think your body will thank for it as well! 🙂

20140301_185349[1]  20140301_185918[1] 20140301_191133[1]  20140301_191126[1]

Crispy and Healthy Pizza

  • Servings: 6
  • Print

INGREDIENTS

Pizza crust
2 1/4 cups all purpose flour (replace some of the white flour with whole wheat if you would like)
1/2 cup soy flour
1/4 cup ground flax
1 teaspoon fine sea salt
1 packet active dry yeast
1 teaspoon sugar
1 cup warm water
2 tablespoons olive oil
2 tablespoon wheat bran
1 tablespoon olive oil

Pizza toppings
1 cup pizza sauce
1/2 – 2/3 cup part-skim mozzarella (for one pizza)
1/2 -2/3 cup sliced fresh mozzarella (for other pizza)
1/2 cup diced chicken breast
1/2 cup diced green peppers
1 cup broiled or sautéed broccoli florets
1/4 cup finely chopped green onions
2 slices of cooked bacon slices, crumbled

Preparation
1. Mix all purpose flour, soy flour, ground flax, salt, yeast and sugar in a stand mixer or a large bowl (I went with the bowl this time around).
2. Add the olive oil, followed by warm water in a slow stream and mix to form a dough.
3. If the dough is too sticky, add a tablespoon of all-purpose or whole wheat flour. If it is too dry, add a tablespoon of warm water.
4. Knead the dough for 5-10 minutes to make a smooth dough.
5. Coat a large bowl with the additional tablespoon of olive oil. Place the dough ball there and toss to coat with oil.
6. Cover with a damp kitchen towel and leave in a warm, drought-free spot till the dough doubles in size.
7. When ready to prepare the pizza, preheat oven to 500F.
8. Punch down the dough and divide into two parts.
9. Sprinkle a cookie sheet or pizza stone with wheat bran (or cornmeal if you prefer) and flatten one part of dough to a thin crust, about 1/4 inch thick. You can flatten using the tips of your fingers. Repeat with the other part of the dough.
10. Bake the crust for about 7 minutes. Remove from oven.
11. Spread about 1/2 cup of pizza sauce of your preference. Sprinkle with part-skim mozzarella cheese or sliced fresh mozzarella. Follow with toppings of your choice. I used a combination of broiled broccoli, green peppers, baby bella mushrooms, green onions, diced cooked chicken breast and bit of cooked and crumbled center-cut bacon.
12. Bake the pizza till cheese melts and toppings (fresh veggies and pre-cooked meats) are heated through (about 5-7 minutes).