African continent, the Middle East, Indian subcontinent and Sri Lanka (other South East nations) all incorporate similar spices in various combinations to produce dishes with distinct flavor and taste! Most commonly used spices include cinnamon, cloves, cardamom, coriander, cumin, paprika, cayenne and turmeric. If you are an enthusiast of these cuisines, you would have noticed that whereas one dish might have a more pronounced taste of cinnamon, another might have hints of the different spices peeking through.


African cuisine, as in other continents, differs widely across the continent in their use of spices, herbs and other seasoning including use of hot peppers for amped up heat. Moroccan food utilizes a blend of cardamom, cloves, cinnamon, paprika, coriander, cumin, nutmeg, peppercorn and turmeric (as in Ras el Hanout blend). It results in a well-seasoned meat or poultry dish that is not typically spicy (as in heat).


This dish is the result of wanting to infuse strong, yet enjoyable flavors into an otherwise, bland cut of chicken. I have been kind of staying away from the typical Indian/Sri Lankan curry flavors to try other exciting flavor combinations, and African flavors seemed to resonate with me this time around. After a quick inventory of spices on hand, I settled for a Moroccan inspired dish.


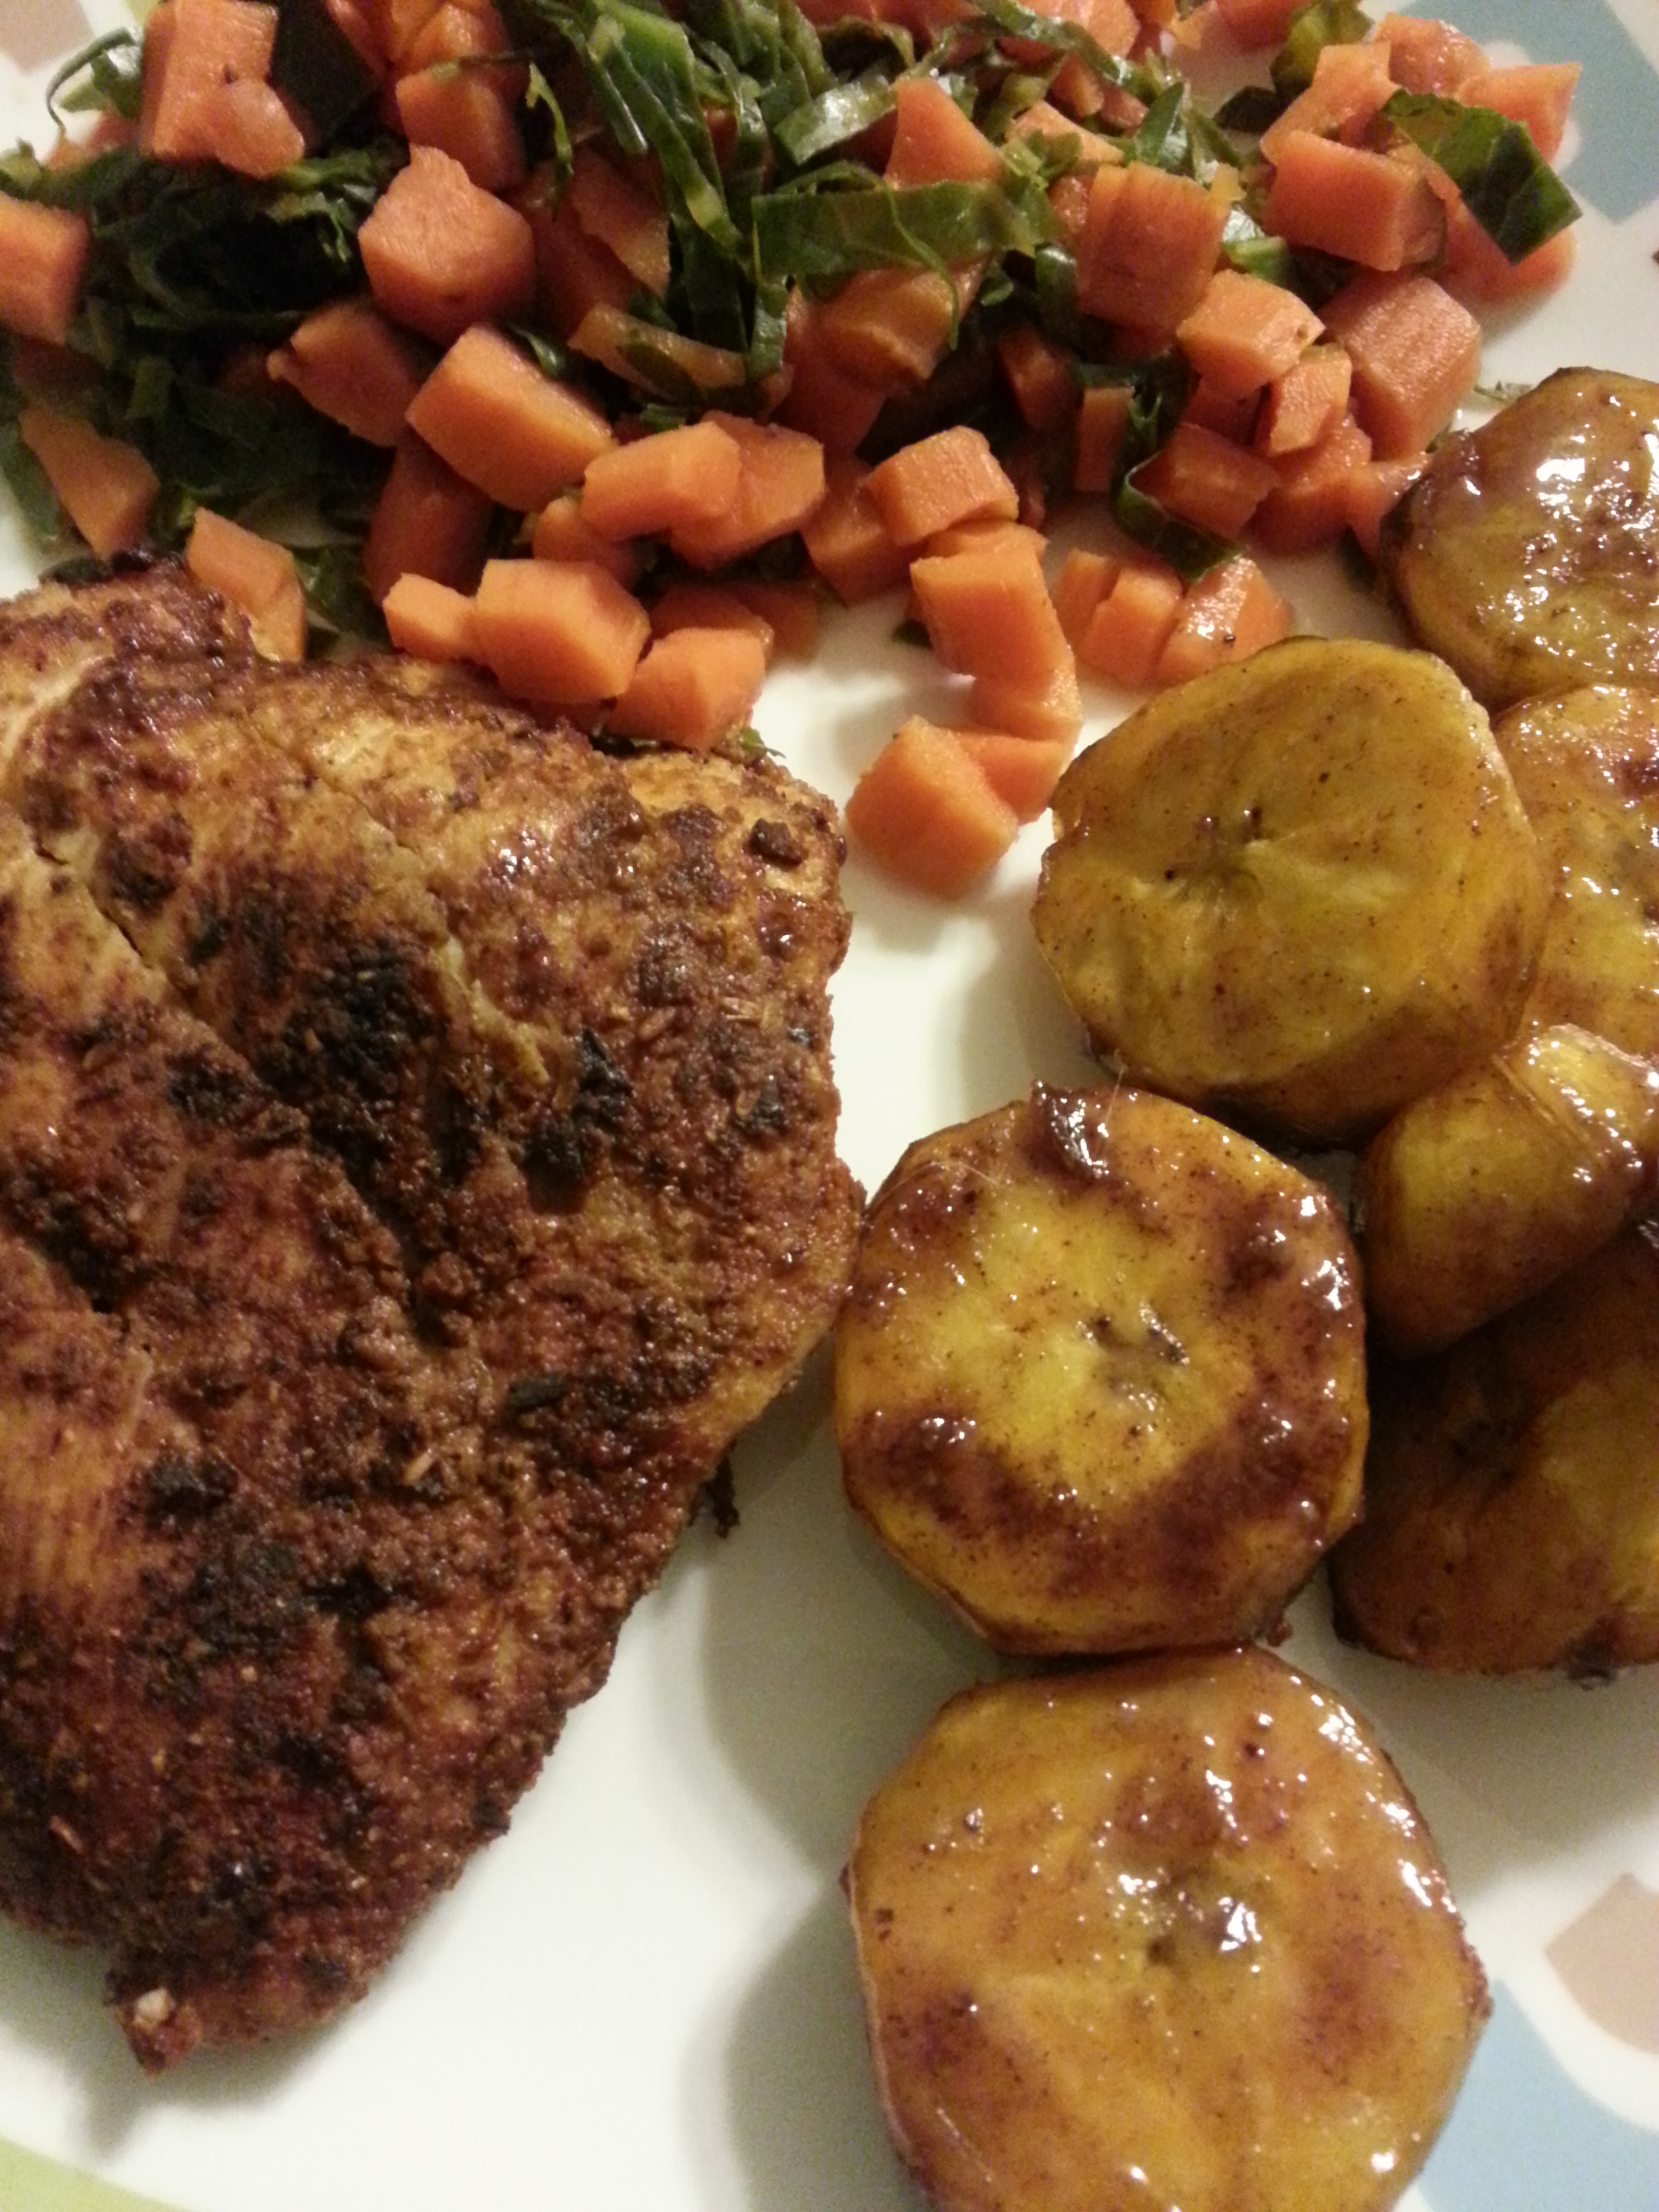
Moroccan Spiced Chicken Breasts with Caramelized Plantains
Ingredients
For chicken:
4 small chicken breasts, about 1 ½ pounds total
2 tablespoons coriander seeds
½ teaspoon cumin seeds
2” piece cinnamon
¼ teaspoon black peppercorns
1 tablespoon paprika
½ teaspoon cayenne
½ teaspoon fine sea salt
1 tablespoon canola oil (or nonstick cooking spray)
For sautéed banana:
2 large ripe plantains*
¼ teaspoon ground cinnamon
¼ teaspoon turmeric
¼ teaspoon sea salt
¼ teaspoon cayenne
2 tablespoons butter
2 tablespoons dark brown sugar
Preparation
- Begin by roasting the dry spices. In a small pan, dry roast coriander seeds, cumin seeds, cinnamon stick and peppercorns till they are lightly toasted taking care not to burn them. This should take about 3 minutes under medium low heat.
- Using a spice grinder or mortar and pestle, grind the toasted spices to a fine powder consistency. Combine with paprika, salt and cayenne and blend well.
- Wash and dry chicken breasts and sprinkle the spice mixture liberally on both sides. Cover and keep aside while you prepare the banana.
- Peel the plantains and slice into ¼” slices or bigger.
- Melt butter in a large skillet and sauté plantain slices under medium low heat for about 3-5 minutes. Turn them over.
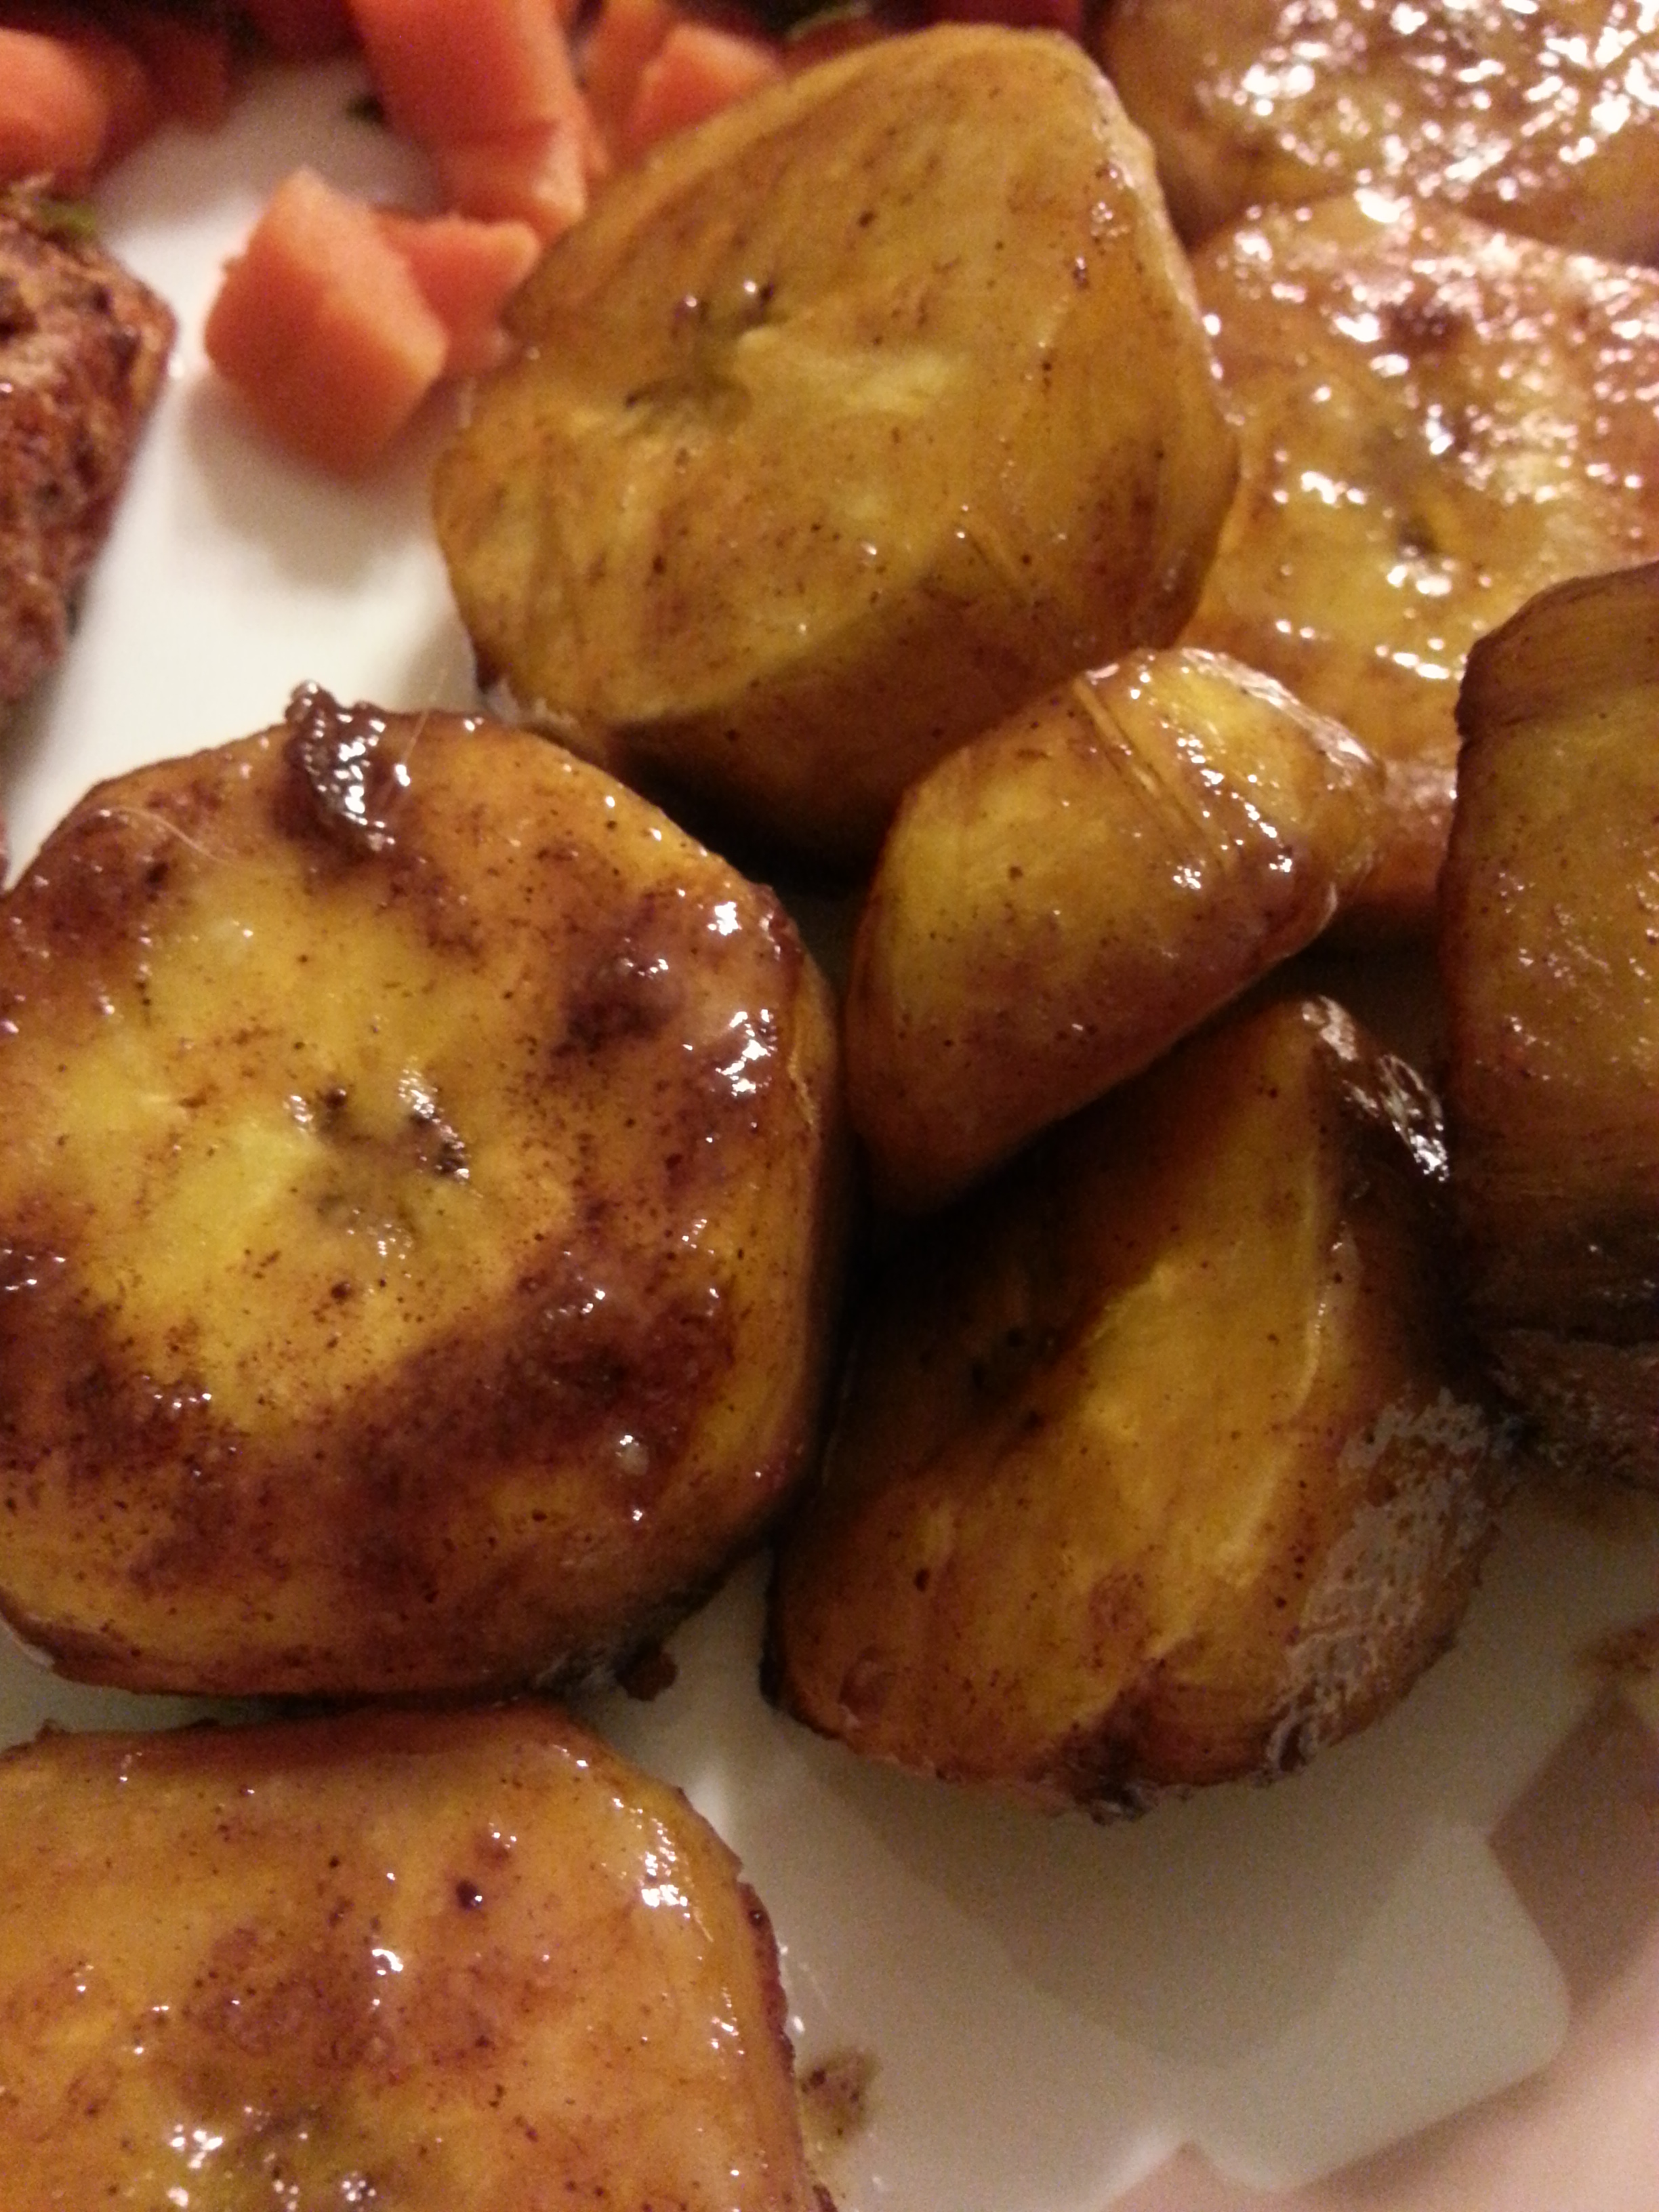
- Sprinkle the plantains with cinnamon, salt, turmeric and cayenne and continue cooking for another 5 minutes. Plantains should now look caramelized.
- Transfer to a plate and keep covered while you prepare the chicken.
- Heat the oil in a large skillet or grill pan. Conversely, spray the pan with cooking spray.
- When hot, add the chicken breasts and cook covered for about 4-6 minutes on each side till the meat is cooked through. One way to test is to cut through the breast in the thickest part. Meat should look cooked through and juices should run clear. Another option is to use the meat thermometer.
- Serve the chicken with sautéed plantains and a vegetable of your choice (I served mine with carrots and shredded kale, cooked with a little bit of water till both vegetables turned tender).
- NOTE about plantains – Plantains will turn yellow and may even have black spots all over when they turn really ripe and sweet. In less ripe form, they have starchy taste and flavor rather than sweet and fruity.