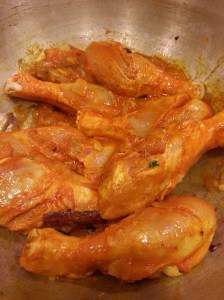
Spicy Chili Chicken

Honestly, no matter how hard I try to eat healthy food, there comes a time (more often than I would like) when I just crave the comfort of something spicy, yummy, finger-licking, lip smacking good, yet come with a not so healthy label. One of those dishes is chili chicken.

cc4

I am sure there are as many variations of the dish as there are cooks and kitchens. So, this recipe is of course an original concocted in my kitchen, and enjoyed my many.

(Disclaimer: I did not intend to really post this recipe, so I did not take too many pictures! Talking about pictures, I need to “grow” some patience to fiddle with the settings on my Galaxy or use an actual camera! One of these days! Anyway, the taste and flavor profile of the dish convinced me to take couple of quick pictures to actually post this recipe!)
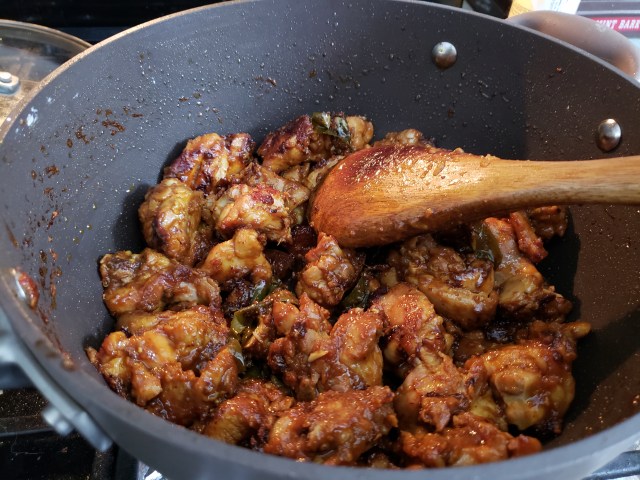
cc1

This dish, unlike some other recipes you might have seen online is very straightforward. Ingredients are just chicken, few basic spices, lots of cayenne powder, a splash of apple cider vinegar and a coating of Thai sweet soy sauce. That’s it guys! So, you ask me what makes this slip from the relatively healthy domain into the not so healthy one…well, it’s kind of the liberal use of oil and cornstarch. You could definitely cut down on the oil and cornstarch or completely eliminate the latter, but the texture will be a bit different. So, I suggest you try the recipe as is the first time and tweak for the subsequent tries – because I know you will want to make it again!
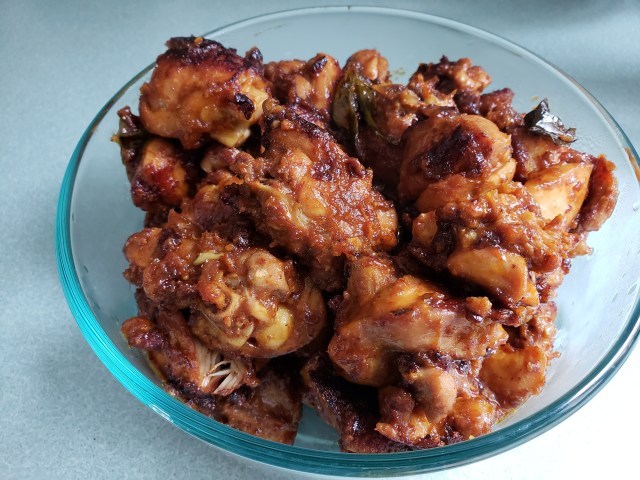
cc2

Spicy Chili Chicken

  • Servings: 4-6
  • Print

Ingredients:
8 chicken thighs, bone in (you can use boneless as well)
1 teaspoon ground turmeric
1 tablespoon curry powder
2 tablespoons ground cayenne (or to taste)
1 teaspoon salt (adjust to taste)
1 tablespoon apple cider vinegar
6 cloves of garlic, minced or grated finely
4-6 Thai chili peppers or other spicy pepper like jalapeno, sliced lengthwise
1 sprig of curry leaves (if available)
3 tablespoons canola or other light flavored oil
3 tablespoons cornstarch
1 – 2 tablespoons sweet Thai soy sauce

Preparation:
1. Remove skin of the chicken, and cut into 4 or 5 pieces. Place in a large bowl.
2. Add all spices, through garlic to the chicken and mix thoroughly to coat. Cover and set aside for 30 minutes.
3. Heat the oil in a large non-stick pan. To this, add the chili and curry leaves, if using. Toss in oil for few seconds.
4. Add the chicken, mix well, cover and cook under high heat for 15 minutes, turning the chicken pieces occasionally.
5. Sprinkle the cornstarch. Mix well to coat.
6. Cover the pan and continue to cook for another 15 minutes, turning occasionally. By now, the chicken pieces will be cooked all the way through and there will not be any liquid remaining. If there is some liquid remaining, remove lid, reduce heat and continue to cook till the all liquid evaporates.
7. Add the soy sauce and toss well. Cook for another 2 minutes.

The chicken can be served as an appetizer (a welcome change from chicken wings) or with steamed rice or noodles and veggies for a complete meal. And, oh, the chicken tastes great cold too.

Sweet and Tangy Turkey Meatballs

20190203_161112
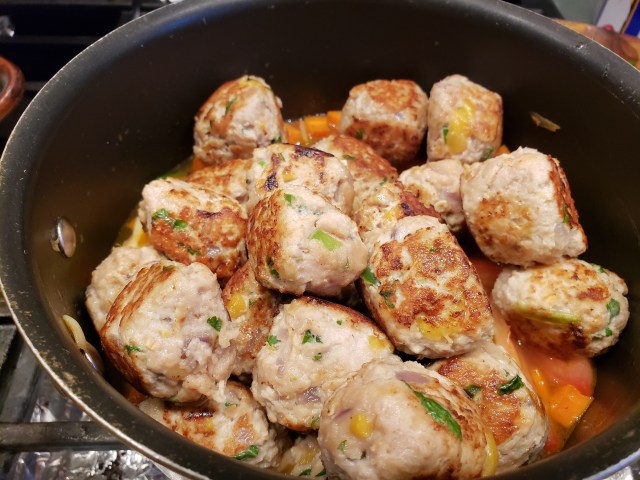
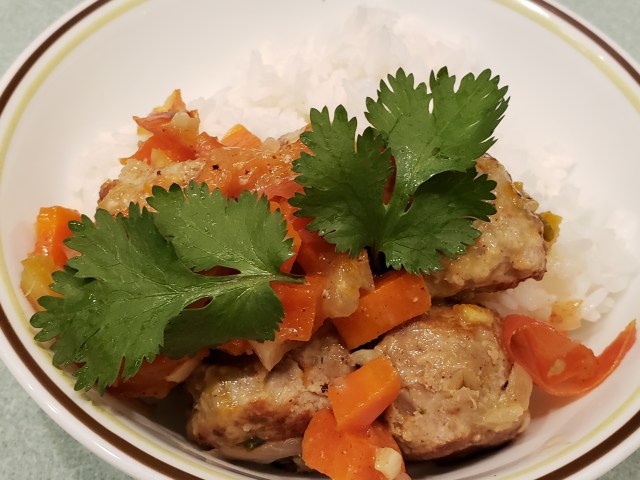
What is it about a blend of tastes – sweet and tangy, sweet and spicy…Flavor combos like these are always extra intriguing to the palette! Such was the inspiration for this dish…healthier ground turkey, seasoned with a blend of spicy jalapeno (mmm…would love to try the recipe with habanero next time around), sweet mango, citrusy note of lemon zest and freshness of cilantro!

This recipe is a nice change from the traditional beef meatballs in red tomato sauce, or if you are a bit more adventurous Swedish meatballs! While you could serve these meatballs as little cocktail bites, mixed with some veggies like carrot and simmered in some liquid, these could also double as a topper for some hot cooked rice or pasta. These would even be great with a side of steamed veggies if you want to go light on the carbs!

20190203_155046

These meatballs are super easy to whip together. Yeah, it takes a bit of a prep – sauteing the onion and peppers, making the meatballs, browning them, and then simmering them in the sauce, but the effort, in my opinion, is worth it! They are very tender and delicious, with just a little note of heat and sweetness.

20190203_180058

Sweet and Tangy Turkey Meatballs

  • Servings: 4-5
  • Print

Ingredients
1 lb lean ground turkey
1 tablespoon oil, additional 2 tablespoons
3 cloves of garlic
1/4 cup of finely chopped red onion
1 jalapeno, finely chopped
1/4 cup old fashioned oats
1/4 cup finely chopped sweet, ripe mango
1 tablespoon lime zest
1-2 tablespoons finely minced cilantro
1/2 teaspoon salt
1 egg, lightly beaten
1/3 cup plain breadcrumbs
1 large carrot, chopped (about 2 cups)
1/3 cup orange marmalade

Preparation:
1. Heat one tablespoon oil in a skillet and saute onion, garlic and jalapeno till golden. Take care not to burn. Add the oatmeal and continue to cook for another 2 minutes.
2. In a medium bowl, combine turkey, sauted mixture from above and all remain ingredients through breadcrumbs.
3. Form into 1″ balls.
4. Heat 2 tablespoons of oil in a large skillet and brown the meatballs on all sides. Remove to a platter. Note that the meatballs will not be cooked all the way through, so please resist the temptation to bite into one (though you will really be tempted!)
5. In a medium sauce pan,add a teaspoon of oil and saute the carrots for 5 minutes. Add 1/2 cup of water and a bit of salt to taste. Stir in the orange marmalade and drop the meatballs into the pan. Gently toss to coat, cover and cook for 15 minutes, till the carrot is tender and sauce is a little thick.
6. Serve the meatball with rice, pasta or steamed veggies.

Oven Roasted Spicy Chickpeas

20181124_182912
I love chickpeas – drained, rinsed and tossed in a variety of salads, transformed into a luscious channa masala curry and so on. While plain chickpeas are easy to drain out of a can onto a salad, roasted chickpeas elevate themselves to another level!

Roasting canned chickpeas may sound like a major undertaking, but it really isn’t. The hardest part is probably breaking away from whatever you are doing every 15 min or so to toss the chickpeas around so they roast evenly.

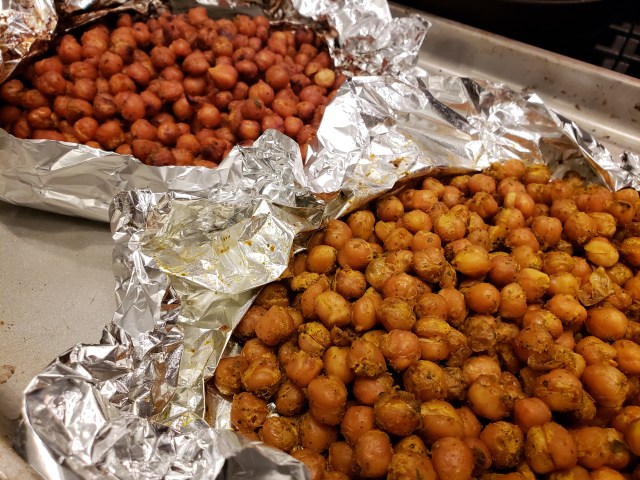
Despite how ridiculously easy this recipe is, the most exciting part is myriad of ways to season the chickpeas. You can literally use whatever flavors, spices or seasoning mix you want. Just choose what your heart desires along with couple of tablespoons of oil for a 29oz can of chickpeas. You can always divide the chickpeas into smaller amounts and use different seasonings – you just need to keep them separate while baking. I used spicy seasoning mixes, and hence these are roasted spicy chickpeas. I baked two batches, one with gochujang (Korean chili paste seasoning) and prepared zhoug sauce (it’s a Mediterranean sauce with cilantro, chili and spices and tastes very similar to Indian cilantro chutney. I bought mine from Trader Joe’s). Both types of roasted chickpeas were pleasantly flavored with very distinct flavor profiles which helps add variety to my salads this week (but geez, with the recall of romaine lettuce and all salad mixes containing romaine, it’s going to be a bit challenging to whip up quick salads. Kale anyone?!)

20181124_182918

Roasted chickpeas won’t really have the same texture as store-bought ones in sealed packages. They tend to have a very crisp, hard texture. These home roasted chickpeas have a bite and are on the chewy side – in my opinion, perfect texture for a salad or snack.

20180805_200928

Oven Roasted Spicy Chickpeas

  • Servings: Each 29oz makes about 6-8 servings
  • Print

Ingredients:

Two 29oz cans chickpeas

Seasoning 1

2 tablespoons zhoug sauce (Trader Joe’s)
1/4 teaspoon cayenne powder
1/4 teaspoon turmeric powder
Salt to taste
1 tablespoon oil (less oil due to the oil in the zhoug sauce)

Seasoning 2

2 tablespoons gochujang paste
2 tablespoons olive oil
Salt to taste
1/2 teaspoon garlic powder

Preparation:
1. Preheat oven to 325F. Line two cookie sheets with parchment and set aside.
2. Drain and rinse chickpeas from the two cans and divide among two medium sized bowls.
3. Add seasoning mix 1 and 2 to the bowls (of course, separately). Toss to coat well.
4. Transfer the chickpeas to the baking trays and bake for 45 to 60 minutes, taking care to check on the chickpeas every 15 minutes.
5. Chickpeas will look and feel dry when done. Remove from oven and let them cool completely. Transfer to airtight containers and refrigerate. It will taste great at least for a week.

Air Fryer Chicken Thighs and Sweet Potato

20181112_193850

I know instant pots are all the rage now. I have heard of people who own these in various sizes! Not me…at least not yet. I haven’t jumped on that bandwagon yet – and even if/when I do, I am quite confident I will not be owning more than one. So, for now, I do own an air fryer (have been for maybe a year now).

You may wonder what I have used it for. In all honesty, my husband has used it more often than I have – and definitely it is not to make anything meal worthy! He has only ever made frozen fries in them. They taste great, but I figured there should be other applications of the gadget than just for crisping up frozen food. So, I started experimenting, first with vegetables seasoned with salt and ever so slightly drizzled with oil. My favorite…eggplant slices and broccoli! Yum! Then, I got to thinking…and googling.

20181112_185717

Damn! You can even make desserts in an air fryer! Wow! Anyway, I wanted to attempt a main dish, and hence was born this chicken and sweet potato recipe.

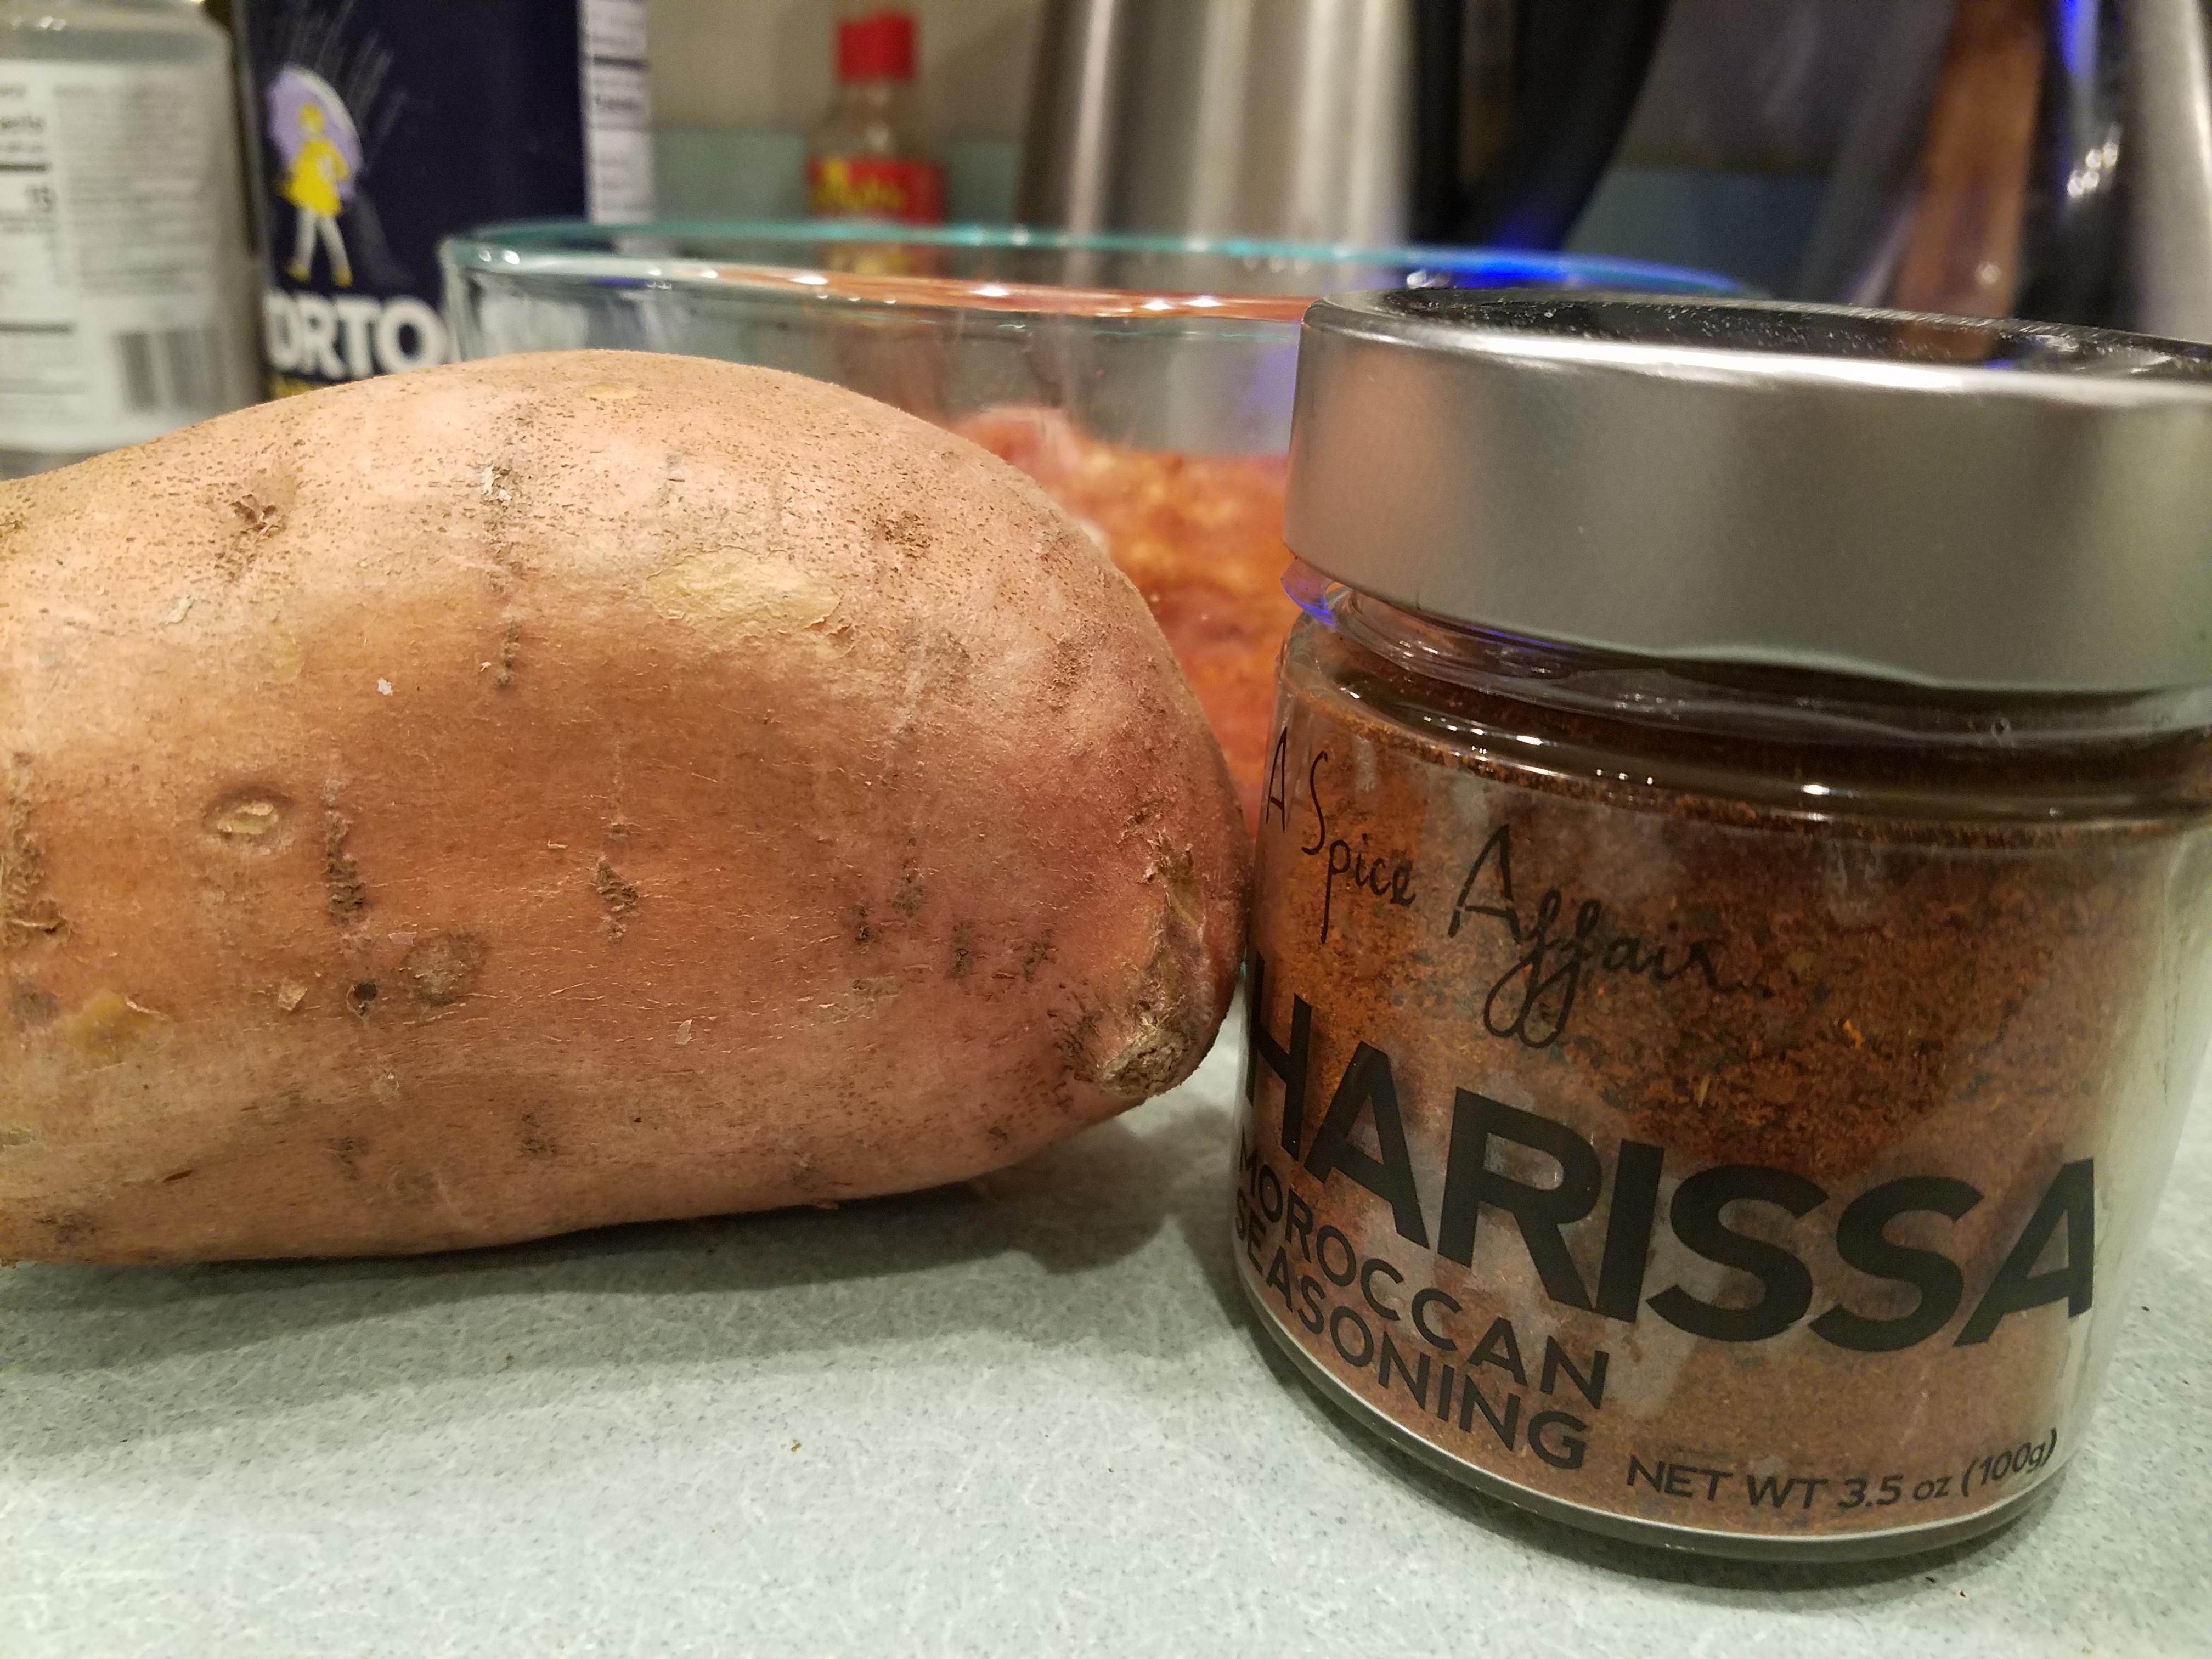
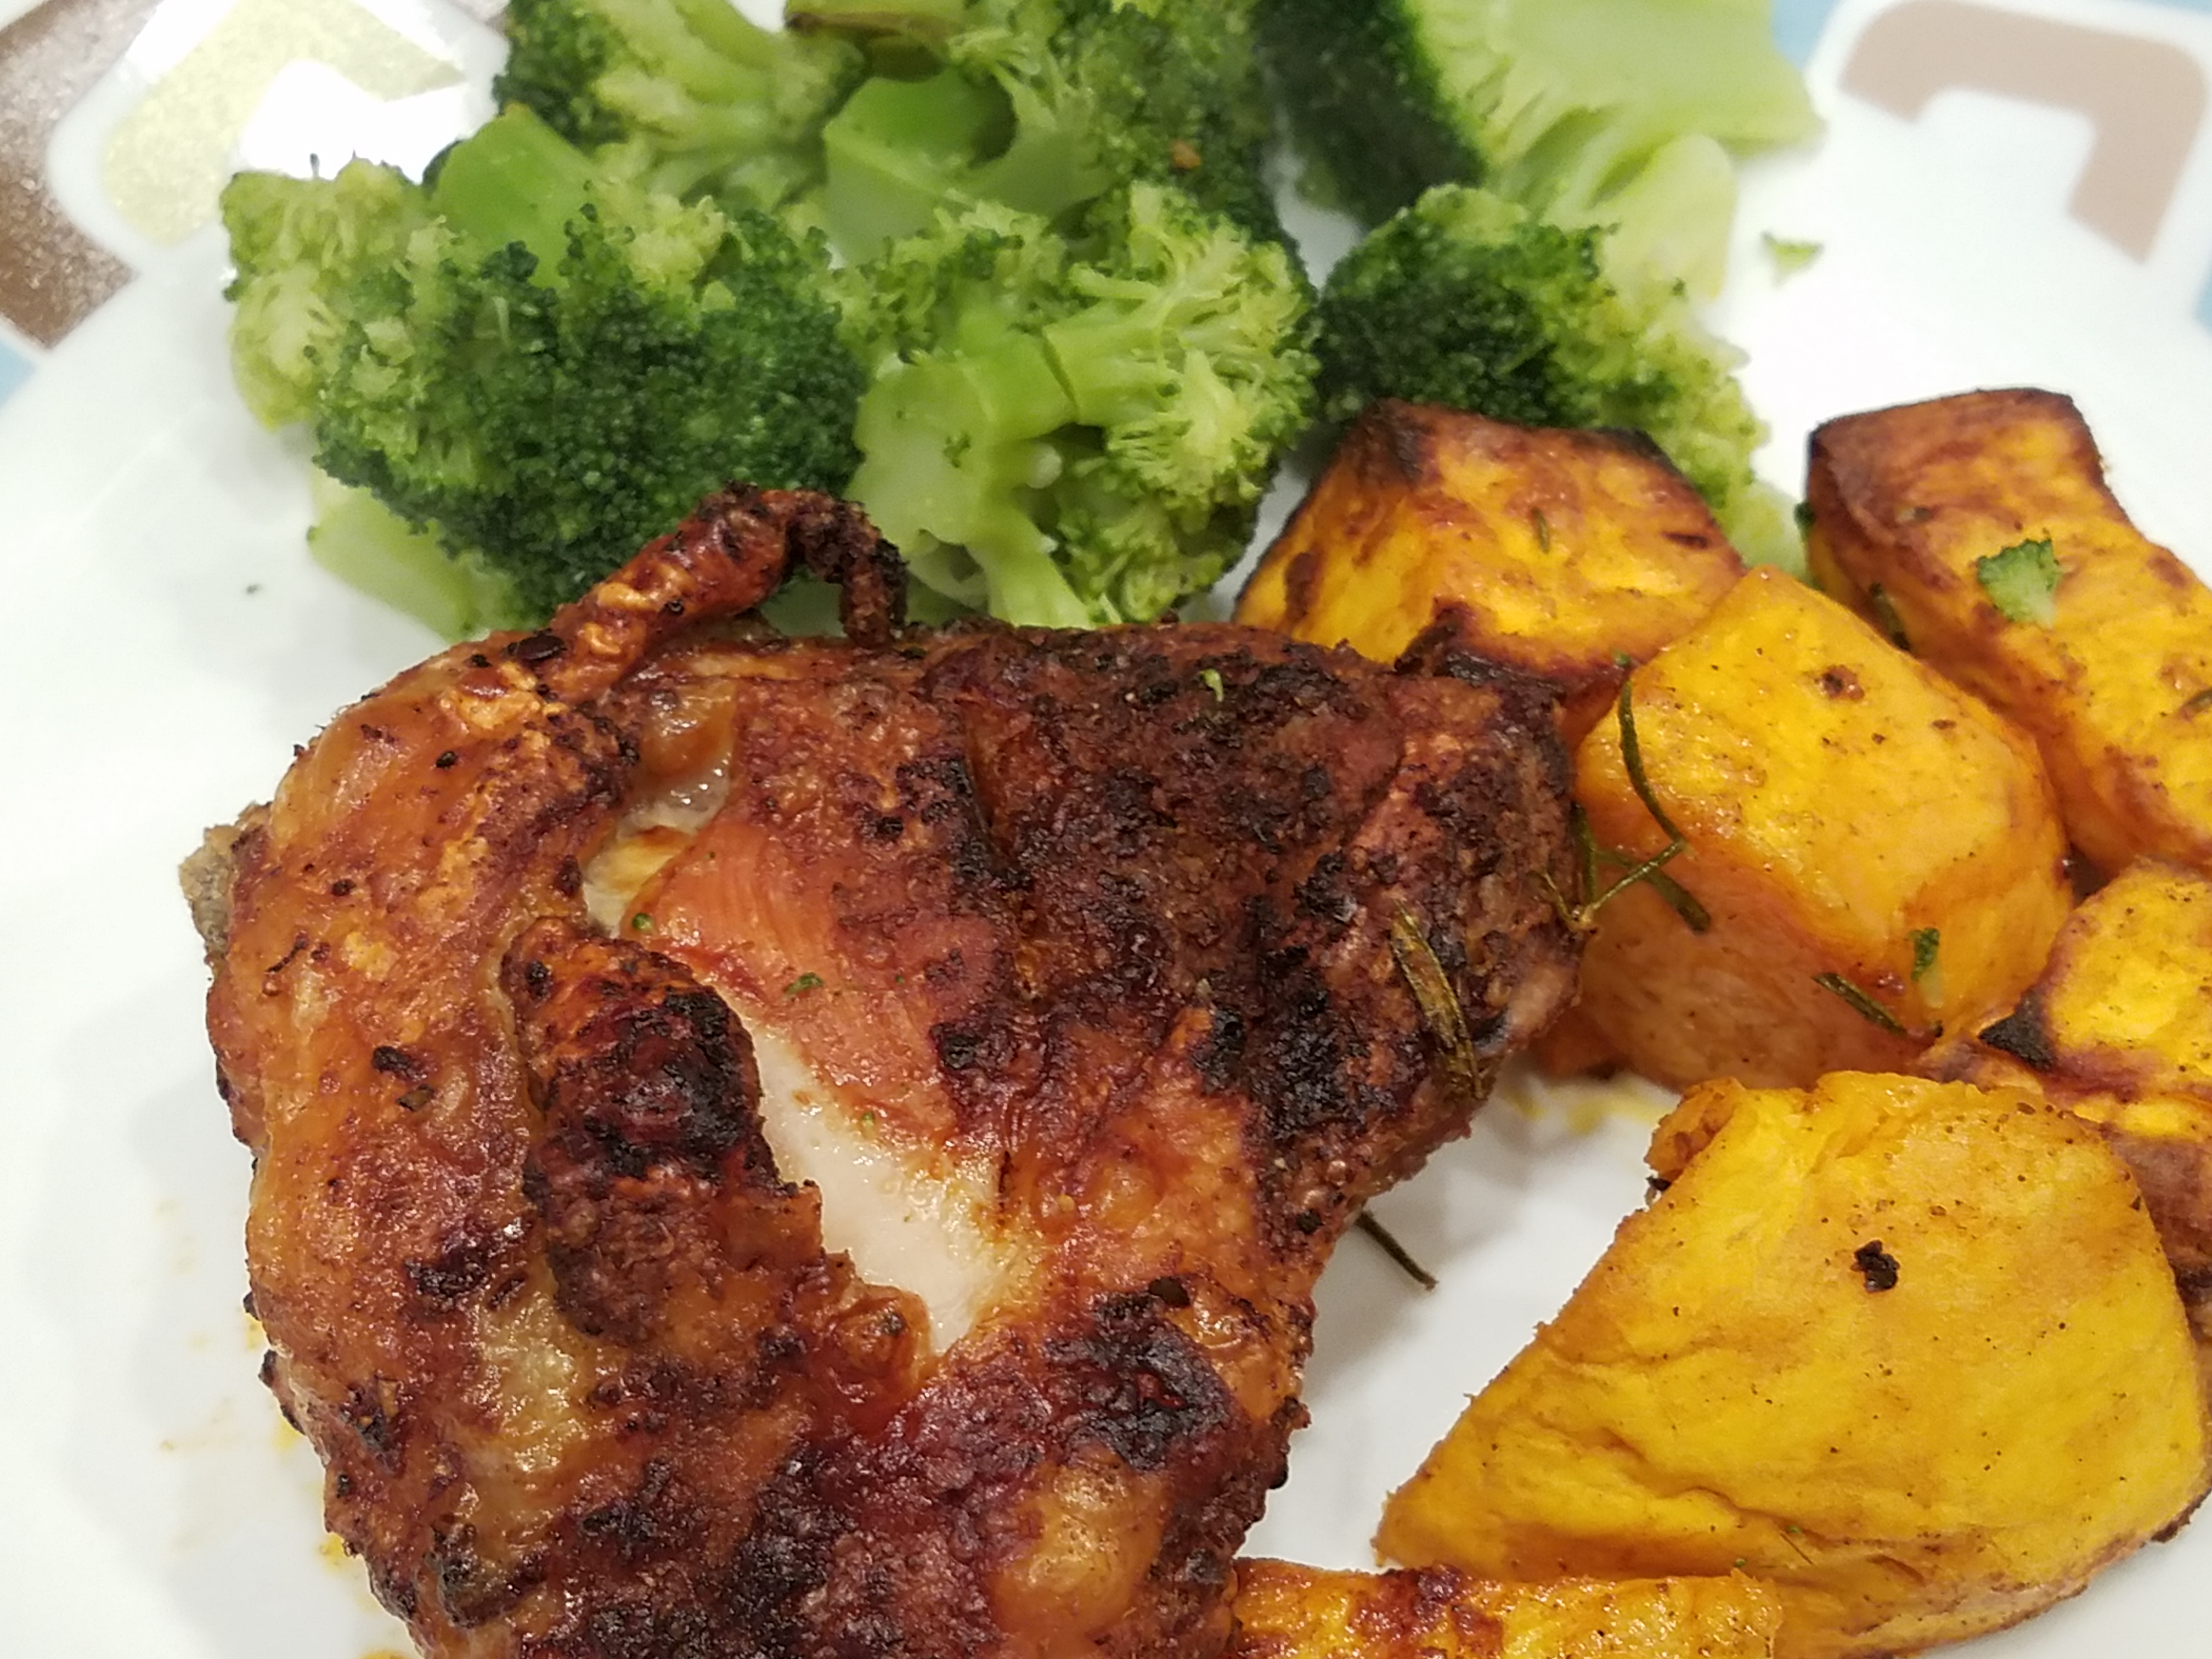
Honestly, you can use any seasoning for the chicken thighs (or drumstick or cut up breast). I happened to stumble upon harissa seasoning at a local TJMaxx (love the store for the interesting finds) and decided to try it. Harissa seasoning has complex spice notes with good amount of heat, so use it according to your taste. I needed to add salt because the bottle I bought did not have any.

After about 30+ minutes in the air fryer, the chicken thighs were super crispy on the outside (thanks to the skin) and juicy and delicious inside. Sweet potato took on a nice flavor from the chicken as well. The best compliment was “Hon, I am sorry, I don’t think I can eat the bone!” So, if you own an airfryer, you have to try this recipe. If not, either buy one or try the recipe in a 450F oven.

20181112_193858

Air Fryer Chicken Thighs with Sweet Potato

  • Servings: 4
  • Print

Ingredients:

4 chicken thighs, excess fat trimmed, but with skin

1 tablespoon plus 1 teaspoon harissa seasoning

1 teaspoon salt, divided

2 medium sweet potato (or regular potato)

2 tablespoons oil, divided

Preparation:

  1. Preheat the air fryer to 375F.
  2. Score the skin side of the chicken thighs deeply with a sharp knife. Season with a blend of 1 tablespoon harissa and 1/2 teaspoon salt (or more to taste). Make sure seasoning gets into the cut slashes. Drizzle both sides with a tablespoon of oil.
  3. Place chicken thighs, skin side down in the air fryer and cook for 10 minutes.
  4. While the chicken is cooking, peel and cut the sweet potato into large chunks, about 1″ wide. Toss with remaining salt, harissa and oil.
  5. Remove the chicken thighs from the fryer and set aside on a plate.
  6. Add the sweet potato to the air fryer and top with the chicken, this time with skin side up.
  7. Cook for another 25 minutes or more till the chicken and sweet potato are cooked through and the top of the chicken is browned and crispy.
  8. Transfer to serving plates and serve with other sides or vegetables for a wholesome, delicious dinner.

Spicy and Tangy Tofu Stir Fry

Hello friends!

I failed yet again at my promise to self to keep up with the blog. Too many roadblocks along the way, but I will at least try to post a new recipe whenever I can.

20170209_114055

So, couple of weeks ago, I tried this truly delicious bean curd stir fry with plenty of veggies coated in a delectable sweet-spicy-tangy sauce. That dish used fried bean curds that were kind of squishy and strangely airy. While I enjoyed every bite, I did feel a little overwhelmed with the amount of sliced onions in it. As I was silently chewing every bite, I tried to make a mental note, no, no, more like a package of memory filled with the taste, smell and texture of each bite. Why you ask? Well, I do that quite often, at least as often as I try a bite of a new dish somewhere that I would like to recreate with my own little twist.

20170209_111738

Today would have been the perfect day to succumb to the comfort of eating that dish for lunch. Alas, we were hit with the biggest snowstorm of the season and the family was home-bound. Even though I had already prepared meals ready to be warmed for lunch, something in me kept nudging me to open the refrigerator and take out the ingredients to whip up some spicy and tangy tofu stir fry.

20170209_113804

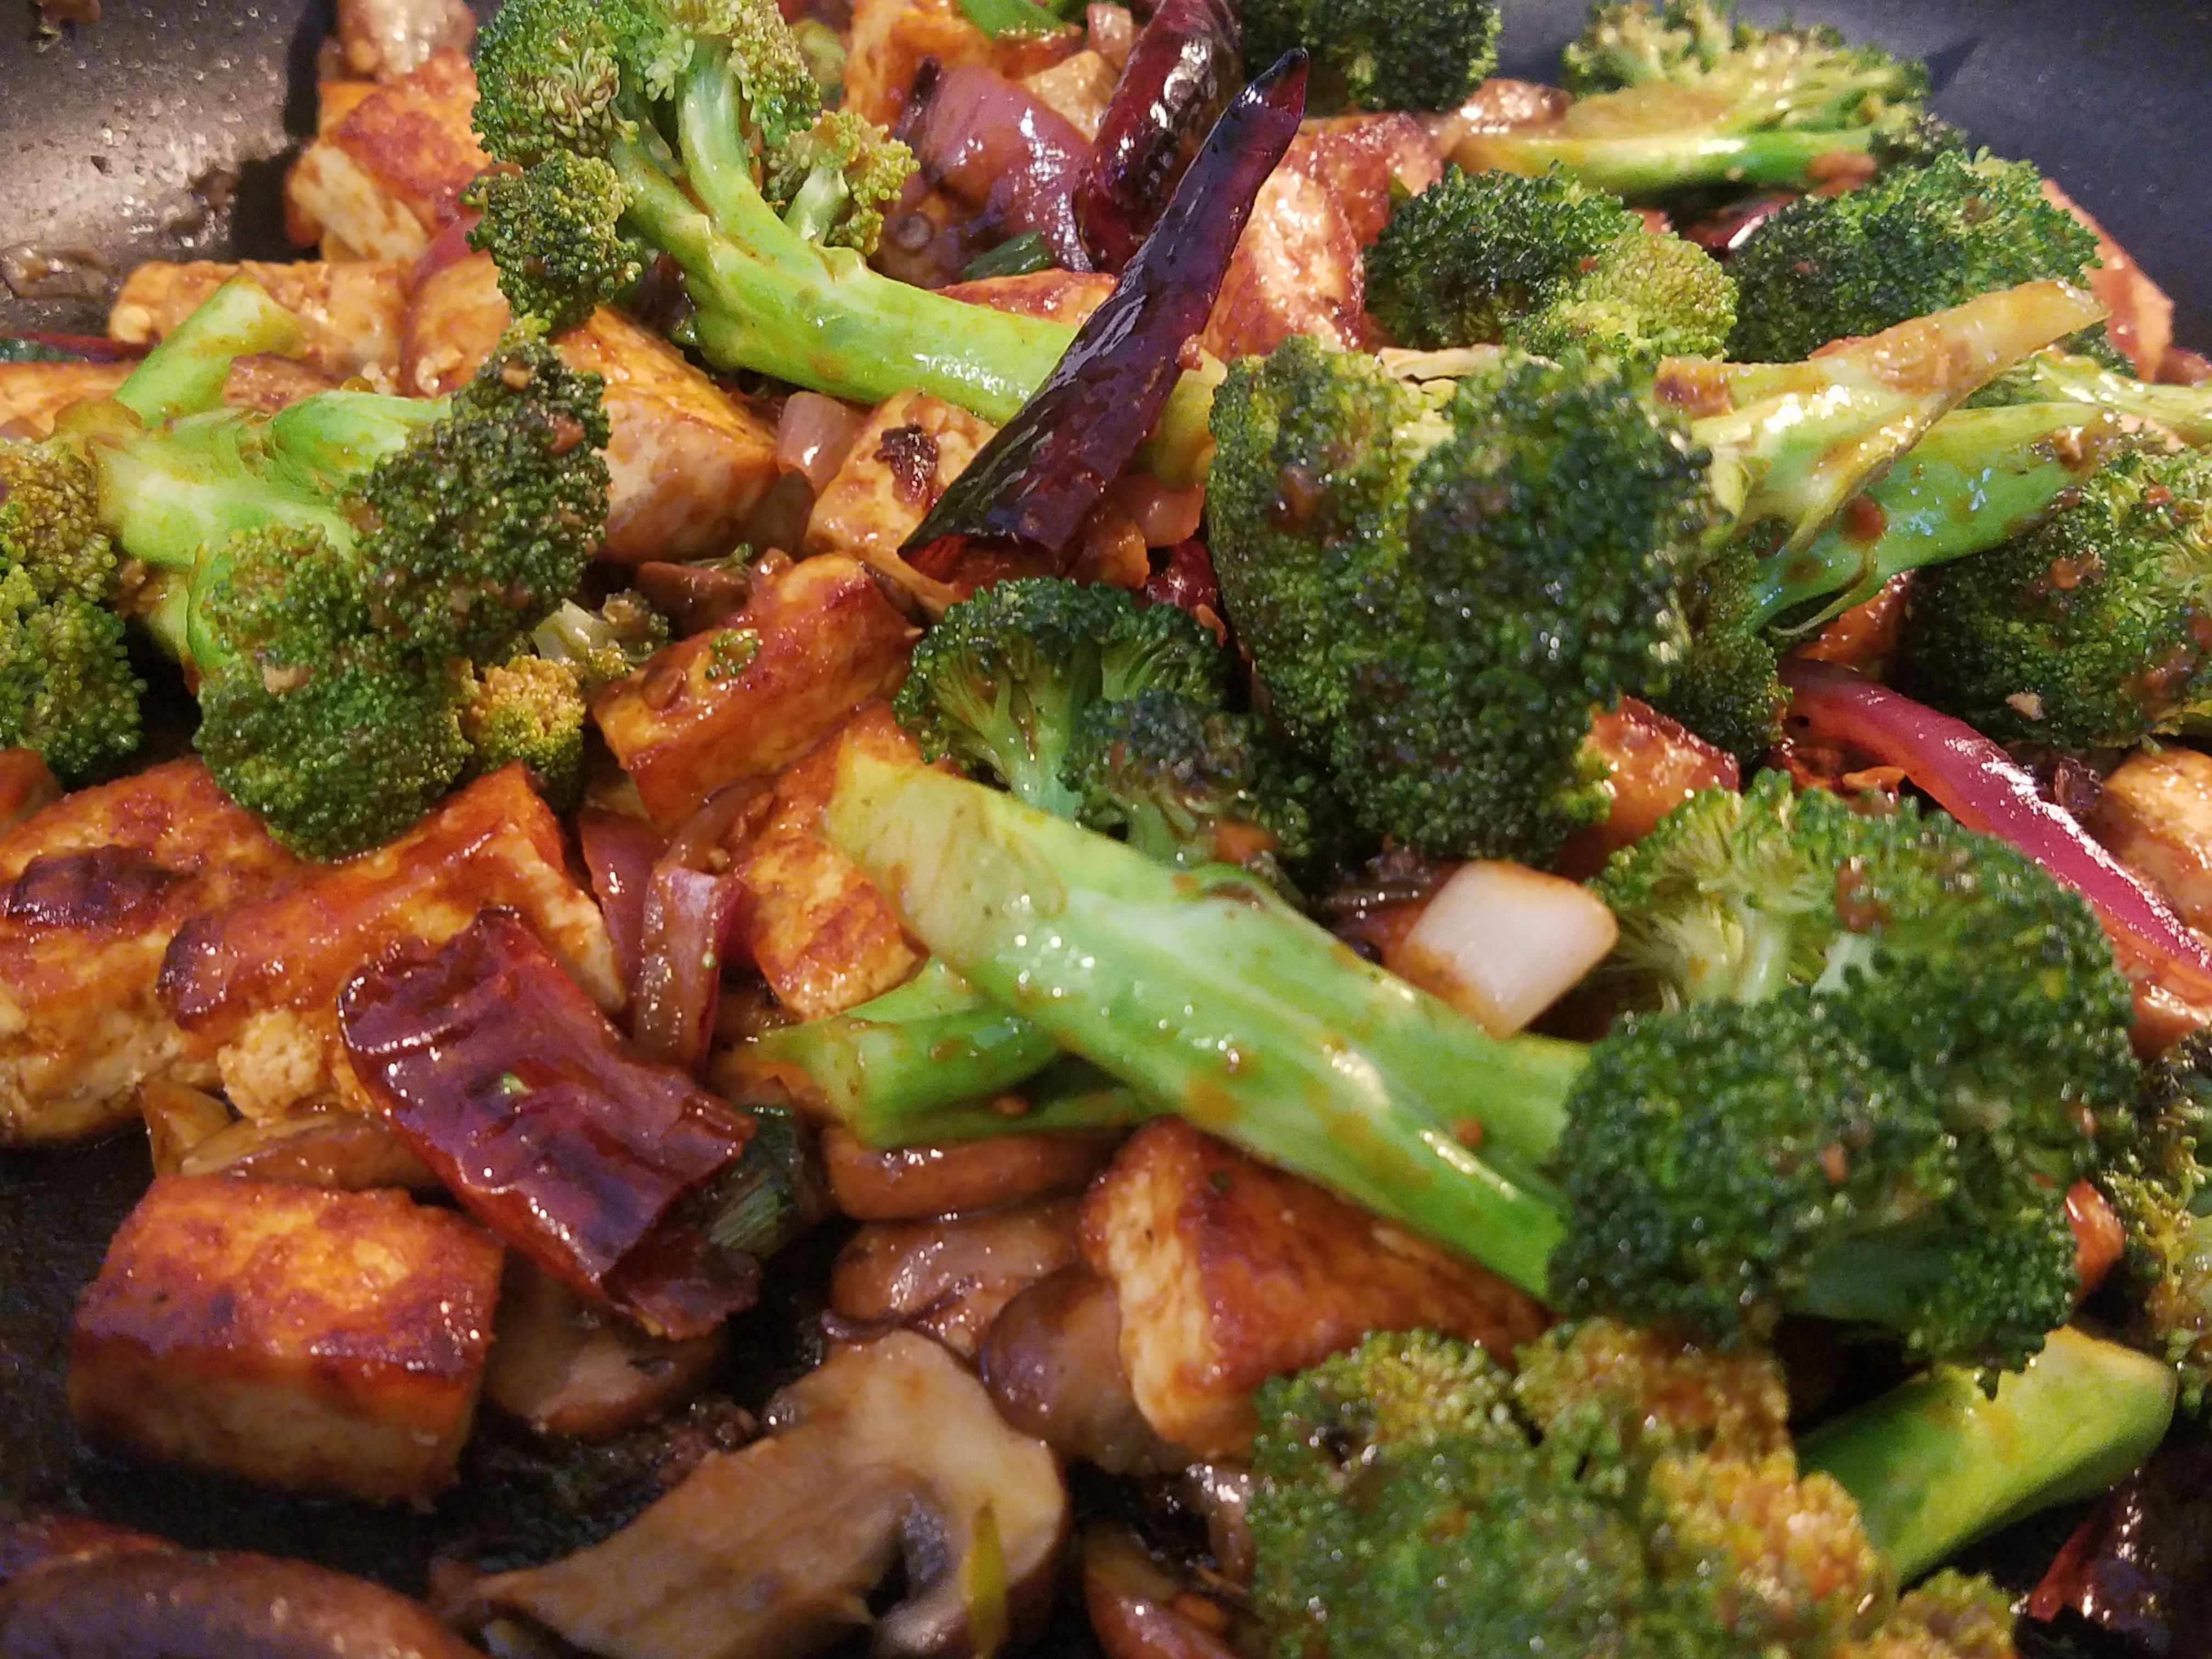
Little bit of this, little bit of that and before I knew it, a super satisfying, flavor-rich tofu dish was born!

20170209_114045

Spicy and Tangy Tofu Stir Fry

  • Servings: 4-6
  • Print

Ingredients
1 Pkg extra-firm tofu
3 tablespoon cornstarch
1 tablespoon Thai red curry paste
1 tablespoon soy sauce
1 tablespoon rice wine vinegar
3 tablespoons finely chopped garlic, divided
3 green onions, green part finely sliced and divided
¼ cup oil
4 oz sliced white or baby bella mushrooms
3 cups broccoli florets
½ cup sliced red onion
Few dried red chillis
Sauce:
2 tablespoons soy sauce
1 tablespoon rice wine vinegar
1 tablespoon Sriracha sauce
1 tablespoon cornstarch

Preparation:
1. Cut tofu into bite size pieces. Toss with cornstarch.
2. Mix the curry paste, soy sauce, rice wine vinegar and garlic. Coat tofu cubes in the sauce and set aside for 10 minutes.
3. While tofu is marinating, prepare the vegetables.
4. Mix the ingredients for the sauce and set aside.
5. Heat a large wok or frying pan over medium high heat and add oil.
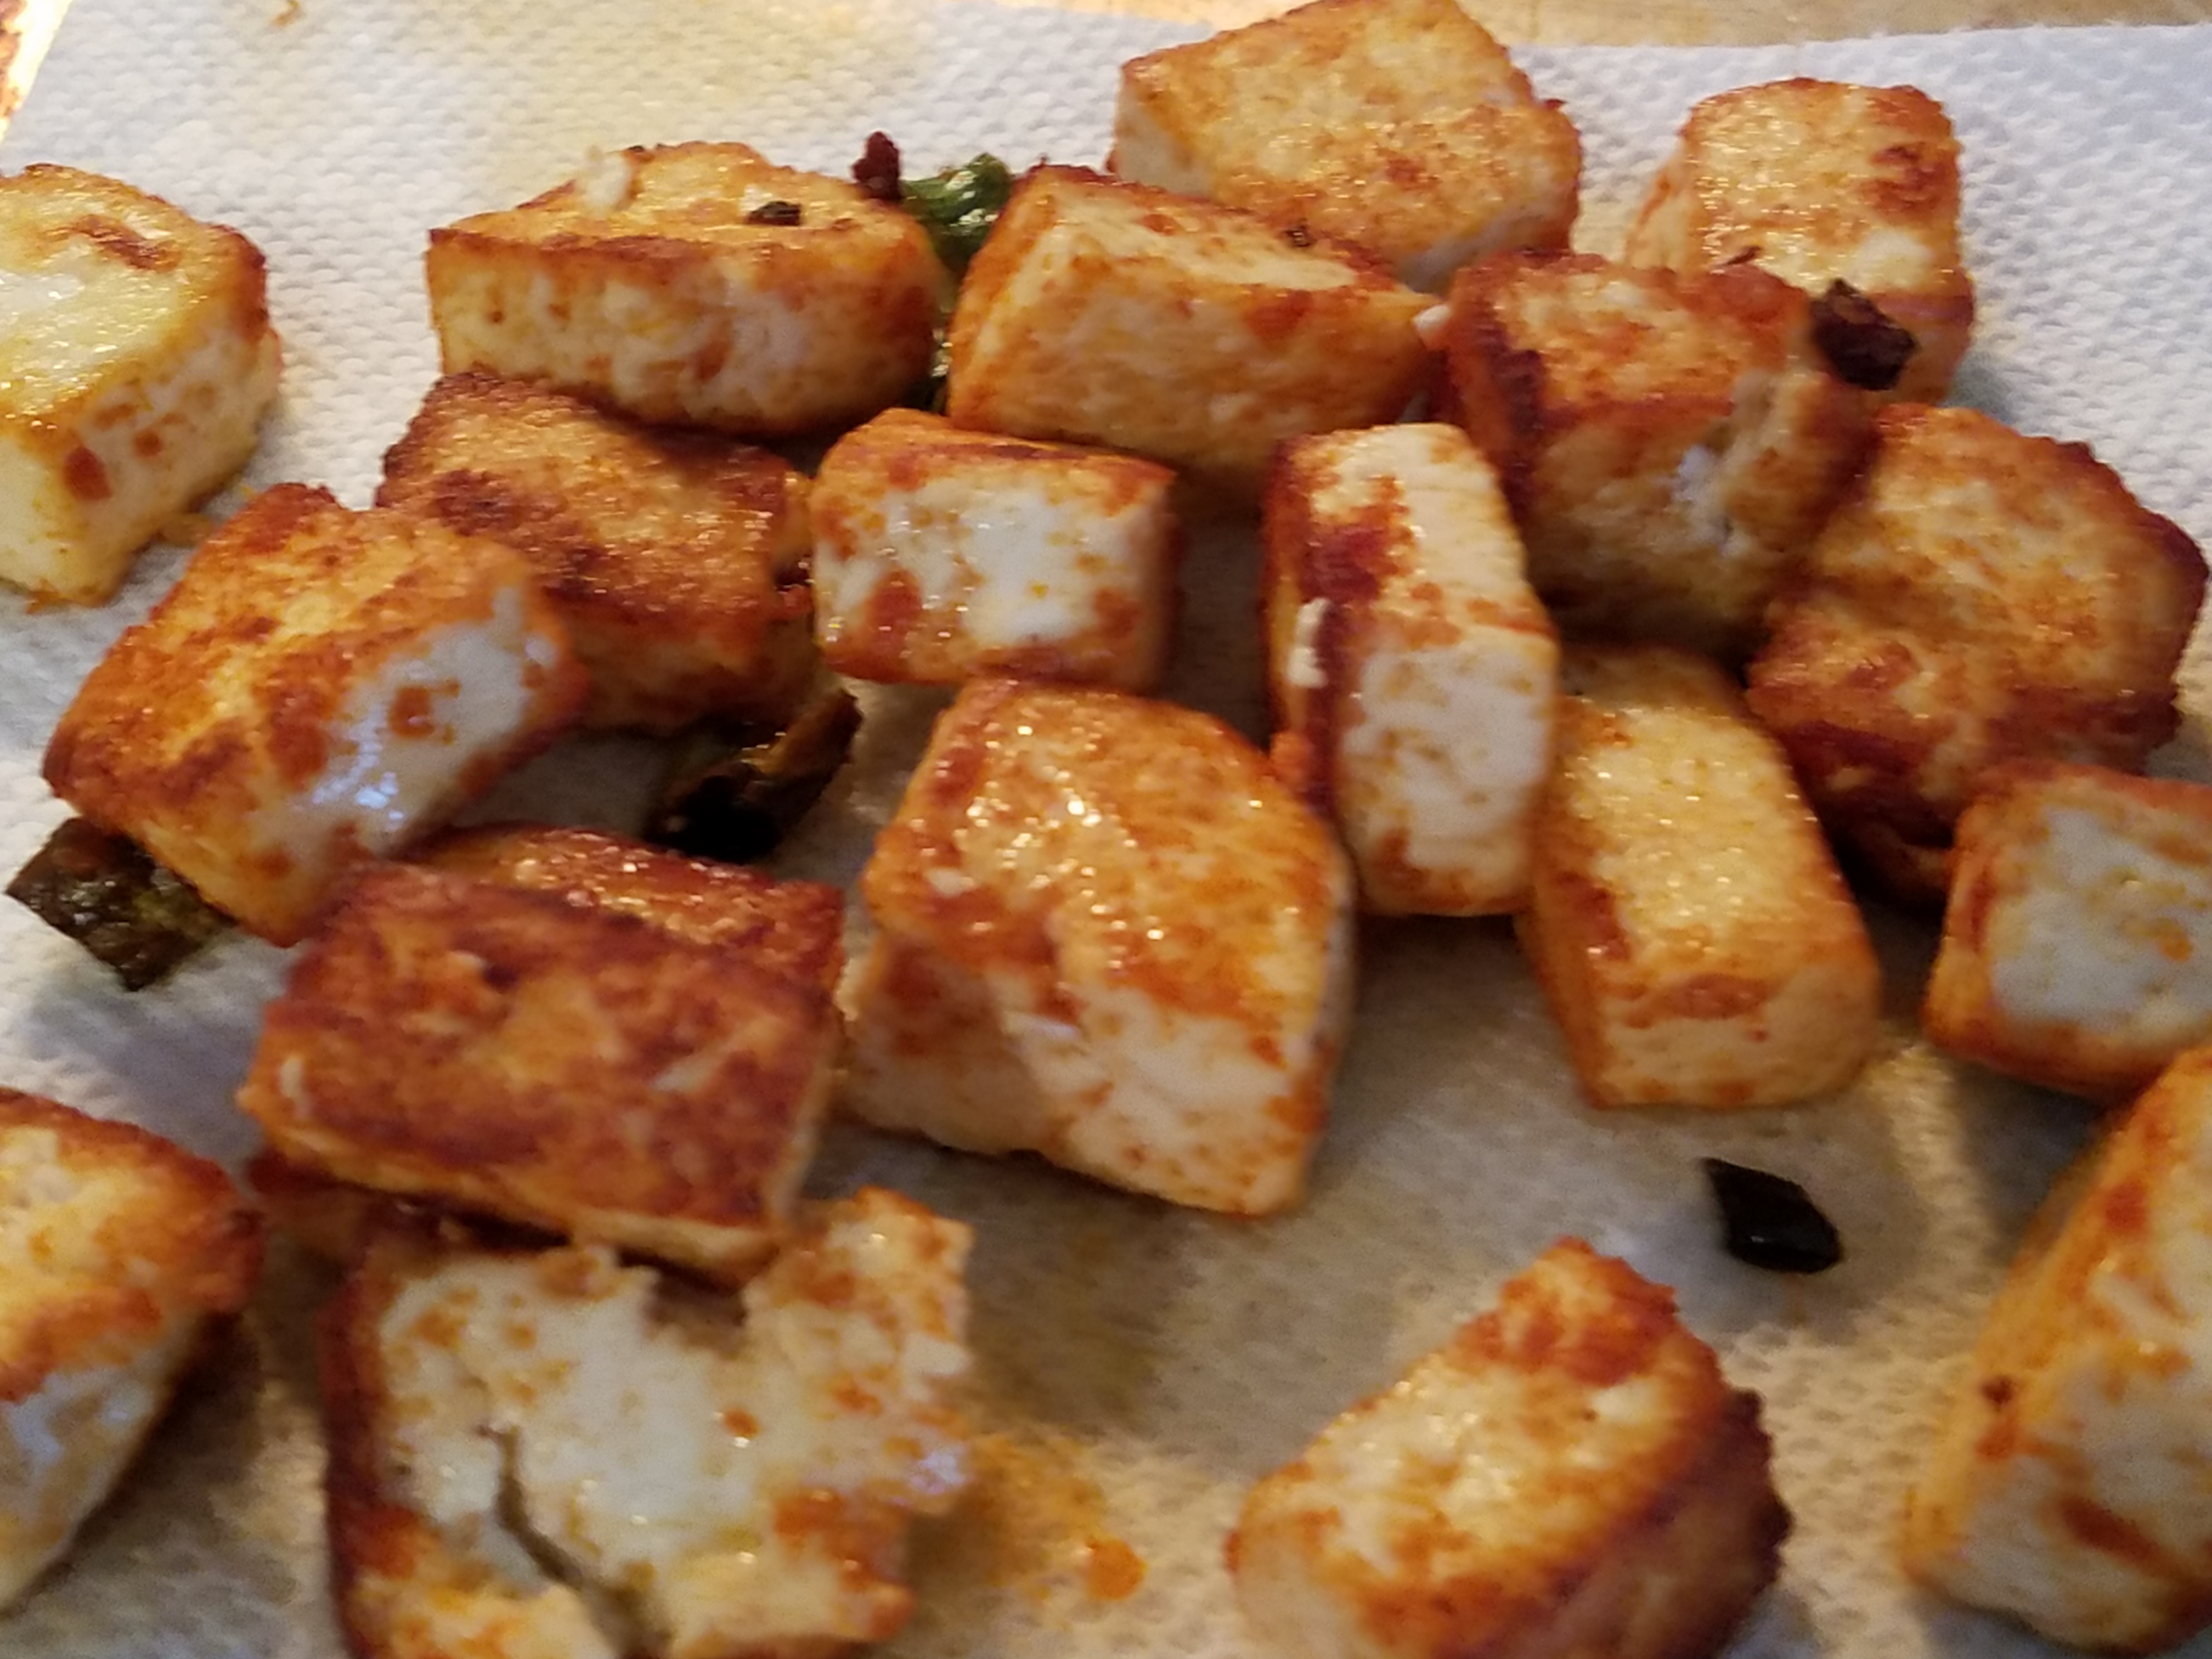
6. Fry the tofu cubes till golden brown and let drain on paper towel.
7. When all the tofu is fried, drain excess oil, leaving about a tablespoon in the pan.
8. Saute the reserved garlic, red chilli and onion.
9. Add the mushrooms and broccoli and flash cook for another 3 minutes or so.
10. Toss in the fried tofu pieces and top with the reserved sauce.
11. Stir and continue to cook till the sauce thickens and coats the vegetables and tofu.
Serve the stir fry with steamed rice or over cooked rice noodles.

Easy Weeknight Beef Fajita


20140604_190829

No matter how well you think you planned for the week ahead, don’t you have those days when all that so-called planning amounts to nothing? Yesterday was one of those days for me! 6:40pm and no idea what to serve for dinner! Hmph, not a good feeling.

20140604_203023

As usual, I first do a mental inventory of what ingredients I had on hand that could be quickly transformed into a meal that the family will enjoy. Yes, I had chicken in the freezer, but I didn’t have the patience to deal with the defrosting process! Ahhh…..then I reached for the shaved beef. Really, I don’t think they are not all that bad for you! Their fat content is significantly lower than a typical burger and they are so versatile.

20140604_190348

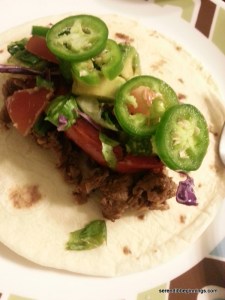
You could transform this super thinly sliced meat into a cheesy Philly steak sandwich, spicy fajitas or a stir fry with Asian veggies. But this time around, I gravitated towards a spicy fajita with the typical toppings – a simple avocado/tomato relish, shredded lettuce and purple cabbage (yes, yes, purple cabbage is one of my obsessions now a days, so I throw them fresh into whatever I can!), salsa, sour cream and …..no cheese (ran out of cheese! :-O).

20140604_191047    20140604_192335

With minimal preparation and immense amount of flavor and well-balanced nutrition, this weeknight dinner ended up being a big success. So, what not to love about it! C’on, give it a try – I promise you will appreciate the ease of it all!

20140604_202939

Easy Weeknight Beef Fajita

  • Servings: 4
  • Print

Ingredients
1 lb package shaved beef
1 packet low-sodium fajita seasoning (or make your own)
1/2 teaspoon paprika
1 small red pepper, sliced into long, thin strips
2 tablespoons olive oil, divided
1 avocado
1 plum tomato
1 green onion
1 tablespoon lemon juice
pinch of salt
1/2 cup thinly sliced romaine
1/2 cup thinly sliced red cabbage
8 small flour or corn tortillas, warmed
1 jalapeno, thinly sliced, optional
Bottle salsa, optional
Sour cream, optional

Preparation
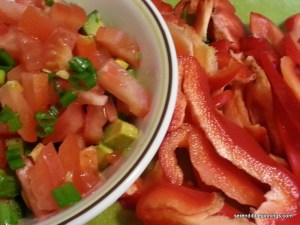
1. Begin by preparing the avocado-tomato salad. Peel and dice the avocado. Combine with diced tomato and thinly sliced green onion. Toss with the lemon juice and set aside.
2. Heat one tablespoon olive oil in a skillet over high heat and cook the beef till cooked through. Sprinkle the taco seasoning over the meat and continue cooking for additional two minutes. Remove the beef onto a serving platter and keep warm.
3. Wipe down the pan and add the remaining oil. Reduce heat to medium-high and stir fry the red peppers till lightly browned. Sprinkle with a pinch of salt and transfer onto the beef.
4. Warm the tortillas in the microwave (30 seconds) or in a warm skillet. Serve immediately with the meat and all desired toppings.


Harissa Sauce

20140223_171343[1]
Harissa is a fiery hot sauce used in North African cuisine. As you might have guessed, primary ingredient is PLENTY of dried hot peppers. I used dried cayenne peppers this time around. Next time though, I would love to incorporate some fiery harbanero or other super spicy pepper for added heat.

20140223_172721[1]                                20140223_173651[1]

This sauce can be used as a condiment or as a seasoning for meats and seafood. I even used some of it to spice up pasta sauce and it was amazing. I also tried it spread on a cracker. Delicious! Who knows, if you like spicy things, this might become your new favorite dip for chips or veggies.

20140223_173735[1]

Harissa Sauce

Ingredients
20-25 Dried hot peppers (I used cayenne)
1 dried Pasilla pepper
1 tablespoon coriander seeds
1/2 teaspoon cumin seeds
1/2 teaspoon caraway seeds
3-4 cloves of garlic
2 tablespoons oil
2-4 tablespoon water
Sea salt to taste
Juice from 1/2 lemon

Preparation
1. Soak dried peppers in hot water for 10 minutes.
2. Dry roast coriander, cumin and caraway seeds for 3-5 minutes under low heat.
3. Grind them to powder using a spice grinder or mortar and pestle.
4. Drain the peppers and transfer to a blender or food processor along with all other ingredients except water.
5. Grind to a paste adding just enough water.
6. Transfer to a container and refrigerate.

Harissa can easily be stored in the refrigerator for few weeks – if it lasts you that long.

“Instant” Chicken Curry

Instant Chicken Curry

  • Servings: 4
  • Difficulty: easy/moderate
  • Print

finished chicken curry

Everyone that I know loves a good chicken curry – whether it is Sri Lankan chicken curry with coconut milk, a Thai curry, Indian butter chicken, Jamaican curry or myriad of other types! Regardless of their origin, most of these curries call for exotic spices that are likely to be found in an adventurous cook’s kitchen or requires a special visit to a well-stocked local grocery store or an ethnic grocer.

But, what if it is one of those days when you don’t want to make a sandwich, east some leftovers, or make another pot of soup? What if you want to decompress in the kitchen by creating something satisfying and different? What if you end up wondering, if only you could relish mouthfuls of some delicious curry with a piece of flat bread, steamed rice, or even a piece of bread? Only if!

You always thought your kitchen was pretty well stocked although you didn’t always have an assortment of Asian spices like cardamom, curry/garam masala powder, or special blend of chili powders! Can you still make great chicken curry with what might usually be in your pantry? YES, YOU CAN!

Today, I am going to share with you just one of those “instant” chicken curry recipes – “instant” not because you open up a frozen package of chicken curry and nuke it in the microwave, but because you can whip this baby up with mostly basic pantry items. I made it two nights ago and I have to say it was a big hit with my whole family!

Before we begin, let’s do a quick check to see if you have the following on hand – you can potentially skip couple of these ingredients without compromising on the flavor, taste and look of the dish! You will need about 1 ½ lbs of chicken (any type, although I used drumsticks in mine), onion, ginger, garlic, cinnamon stick, turmeric (can be skipped if you don’t have any), fine sea salt (or regular), cayenne powder, lime or lemon juice, fresh tomato, cilantro (can be skipped , but it does add a wonderful aroma), coconut milk or heavy cream and oil. So, assuming you have these on hand, let’s start!

First, we need to prepare the meat and veggies. Remove the skin of the chicken and make couple of slits on the drumsticks if you are using them. Otherwise, just cut the chicken into desired size. You can use thighs cut into 2-3 pieces, breasts cut into about fourths or bite sized pieces. You can even use boneless chicken breast, although in my humble opinion, a good chicken curry needs at least some red meat and/or pieces with bones. To me, curry made from boneless, skinless breast just doesn’t cut it! So, back to prep work. After you clean the chicken, rinse and drain all the water. You can even blot it dry, but I rarely do. Sprinkle about a teaspoon of fine sea salt, a tablespoon of lime juice and a heaping teaspoon (or per your taste) of cayenne on the chicken and mix well, making sure to get them into the slits. Let sit while you prepare rest of the ingredients.

All marinated and waiting for action

All marinated and waiting for action

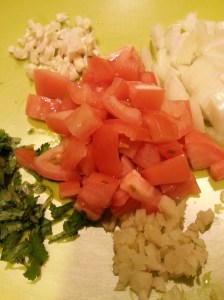
Chop onions, tomato and cilantro. Mince ginger and garlic. Set them aside.

chicken curry veggies

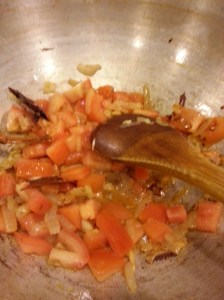
Heat a wok or a heavy pot/pan over medium heat. Add a tablespoon of oil. To this, add ginger, garlic, onion and a piece of cinnamon stick broken up. Saute till onion turns translucent and starts to turn golden. Add ¼ tsp of turmeric powder and 1 teaspoon cayenne powder and stir for few seconds. Cayenne can be adjusted according to taste. I used a little more than a teaspoon because we love super spicy stuff in our house. You might want to turn your exhaust fan off to ward off any ill effects of cayenne in the air! Now, add tomato and ¼ tsp of salt.

tomato cooking for chicken currychicken added

When the mixture starts to turn pulpy and fragrant, add chicken pieces along with any juices left behind. Stir well in the spice mixture. Add about ¼ cup of water and cook covered under medium low flame for about 25 minutes or until chicken is cooked through and the sauce is fairly thickened. Keep an eye on the curry while it is cooking as you might need to add little bit more water if the gravy looks too dry. To finish, add about 3 tablespoon of unsweetened coconut milk or heavy cream, stir and garnish with chopped cilantro.

finishe chicken

Serve with cooked rice (in the picture above, I served with brown rice and “raita”)or bread and a side salad or another vegetable dish.

When it comes to being creative in the kitchen, if you put your mind to it, you can make incredible dishes with what you have on hand!

Ingredients:
1 1/2 lbs chicken pieces, skin removed
1 tablespoon lime juice
1/4 teaspoon turmeric powder
1 teaspoon fine sea salt
1 teaspoon cayenne (more or less, per your taste)
1 tablespoon oil
1 tablespoon minced garlic
1 teaspoon minced ginger
2″ piece of cinnamon broken up
1 cup chopped tomato
additional salt, if needed
3 tablespoons unsweetened milk or cream
2 tablespoons chopped cilantro