Kiwi-Cranberry-Raisin Bars

Hi folks, it’s been a long time! One of those whirlwind of few weeks and I really missed posting.

20150406_183616

So, what better way to make a come-back than with a recipe that calls for an unlikely combination of fruits. Seriously, kiwi, cranberry and raisin? Yes, yes! And trust me, you won’t be sorry that you invited them to the same party!

20150406_184847

The idea to use kiwi came from having a bag of dried candied kiwis sitting around in the pantry waiting to make an appearance in a recipe – any recipe. This was around the time I was contemplating whether to bake homemade treats for school lunches in an attempt to make them a little less “junk”. Although this adaptation of a Cooking Light recipe still has more sugar than I prefer to add, the website has these at under 140 calories per serving size (and their serving size was larger than how I cut my bars). In my version of the recipe, since I used candied kiwi and sweetened cranberries, I reduced the sugar to 1/2 cup. I guess that’s not too bad – or so I hope!

20150406_191804

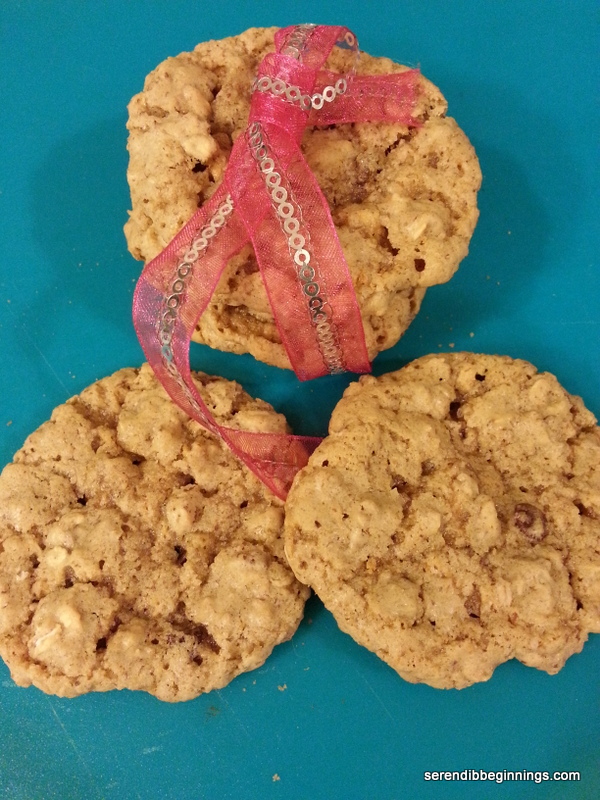
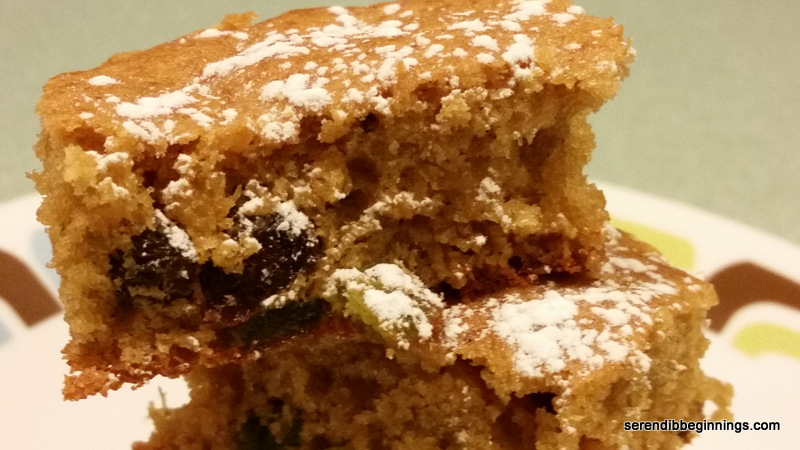
These bars have the right sweetness balanced by the fruity firm, chewy texture of the candied fruits. Needless to say, they were quite a big hit with my family. Give it a try!

20150406_192758

Kiwi-Cranberry-Raisin Bars

  • Servings: 24
  • Print

Ingredients
1/2 cup of dried/candied fruits – kiwi, craisins and raisins
1 1/2 tablespoons water
1 cup all-purpose flour
1/2 teaspoon baking powder
1/2 teaspoon baking soda
1/4 teaspoon salt
1/2 cup packed brown sugar
1/4 cup butter, softened
1/2 cup mashed ripe banana
3 tablespoons low-fat buttermilk
1 teaspoon vanilla extract
2 large egg whites
1/3 cup chopped walnuts
Cooking spray
1 tablespoon powdered sugar, if desired

Preparation
1. Preheat oven to 350F. Line a 8-inch square baking dish with parchment paper and spray with non stick cooking spray. Set aside.
2. Sprinkle water over the dried fruits and microwave for 20-30 seconds. Remove from microwave and set aside to cool.
3. In a medium bowl, combine flour, baking powder, baking soda and salt.
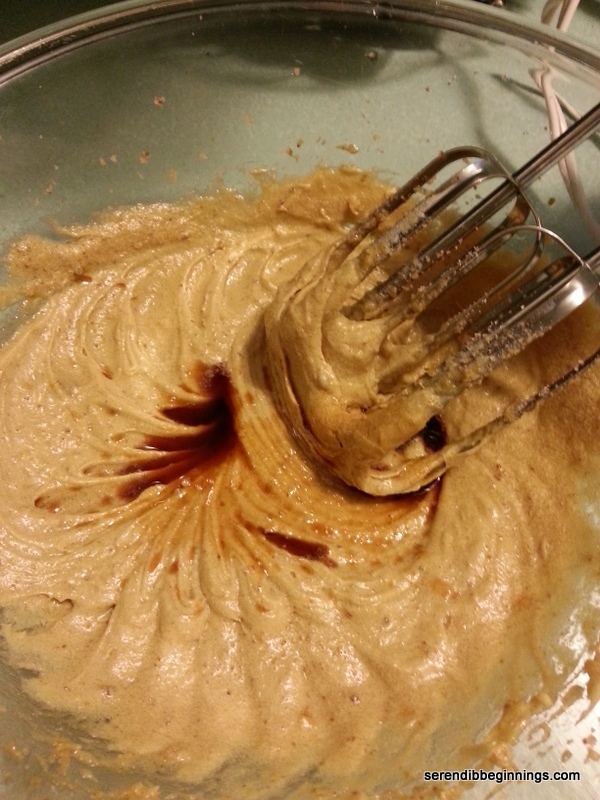
4. In a large bowl, combine butter and brown sugar. Use a hand mixer to make the job easier. To this, add the mashed banana, buttermilk, vanilla extract and egg whites one at a time. Mix well to combine.
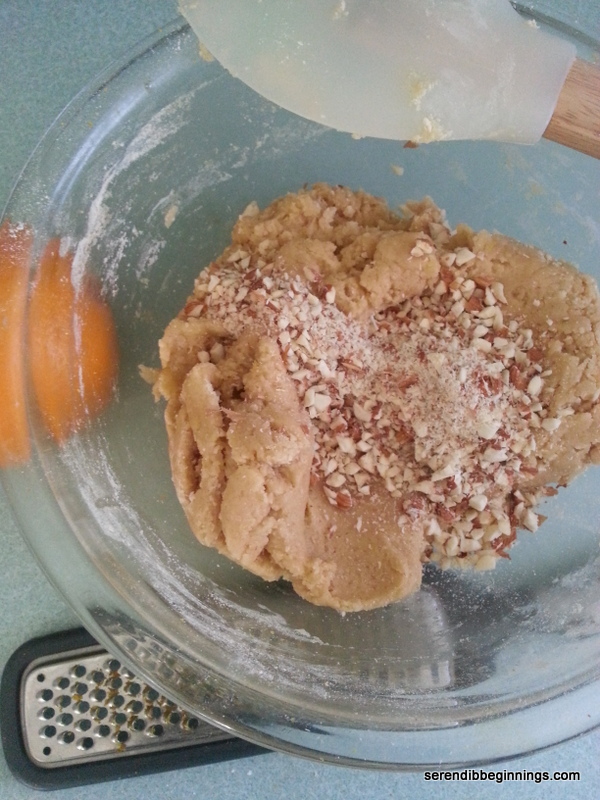
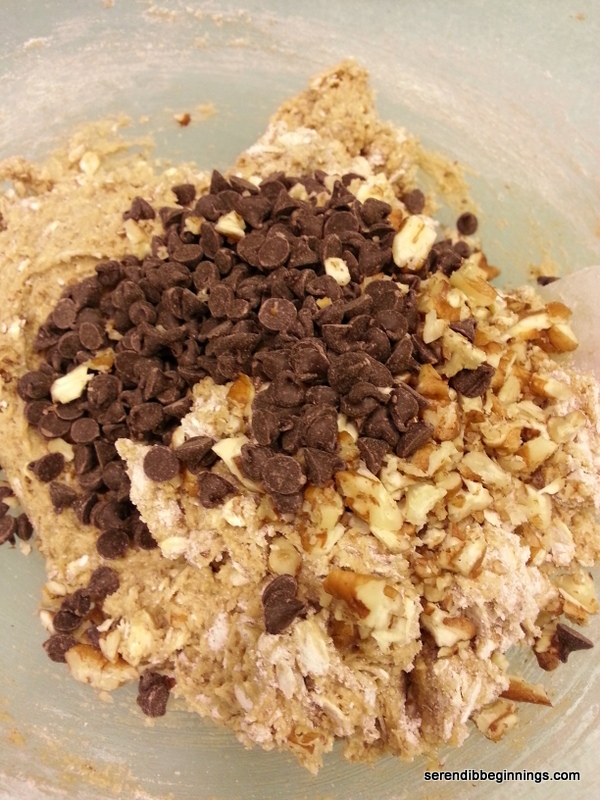
5. Mix in the dry mixture in two parts just until combined. Fold in the fruits and walnuts.
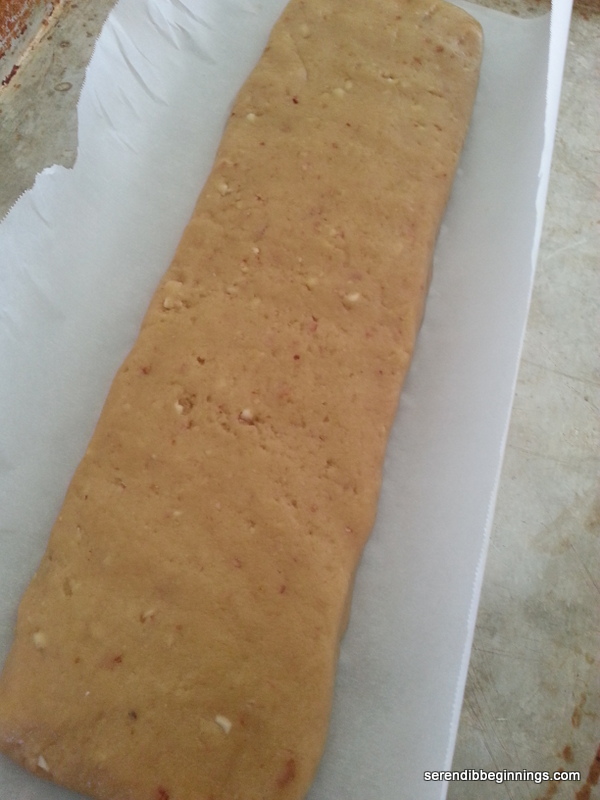
6. Spoon the mixture into the baking pan and smooth the top.
7. Bake in the pre-heated oven for 25-30 minutes till the top is set and golden.
8. Remove from oven and let cool in the pan for 5 minutes before transferring to a wire rack to cool completely.
9. Cut into 24 pieces. Dust with powdered sugar, if desired.

Store covered in an airtight container for about 5 days.

Orange-Almond Biscotti

20140426_080837

I think few things go perfectly with a cup of coffee or tea as biscotti. The delicate flavors, the crunchy texture that slowly melds to a soft crumble at the touch of your hot beverage…You get the point.

20140424_175535     20140424_180403

They are not the most diet-friendly item out there. So, when I do make some at home, I opt for recipes with less butter and sugar – you know, the light kinds which are really hard to come by, especially if you are looking for the typical biscotti texture. This recipe however is a regular ol’ version, softened just so with the use of half Splenda/half sugar and less butter (about 5 tablespoons for about 20 cookies).

20140425_162311

Biscotti flavor possibilities are endless. This one is one of my favorite combinations – orange and almond! Combination of the citrus notes from the orange zest and the toasted crunchiness of almonds are pure delight. I am looking forward to repeating this recipe with anise flavor – something I have never tried before! 🙂

You can store these biscottis in a tightly closed container for a week or so. So, what are you waiting for? Bake a batch and make next week one to pause and enjoy!

(NOTE: This recipe is adapted from the original from Bon Appetit, Dec 1999)

Orange-Almond

  • Servings: 20
  • Print

Ingredients
2 1/4 cups flour (I used combination of white whole wheat and all purpose)
1 1/2 teaspoon baking powder
pinch of kosher salt
1/2 cup Splenda for baking
1/2 cup refined sugar
5 tablespoons butter, melted
2 eggs
1 teaspoon vanilla
1 teaspoon orange zest
1/2 cup finely chopped almonds
1 egg white for brushing the top

OPTIONAL
Semi sweet or dark chocolate for dipping or drizzling on the baked cookies
Chopped nuts for sprinkling on chocolate.

Preparation
1. Preheat oven to 350F. Line a baking sheet with parchment and set aside.
2. Sift flours with baking powder and salt.
3. In a medium bowl, combine melted butter and sugar and whisk to incorporate well.
4. Add eggs, one at a time, mixing well after each addition. Add vanilla and orange zest.
5. Incorporate dry ingredients till a soft dough forms.
6. Fold in chopped almonds.
7. Transfer the dough to the parchment. Form into a roll about 18″ long. Gently press to flatten it to about 4-5″ wide. Brush the top with lightly beaten egg white.
8. Bake for 30 minutes. Remove from oven. Let cool for about 5-10 minutes. Using a sharp knife, slice the loaf about 3/4″ wide. This should result in at least 20 cookies.
9. Place the sliced cookies cut side down on the parchment and return to the oven for another 10 minutes till they crisp up.
10. Remove from oven, let cool completely and store in airtight container for up to a week.

If using optional touch-ups, melt chocolate over double boiler (or in microwave, taking care not to scorch the chocolate) and dip just the ends or entire one side of the cookie. Sprinkle nuts if desired.

Crispy, Chewy Oatmeal Chocolate Chip Cookies

20140311_194720

When it comes to cookies, I would imagine the two leading contenders are probably chocolate chip and oatmeal raisin? Maybe it’s peanut butter something instead of oatmeal raisin. Although I do enjoy a yummy chocolate chip cookie once in a while, I tend to lean a bit more towards chewy oatmeal raisin. The bite and chewiness of oats, soft sweetness of raisins…mmmm….

So, when I decided to bake a surprise batch of cookies for the kids (and…ahem…mom and dad), I thought of combining the two cookies. Although I didn’t add any raisins in this recipe, I might consider adding some the next time I make these cookies.

I try to substitute at least some of the all-purpose flour with something more nutritious like oats, ground flax etc. This recipe lends itself perfectly to that – if you wish to replace about 1/4 cup of flour with ground flax etc. Also, I chose to use mini chocolate chips in this recipe in an attempt to have bit of chocolate in every bite and to reduce the total amount of chocolate. It worked out perfectly.

20140311_190528    20140311_183238    20140311_182520

Do use only about a teaspoon of dough at least 2 inches apart. The cookies spread well and results in a thin cookie with a perfect crispy texture when you first bite, quickly leading to a pleasant chewiness. This was a huge hit with my family as well as my kids’ friends. I think you will enjoy it.

20140311_190415   20140311_190907   20140311_190923

If you bake these, let me know how they turn out. I would love to hear about your experience.

Crispy, chewy oatmeal chocolate chip cookies

  • Servings: 30 cookies
  • Print

Ingredients
1 cup all purpose flour
1 cup old-fashioned oats
1/4 cup (heaping) ground flax
1 teaspoon baking powder
1/2 teaspoon baking soda
1/2 teaspoon salt
2/3 cup granulated sugar
1/3 cup packed dark brown sugar
1/3 cup unsalted butter, softened
1 larger egg
1 teaspoon vanilla
1/4 cup mini semi-sweet chocolate chips
1/4 cup chopped pecans

Preparation
1. Preheat oven to 350F.
2. Combine flour, oats, ground flax, baking powder, baking soda and salt in a medium bowl.
3. In a large bowl, beat softened butter with the sugars till well combined.
4. Add egg and beat for another minute. Stir in vanilla.
5. Slowly add flour mixture to the butter mixture and stir until just combined.
6. Fold in chocolate chips and nuts. Dough might feel a bit wet, but that’s OK.
7. Scoop the dough by teaspoon size onto a cookie sheet, spacing each scoop by at least 2 inches.
8. Bake in the preheated oven for about 10-12 minutes till edges are light brown and the cookie has spread well.
9. Remove from oven, let cool for a few minutes on the tray and finish cooling on a cooling rack.
10. Store in airtight container.