
Don’t you wish you could have a list of recipes that you can whip up in a few minutes, use only a pot or two and require only a bit of time in the kitchen?? All of us lead super busy lives and we go about the daily motions wishing there will be more hours in the day. And then comes meal time! You want to feed your family something wholesome, but at the end of the day, just the thought of making something well balanced seems arduous! But what if you could make something in just about half hour and feel good knowing you are feeding the family a delicious and nutritious meal!
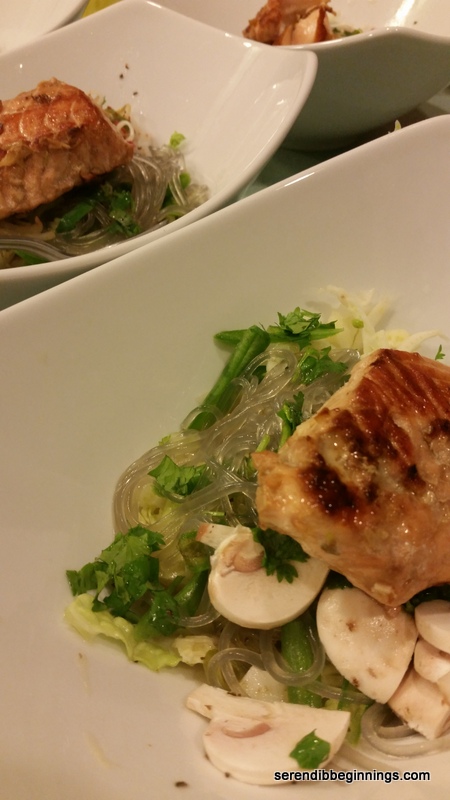
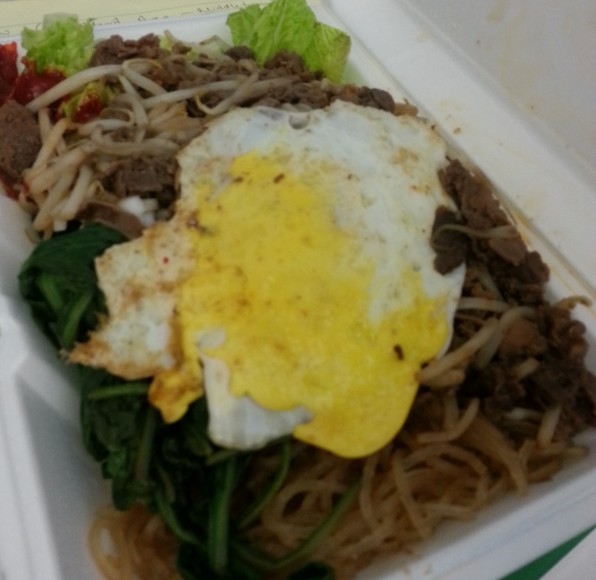
This dish is one of those accidental happenings in the kitchen tonight! Inspiration for this dish comes from a delicious serving of pho noodle soup I had last week. I loved the delicately seasoned simple but delectable broth, crunchiness of the fresh veggies and the soft, chewiness of rice noodles. So, I thought of making something similar with the ingredients I had in the kitchen – glass noodles, fennel bulb, savoy cabbage, green beans, salmon and cilantro. Once you clean and slice the vegetables, it is a snap to put this dish together.

To have a good flow….I will recommend starting with a pot of water to boil the noodles. Next, you should marinate the salmon in a mixture of soy sauce, ginger and garlic. While the fish is marinating, clean, wash and slice the vegetables. Now, you can add the noodles to the water, heat a pan to saute the fish and distribute the vegetables in four serving bowls. Then, you will be left with just heating the broth with a few seasonings and pouring it over the vegetables and noodles and topping off with a piece of salmon. Yum!
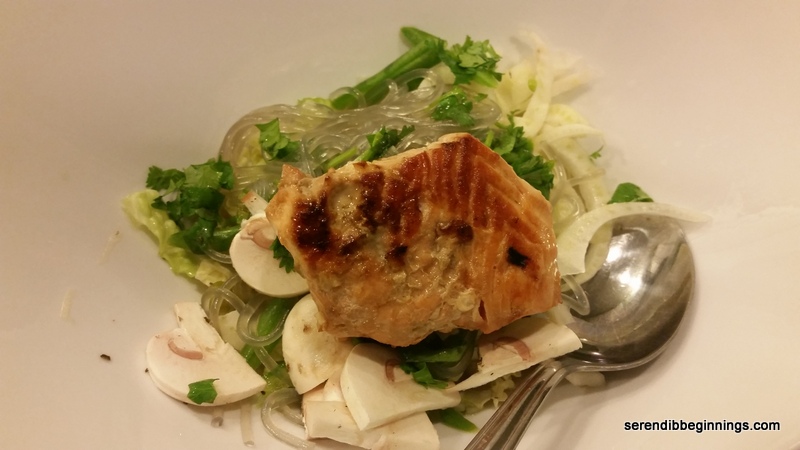
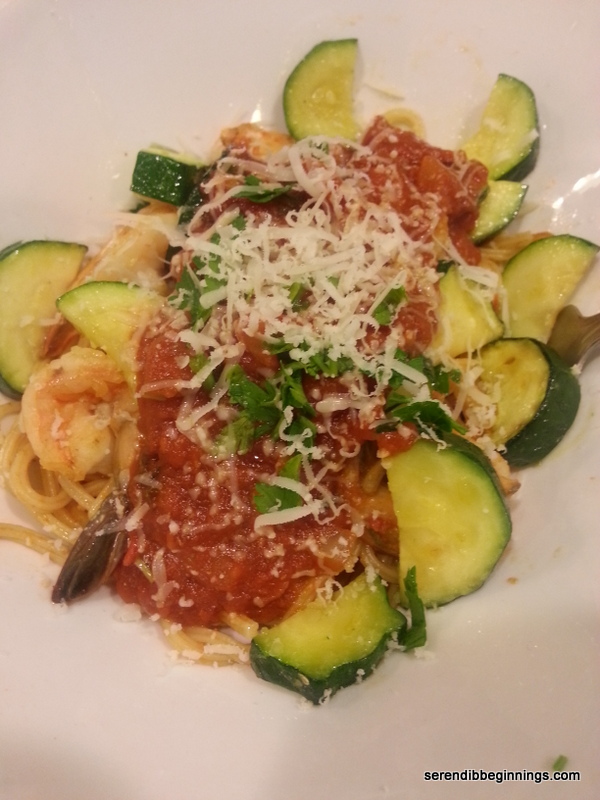
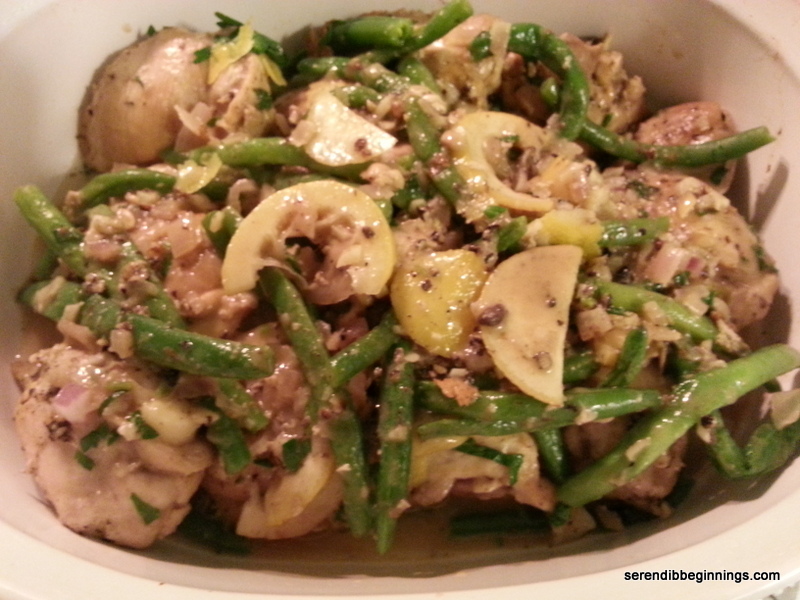
Asian inspired noodles with vegetables and soy glazed salmon
Ingredients
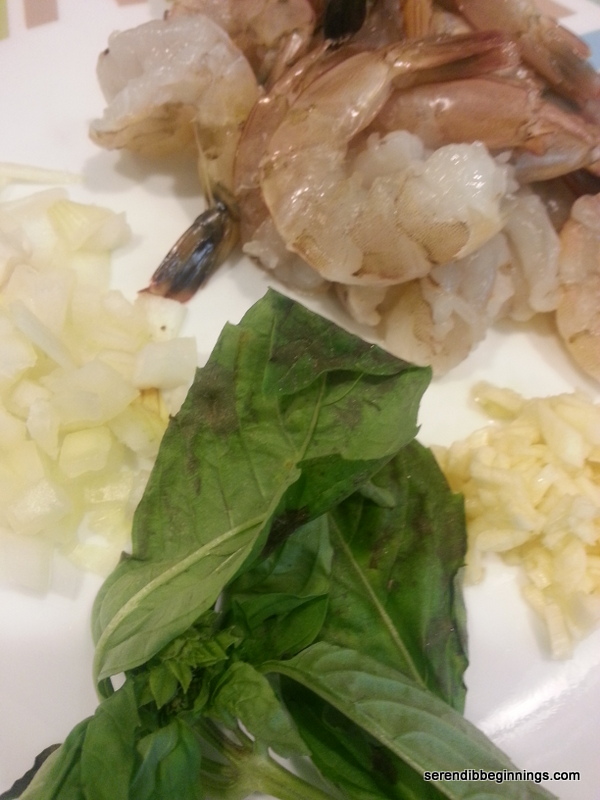
1 lb skinless salmon
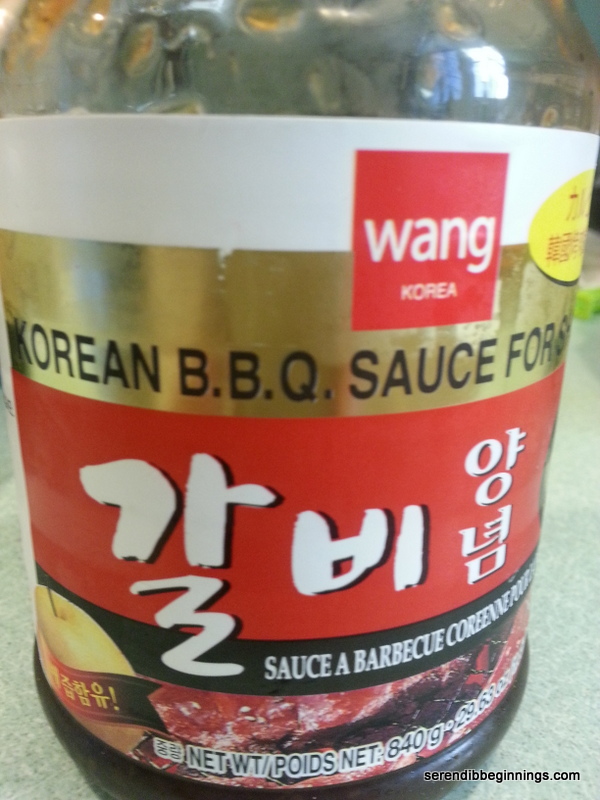
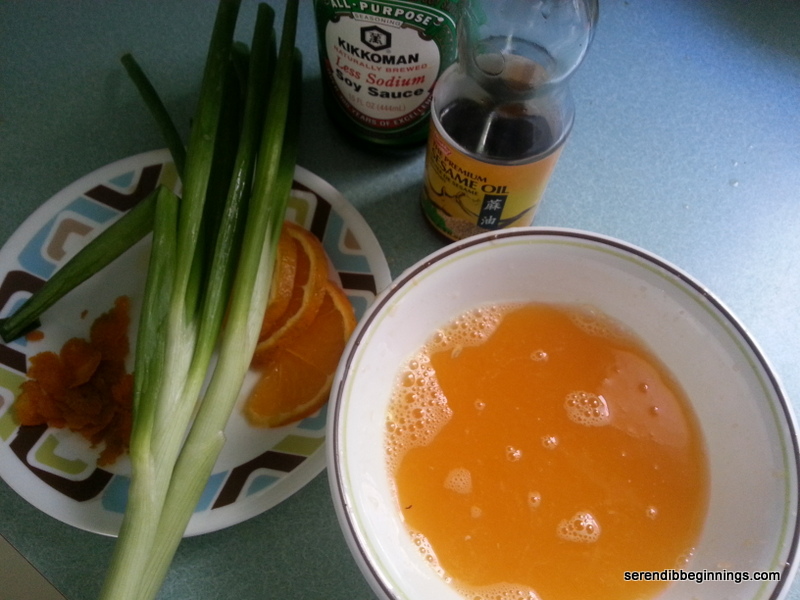
2 tablespoons low-sodium soy sauce
1 teaspoon minced fresh ginger
2-3 cloves of garlic, minced
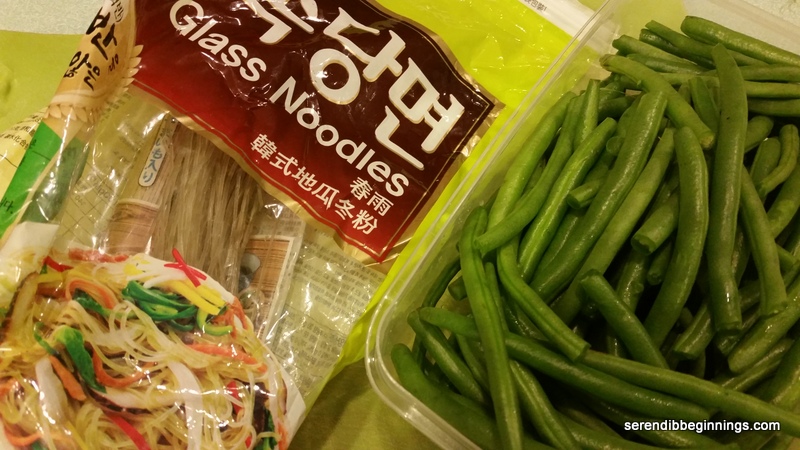
1/6 package of sweet potato glass noodles
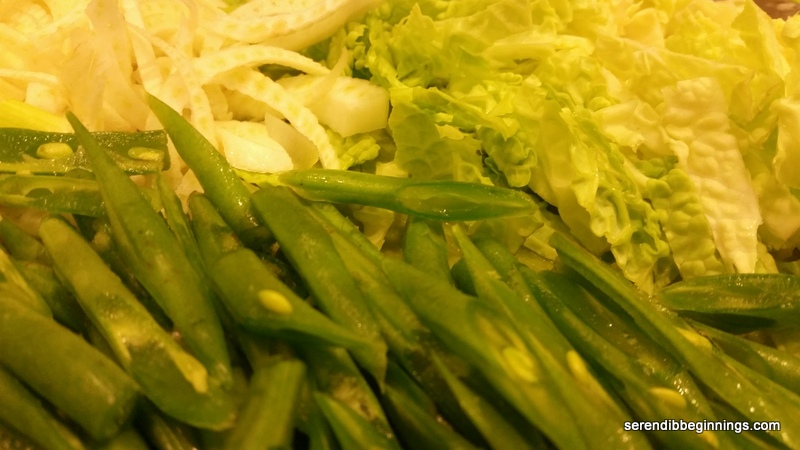
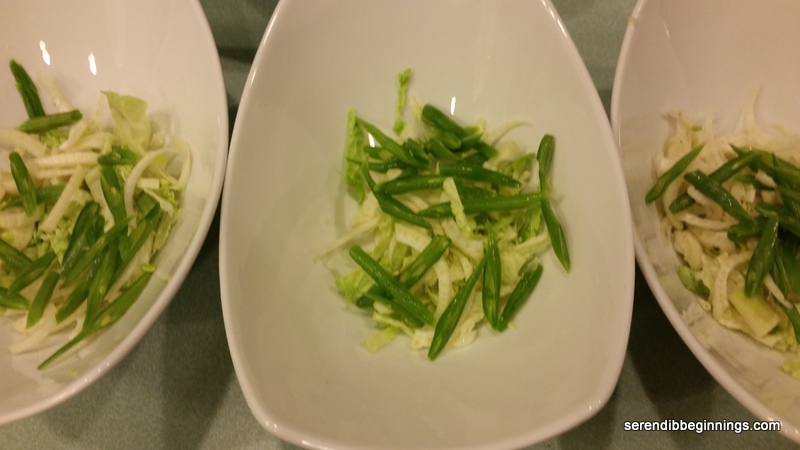
1 1/2 cups of thinly sliced savoy cabbage
1 fennel bulb, thinly sliced
1 cup of thinly sliced fresh green beans
1/4 cup chopped cilantro
1 can of reduced salt chicken broth
1 teaspoon reduced salt soy sauce
1 teaspoon dark, toasted sesame oil
Juice from half a lime
1/2 teaspoon crushed dried basil (if you have fresh basil, that will be better!)
Preparation
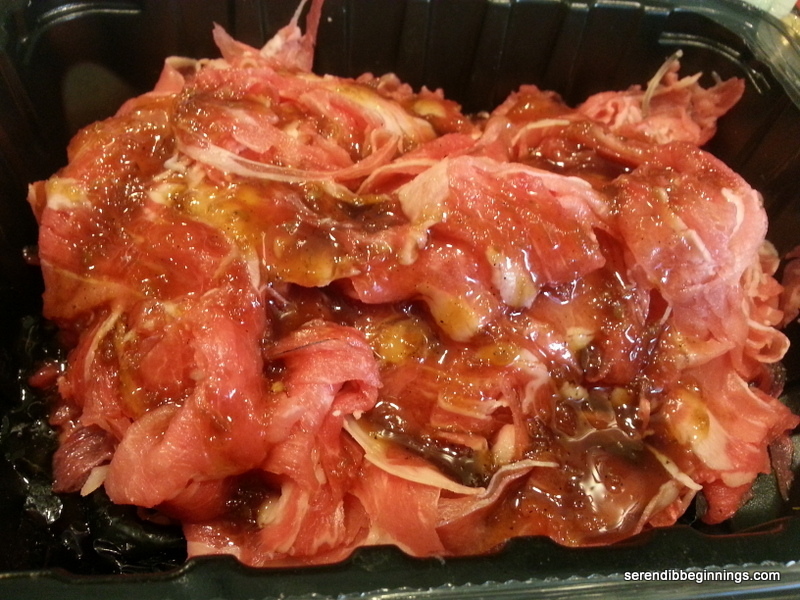
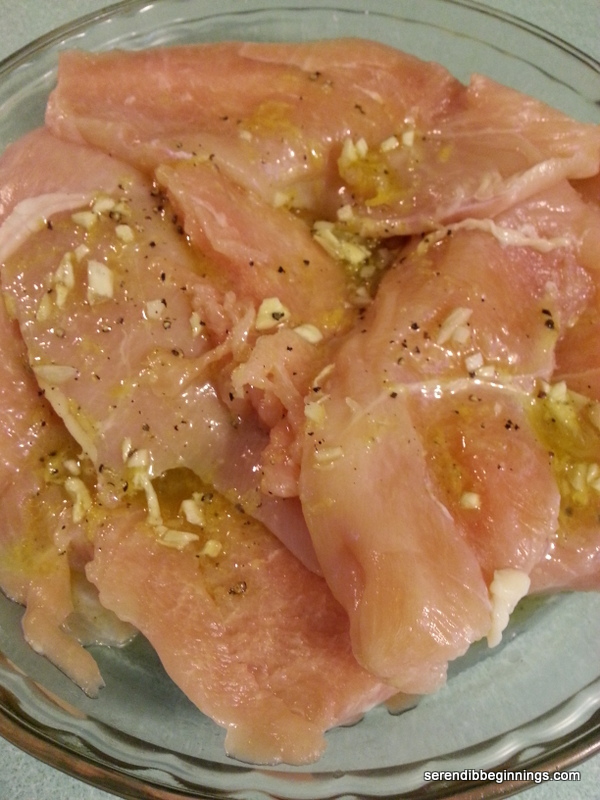
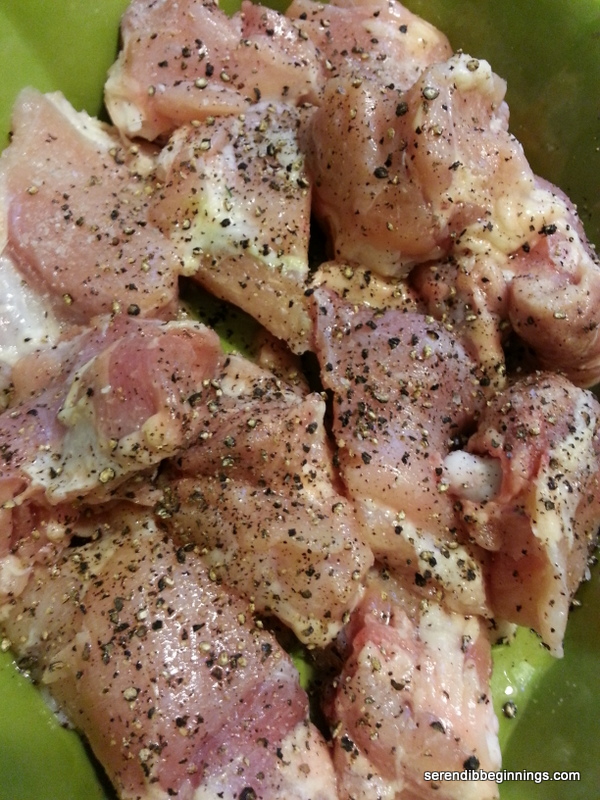
1. Begin by marinating the salmon in a mixture of soy sauce, ginger and garlic.
2. Place a pot of water to boil; Cook noodles according to instructions.
3. Drain the noodles and keep aside and return the pot back to stove top.
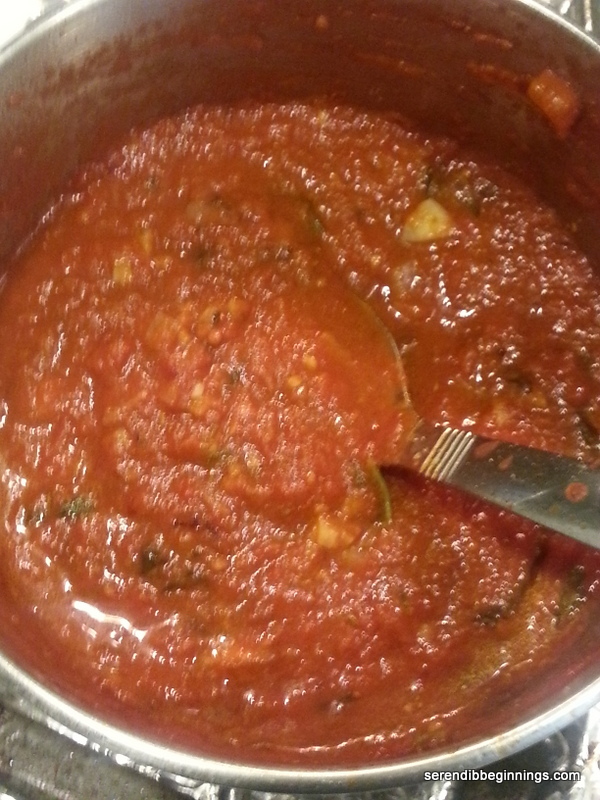
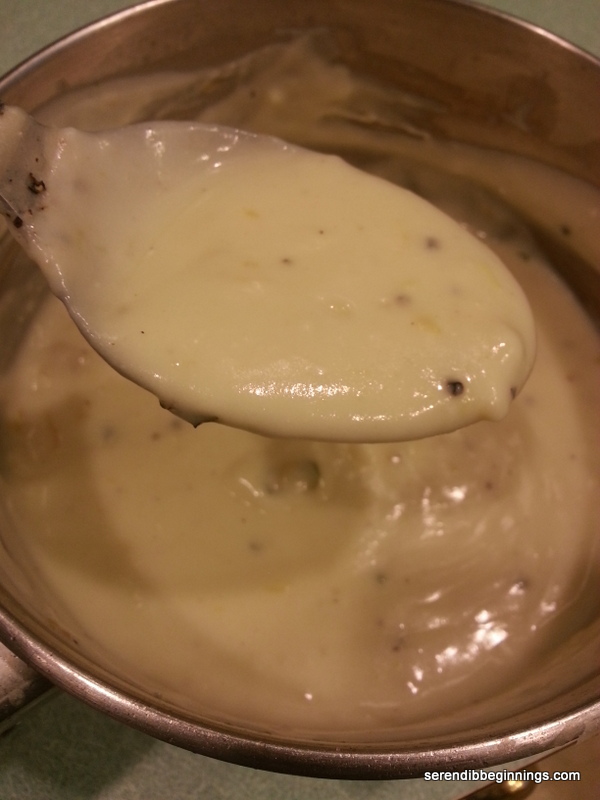
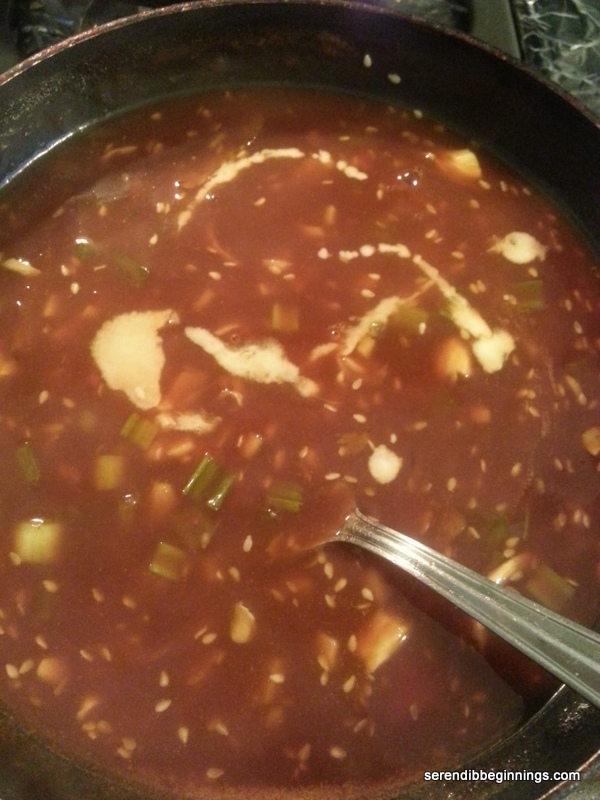
4. Empty the can of broth into the pan and bring to a boil with a teaspoon of soy sauce, sesame oil, lime juice and basil.
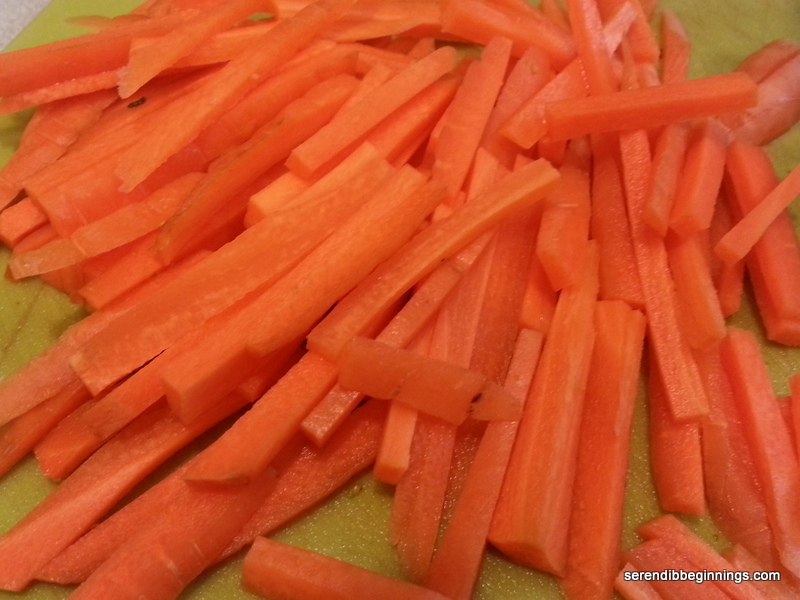
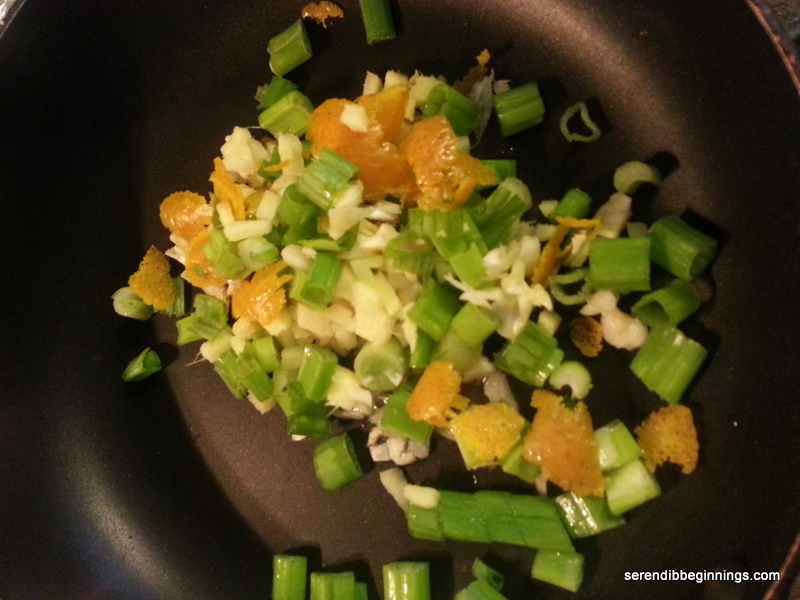
5. Clean and prepare all the vegetable as listed above.
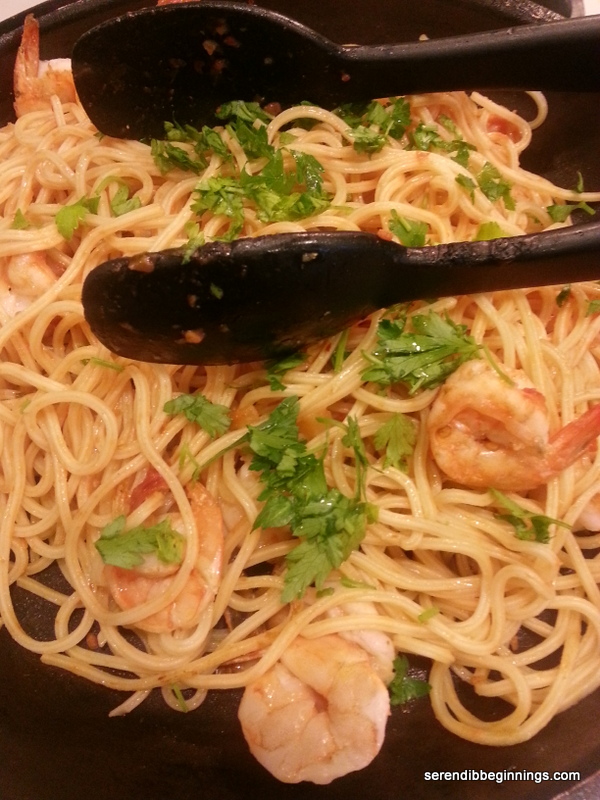
6. Distribute the veggies among 4 serving bowls. Top with cooked noodles.
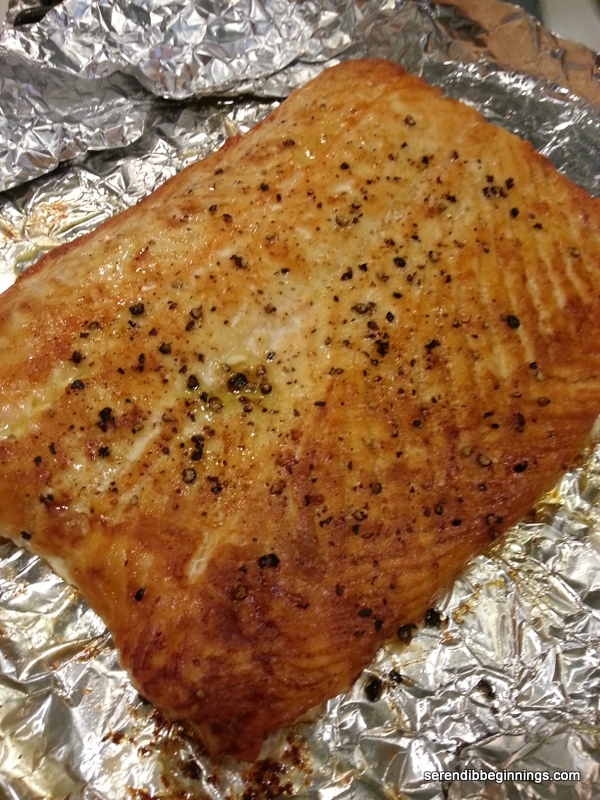
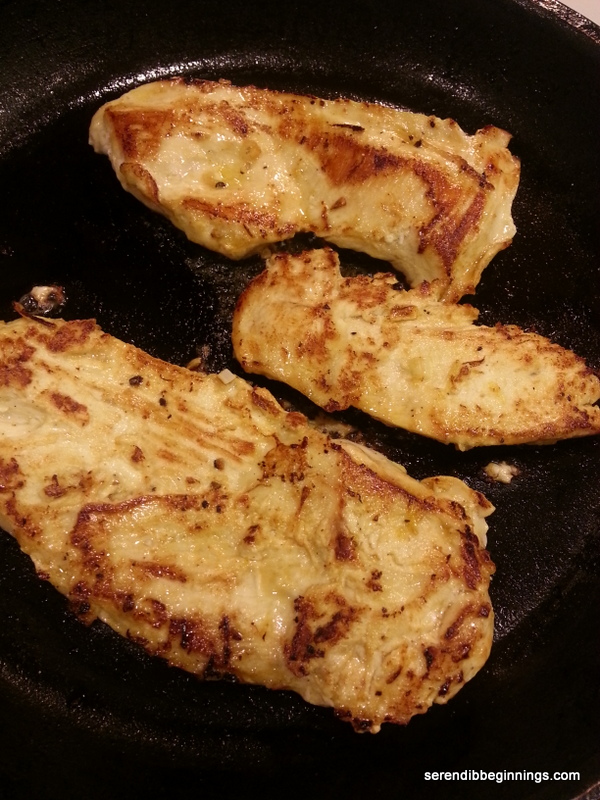
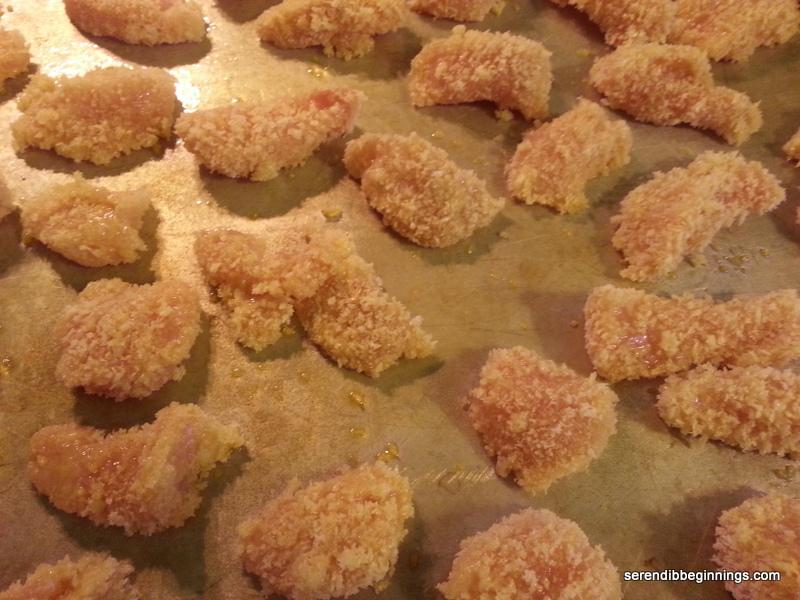
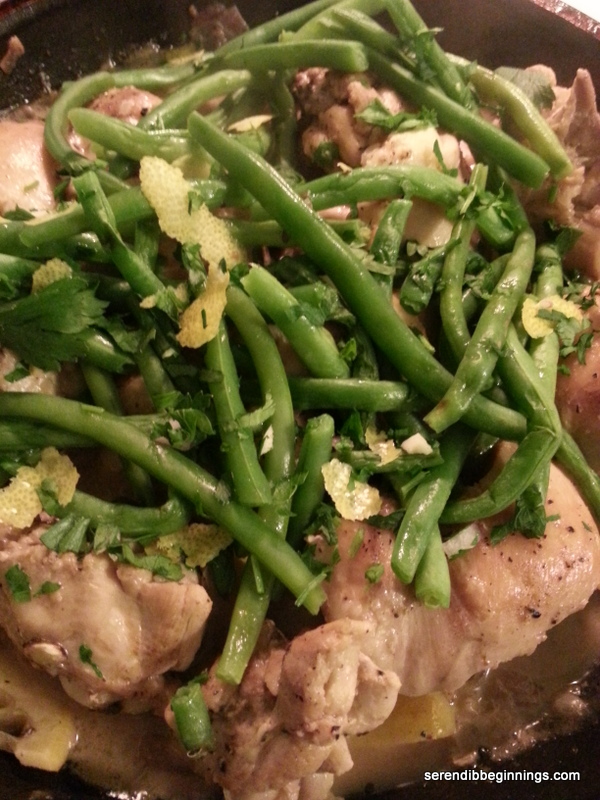
7. Heat a frying pan over medium high heat and spray with cooking spray. Cook salmon until done.
8. Add hot broth to the vegetables and top with salmon. Sprinkle additional cilantro if desired and top with a squeeze of fresh lime juice and crushed red peppers, if desired.


