

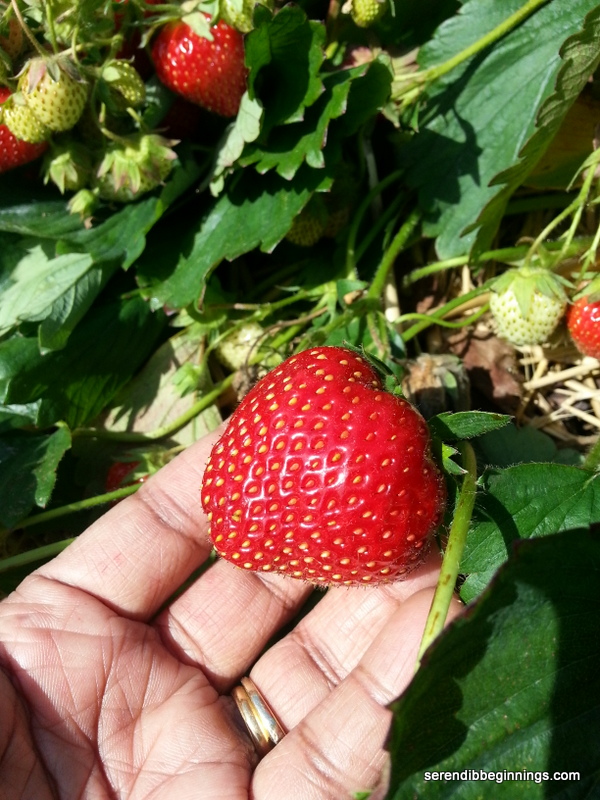
Warm weather is here and that means strawberries! Bright, red, juicy berries so full of flavor and nutrition that you can enjoy in many ways! That brings me to canning!
I have long admired the talent, passion and patience of folks who make it their summer mission to not only source season’s freshest produce, but also take the time to prepare and preserve them for months to come! When we visited our friends last winter, we had the opportunity to sample some homemade jams and preserves! They tasted so pure and delicious! Best of all, they were free of commercial preservatives and had significantly less added sugar. My friend insisted it was so simple to make! OK!
Since then, I sort of dabbled with the thought of trying my hands at making some homemade jam myself but kept putting it off! So, when the strawberry season came around, I just had to take the plunge! So, we went to the local farm to pick some berries. Ahh….what an enjoyable experience! From toddlers to grandparents, it was an afternoon of fun for everyone!
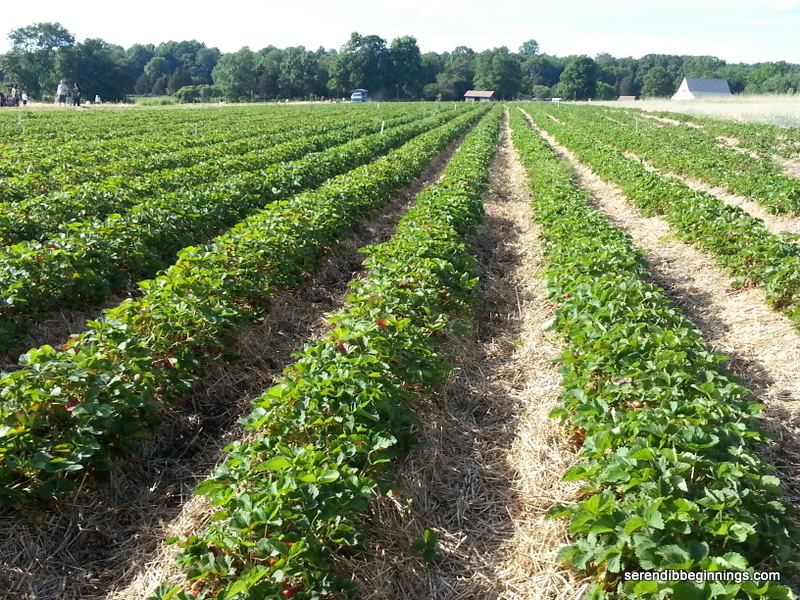
After a bit of crawling around on piles of hay and red fingers, I managed to keep the family working long enough to pile on about 10 lbs of berries! That was the easy part! Seriously! The hardest part is setting aside the time to sort through, rinse, hull, blot and prepare the fruits!
Since this is the first time making preserves, I wanted to make just enough to fill a few 16-oz jars!
After seeing how much added sugar is in a traditional homemade or store bought jam/preserve, I wanted to control the amount of sugar in my recipe. I heard from a fellow shopper in the pectin aisle that stevia has a weird taste and flavor and she uses raw turbinado sugar to reduce the amount of added sugar. After a bit of contemplation and a quick Google session, I decided to try a combination of few sweeteners – raw turbinado, stevia and regular refined sugar! So, after grabbing a small jar of pectin (for low/no sugar recipes), a large bag of stevia (swallow) and a pouch of turbinado, I raced to get a few canning jars! Armed with a dozen Canning jars, I started to feel like a pro!

Once you clean and prepare the fruits (or if you are lucky, recruit family and friends to do it for you!), rest of the process is very quick and easy.
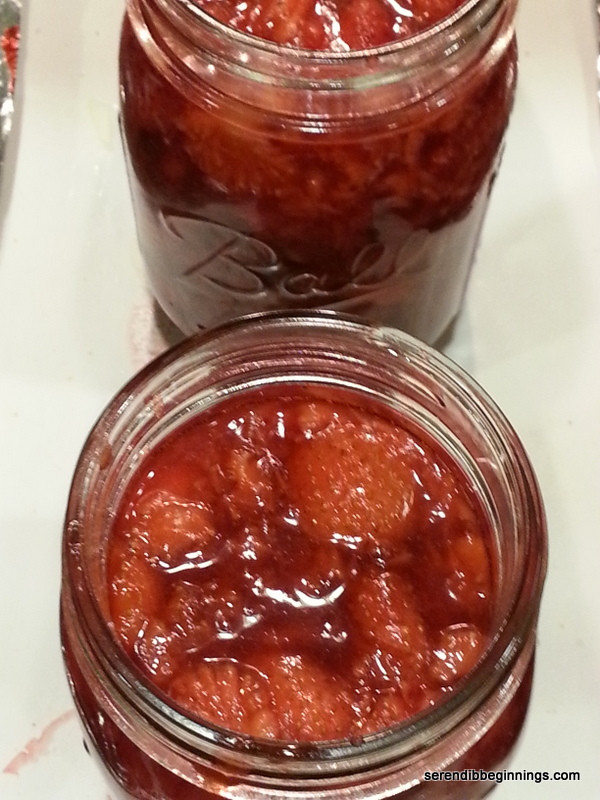
After a few minutes of cooking, you are ready to scoop into sterilized jars and seal for later! See, I told you the cooking process is easy!
NOTE ABOUT TASTE/TEXTURE: After opening many a jar of store-bought jelly and preserves, the look of this preserve closely resembles other low-sugar versions you get at the store. It’s not as “glossy” looking as regular sugar versions, but I didn’t mind it much. It tastes great and most importantly it was a winner with my kids!
This recipe is a winner even for the most challenged cook! So, give this a try and see for yourself! You still have a few days left of the strawberry season in your local area, so make it a berry fun weekend!
Easy Summer Berry Preserve
Ingredients
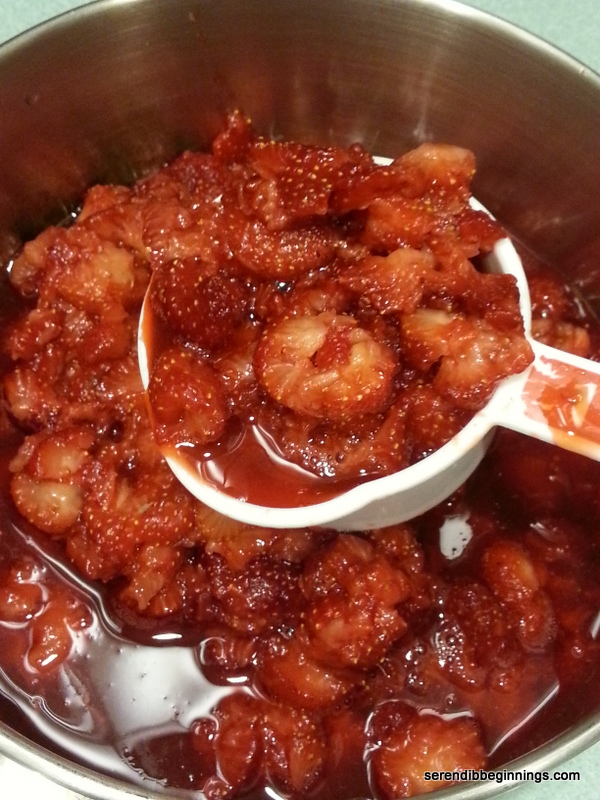
4 cups of crushed fresh berries
1/2 cup refined sugar
1/2 cup raw turbinado sugar
1/2 cup stevia
3/4 cup water or strawberry juice
6 tablespoons fruit pectin for low/no sugar recipe
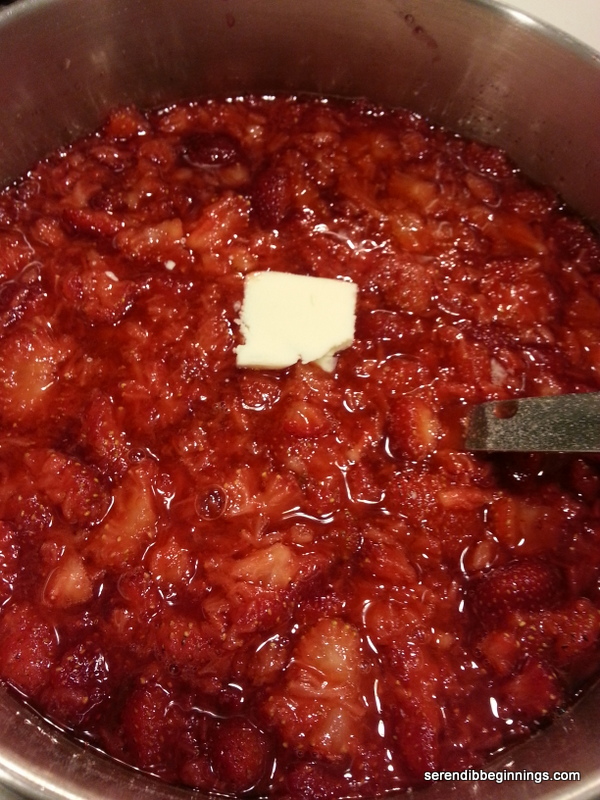
1 teaspoon butter, optional
3 16-oz canning jars with lids
Preparation
1. Wash the canning jars and the two-part lids with dish soap and warm water. Bring a large, wide pan of water to a low simmer and place the jars and the lids. Keep them in the water till the preserve is ready to be poured in.
2. Scoop the crushed berries, sugars and water into a large, heavy bottom pan and place over medium heat.
3. Add the pectin, while continuously stirring so as not to allow the pectin to clump up.
4. Stir in the butter. Increase the heat to medium high and bring the mixture to a rolling boil.
5. Continue to maintain the boil for 2-3 minutes and turn off heat.
6. Using tongs, carefully remove one jar at a time and spoon (or funnel) in the hot preserves, leaving about 1/4″ – 1/2″ space at the top. Using tongs, remove the flat lid from the water and place on the jar. Wipe away any spills from the rim and sides and seal using the lid rings. Repeat with remaining preserves.
7. Place the filled jars into a water bath with boiling water for 10 minutes. Turn off heat, wipe down the jars and place in the refrigerator.
8. Check for seal after about 24 hours. Lid should not have any bounce when you press on top. Your bottled preserves are ready for storage or giving away as gifts.
