Strawberry Cheesecke Muffins

20150308_154736

Ahh….the first, albeit distant hint of spring is in the air! At least I want to think so! Yes, I did enjoy the snow fall we had just last week, but this sunshine and warm temps are making me want to spring forward to the warm weather!

20150308_155127

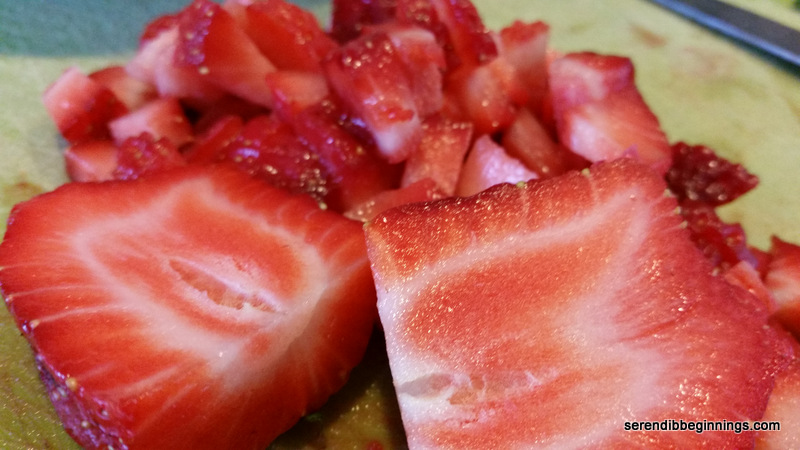
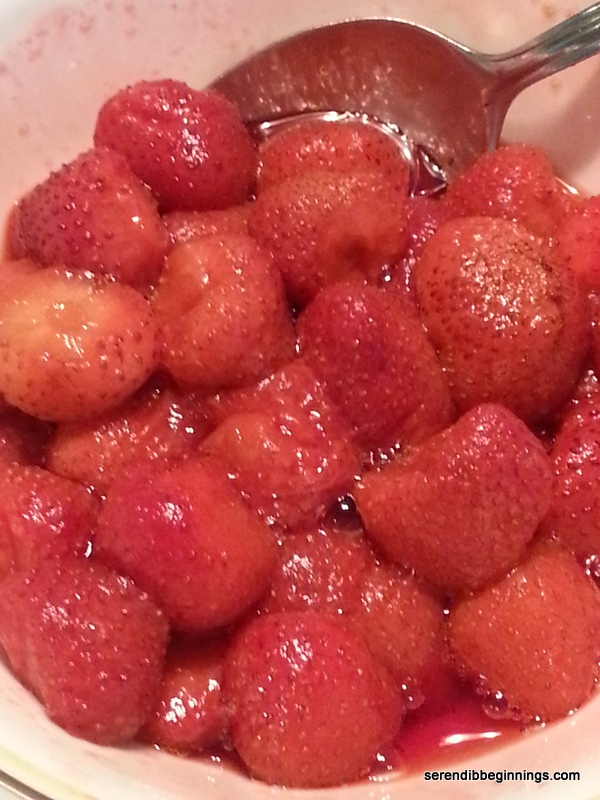
Today was a gorgeous day! Lots of sunshine flooding the house and it is almost too warm to have the pellet stove running! At times like this, my mind wanders aimlessly about the multitude of possibilities to create something wonderful and delicious. I had totally delicious, caramely baked sweet potato, two pounds of gorgeous, juicy, vibrant red strawberries, especially with tons of actual ripe fruit flavor, lots of flour and yeast and other basic baking must haves.

20150308_160052  20150308_160554

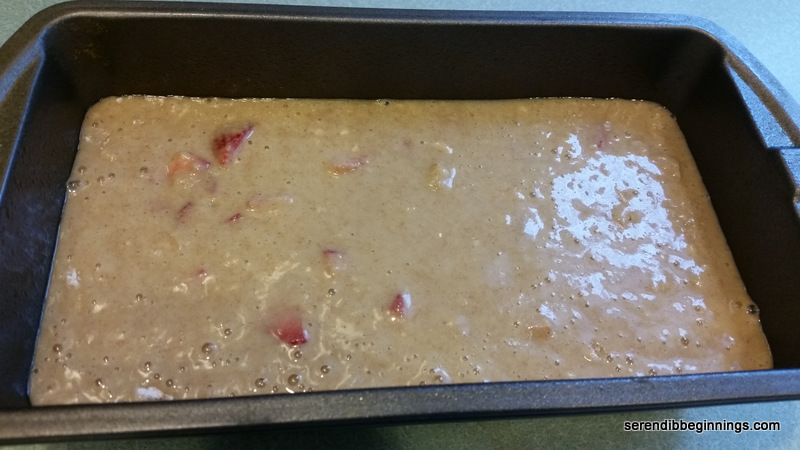
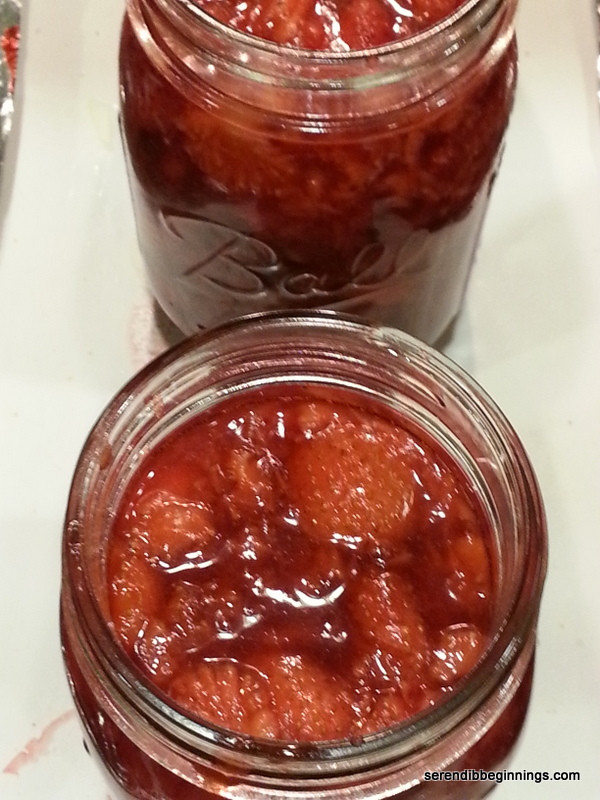
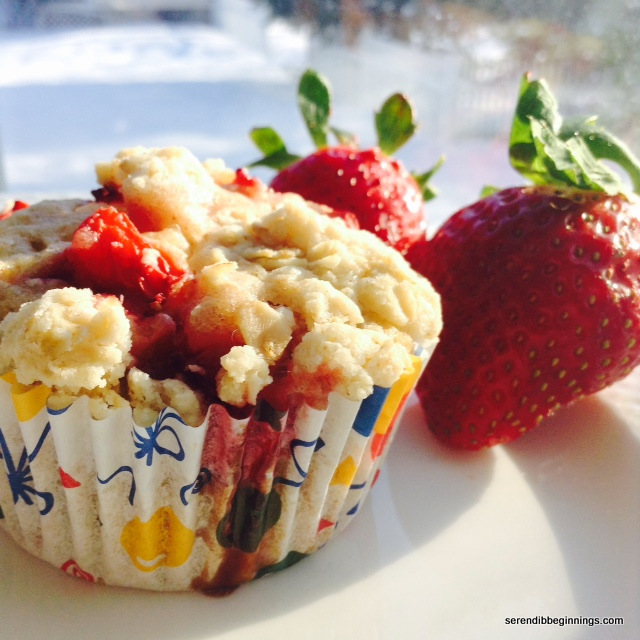
So, I decided to whip up two totally different recipes….Strawberry Cheesecake Muffins (yes, had to use up some leftover cream cheese too) and sweet potato yeast bread! Yum! First up…..THE muffins!

20150308_170957

There are three parts to this recipe from Patty’s Food. I made couple of modifications by replacing half the all-purpose flour with whole wheat, reducing the amount of sugar to less than 1/2 cup and replacing half the flour in the streusel topping with old-fashioned oats.

20150308_170832

These muffins are super delicious. Because of the whole wheat in them, they are not as airy as regular muffins, but the flavor of the berries and the subtle citrus flavor from the cheesecake filling are more than enough to want to indulge in another one! And maybe you should!

strawberry muffin

  • Servings: ”12
  • Print

Ingredients:

For the muffin batter
1 cup whole wheat flour
1 cup all-purpose flour
2 teaspoon baking powder
1/4 teaspoon salt
1/2 cup (or less granulated sugar)
1/4 cup oil
1 extra large egg, lightly beaten
1 cup 1% or 2 % milk
2 cups diced sweet strawberries
1 teaspoon vanilla

For the cheesecake filling
4 oz reduced fat cream cheese, softened
grated rind of 1/2 lime or lemon
1/2 teaspoon vanilla
2 tablespoons beaten egg (from above)
3 tablespoons granulated sugar

For the streusel topping
2 tablespoons cold butter
3 tablespoons rolled oats
3 tablespoons all-purpose flour
2 tablespoons granulated sugar

Preparation:
1. Preheat oven to 350F. Line a muffin tray with paper liners and set aside.
2. Prepare streusel topping by combining all the ingredients till they are crumbly. Set aside.
3. Prepare the cheesecake filling by thoroughly combining all the ingredients. Set aside.
4. Begin the preparation of the muffin batter by sifting all the dry ingredients into a bowl.
5. Combine egg, oil, milk and vanilla.
6. Add the dry ingredients to wet mix and gently fold to combine. Do not over mix.
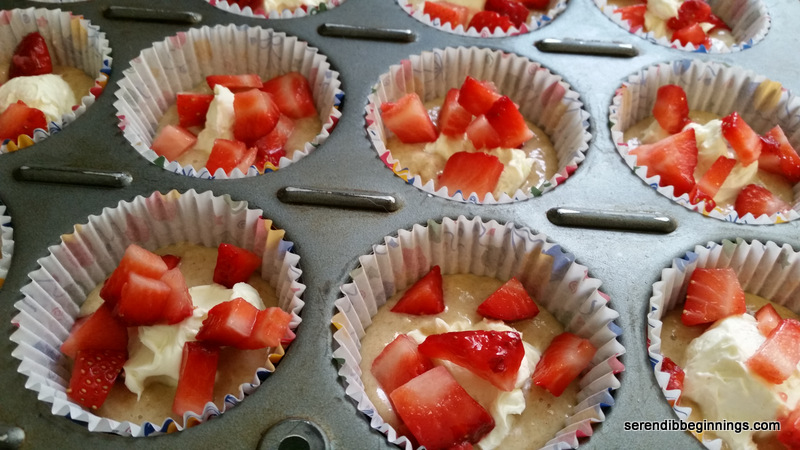
7. Scoop a tablespoon of batter into each of the muffin wells. Drop a dollop of the cheesecake mixture on top of the batter.
8. Divide the chopped strawberries in half. Evenly distribute one half of the strawberries over the cheesecake mix. Divide the rest of the muffin batter evenly among all the muffin cups.
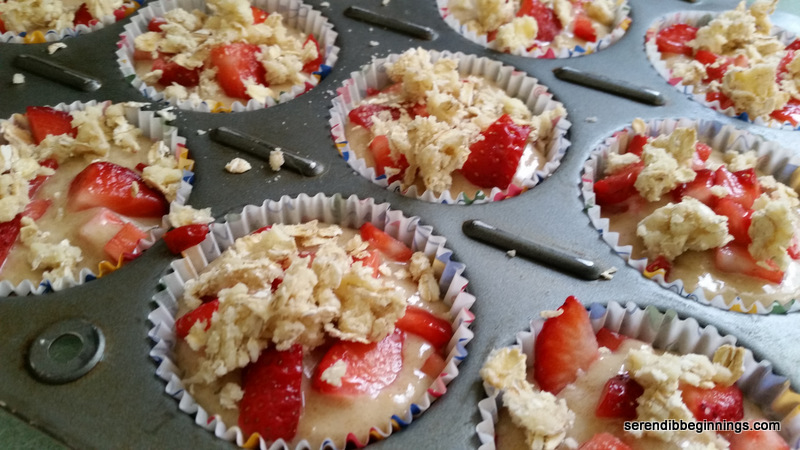
9. Sprinkle rest of the strawberries over the batter, followed by the streusel topping.
10. Bake for 25-27 minutes. Remove from oven and let cool completely.

Super Moist Strawberry Bread

20150124_102748

Strawberries?? In January??? Not great, I know! But, they made it into my kitchen and now I needed to find a way to use them up. My kids, who would normally devour them at the first sight, didn’t seem to care too much for them! Perhaps with good reasons!

20150124_103124  20150124_112734

I could have frozen them for future smoothies, but I had an urge for baking last weekend! My quest for a good recipe landed me at glazed strawberry bread. Sally’s Baking Addiction has bunch of great recipes and this one in particular hit the chord for using up my berries.

20150124_124248

I give her full credit for the recipe, although I did alter it a bit with substituting half the flour with whole wheat and adding in lemon zest in lieu of cinnamon. Also, I don’t like to overdo with the glaze, so my glaze is just a light drizzle.

20150124_124333

Like it is mentioned in the original recipe, this is a very moist strawberry cake bread. I will probably reduce the sugar a bit next time around – perhaps by a 1/4 cup. It is a great recipe to keep for a few days – that is if you can resist the temptation. Although I didn’t particularly detect the flavor getting more intense after a day (could be because my berries were not at their prime), the taste was still great after 3 days. Yes, we managed to keep ourselves in check!

20150124_132404

Do give this a try. It will be worth it!

  • Servings: ”12-14
  • Print

Ingredients:
1 cup all purpose flour
1 cup whole wheat flour
1 teaspoon baking soda
1/2 teaspoon salt
1 large egg, preferably at room temperature
3/4 cup granulated sugar
1/4 cup dark brown sugar
1 cup buttermilk (I made mine using vinegar and milk)
1/3 cup canola oil
2 teaspoons vanilla extract
1 teaspoon grated lemon zest
1 and 1/2 cups fresh strawberries, rinsed and diced into 1/4 inch cubes
1 tablespoon flour

Citrus Glaze (optional)
1/2 cup confectioner’s sugar
1 tablespoon heavy cream
1-2 tablespoons lemon juice
1/2 teaspoon grated lemon zest

Preparation:
1. Preheat oven to 350F. Spray a 9″ x 5″ loaf pan with a cooking spray and keep aside.
2. Combine first 4 ingredients in a large bowl and set aside while you mix the rest of the ingredients.
3. Whisk together the sugars and egg until well combined. Add buttermilk, oil, vanilla and lemon zest.
4. Add the wet ingredients to the dry ingredients and gently fold to combine. Take care not to over mix.
5. Toss the chopped strawberries in a tablespoon of flour. Slowly fold in the berries into the batter, leaving a few to top the batter, if desired (as you can see, I did not do that in my attempt).
6. Transfer the batter to the prepared loaf pan and bake on the middle rack for 50-60 minutes. If you see that the top is getting brown too fast, loosely cover the pan with a piece of foil half way through and continue baking.
7. Test for doneness using a toothpick. Remove pan from oven, let cool for about 10 minutes. Invert onto a wire rack and let cool completely.
8. While the bread is cooling, prepare your glaze. Combine all the ingredients for the glaze till they are smooth and of desired consistency. Once the bread is completely cool, drizzle the glaze over the top.

Berry Delicious Strawberry Sauce

20140621_170213

You can spoon it over a scoop of vanilla ice cream, drizzle over freshly made waffles, use it to dunk pancake bits cooked in ebelskiver pan or use it in whatever else you like! I am talking about a simple yet berry delicious strawberry sauce!

20140622_073742

So, you already saw my post about my first ever strawberry preserve recipe! So, here is another recipe using the gorgeous berries! Feel free to cut down the sugar as much as you want – less sugar you use, chunkier the sauce will be, but I promise you, it will still be super delish!

20140622_073706  20140622_073848  20140622_073958

All you need for this recipe is a good amount of fresh berries, bit of sugar and a splash of water! Yes, just three ingredients!

20140622_081539

Berry Delicious Strawberry Sauce

  • Servings: About 1 1/4 cups
  • Print

Ingredients
2 heaping cups fresh strawberries, washed, hulled and patted dry
1/4 cup sugar
1/4 cup water

Preparation
1. Combine sugar and water in a small pan and bring to a simmer.
2. Add 1/2 the strawberries to the pan to lightly soften the berries. Scoop the berries out of the sugar syrup and set aside in a small bowl.
3. Repeat with remaining berries.
4. Bring the syrup to a low boil and continue cooking till it reduces to a syrupy consistency. If any juices accumulate in the bowl with the berries, strain into the simmering sauce.
5. When syrup is your preferred consistency, turn the heat off and pour over the berries.
6. Chill the sauce in the refrigerator till ready to use.


Easy Summer Berry Preserve

20140622_205233

Warm weather is here and that means strawberries! Bright, red, juicy berries so full of flavor and nutrition that you can enjoy in many ways! That brings me to canning!

I have long admired the talent, passion and patience of folks who make it their summer mission to not only source season’s freshest produce, but also take the time to prepare and preserve them for months to come! When we visited our friends last winter, we had the opportunity to sample some homemade jams and preserves! They tasted so pure and delicious! Best of all, they were free of commercial preservatives and had significantly less added sugar. My friend insisted it was so simple to make! OK!

Since then, I sort of dabbled with the thought of trying my hands at making some homemade jam myself but kept putting it off! So, when the strawberry season came around, I just had to take the plunge! So, we went to the local farm to pick some berries. Ahh….what an enjoyable experience! From toddlers to grandparents, it was an afternoon of fun for everyone!

20140621_173134

After a bit of crawling around on piles of hay and red fingers, I managed to keep the family working long enough to pile on about 10 lbs of berries! That was the easy part! Seriously! The hardest part is setting aside the time to sort through, rinse, hull, blot and prepare the fruits!

20140621_170213

Since this is the first time making preserves, I wanted to make just enough to fill a few 16-oz jars!

After seeing how much added sugar is in a traditional homemade or store bought jam/preserve, I wanted to control the amount of sugar in my recipe. I heard from a fellow shopper in the pectin aisle that stevia has a weird taste and flavor and she uses raw turbinado sugar to reduce the amount of added sugar. After a bit of contemplation and a quick Google session, I decided to try a combination of few sweeteners – raw turbinado, stevia and regular refined sugar! So, after grabbing a small jar of pectin (for low/no sugar recipes), a large bag of stevia (swallow) and a pouch of turbinado, I raced to get a few canning jars! Armed with a dozen Canning jars, I started to feel like a pro!

20140622_202822         20140622_202853

Once you clean and prepare the fruits (or if you are lucky, recruit family and friends to do it for you!), rest of the process is very quick and easy.

After a few minutes of cooking, you are ready to scoop into sterilized jars and seal for later! See, I told you the cooking process is easy!

20140622_203526

NOTE ABOUT TASTE/TEXTURE: After opening many a jar of store-bought jelly and preserves, the look of this preserve closely resembles other low-sugar versions you get at the store. It’s not as “glossy” looking as regular sugar versions, but I didn’t mind it much. It tastes great and most importantly it was a winner with my kids!

20140622_205246

This recipe is a winner even for the most challenged cook! So, give this a try and see for yourself! You still have a few days left of the strawberry season in your local area, so make it a berry fun weekend!

Easy Summer Berry Preserve

  • Servings: 3 16-oz jars
  • Print

Ingredients
4 cups of crushed fresh berries
1/2 cup refined sugar
1/2 cup raw turbinado sugar
1/2 cup stevia
3/4 cup water or strawberry juice
6 tablespoons fruit pectin for low/no sugar recipe
1 teaspoon butter, optional
3 16-oz canning jars with lids

Preparation
1. Wash the canning jars and the two-part lids with dish soap and warm water. Bring a large, wide pan of water to a low simmer and place the jars and the lids. Keep them in the water till the preserve is ready to be poured in.
2. Scoop the crushed berries, sugars and water into a large, heavy bottom pan and place over medium heat.
3. Add the pectin, while continuously stirring so as not to allow the pectin to clump up.
4. Stir in the butter. Increase the heat to medium high and bring the mixture to a rolling boil.
5. Continue to maintain the boil for 2-3 minutes and turn off heat.
6. Using tongs, carefully remove one jar at a time and spoon (or funnel) in the hot preserves, leaving about 1/4″ – 1/2″ space at the top. Using tongs, remove the flat lid from the water and place on the jar. Wipe away any spills from the rim and sides and seal using the lid rings. Repeat with remaining preserves.
7. Place the filled jars into a water bath with boiling water for 10 minutes. Turn off heat, wipe down the jars and place in the refrigerator.
8. Check for seal after about 24 hours. Lid should not have any bounce when you press on top. Your bottled preserves are ready for storage or giving away as gifts.