

Crepes are a favorite breakfast item in our household. They are very easy to make and can be tailored to each person’s taste with the addition of their favorite fillings and/or spread. These crepes are especially good (and good for you) because they are made with white whole wheat and 1% milk.

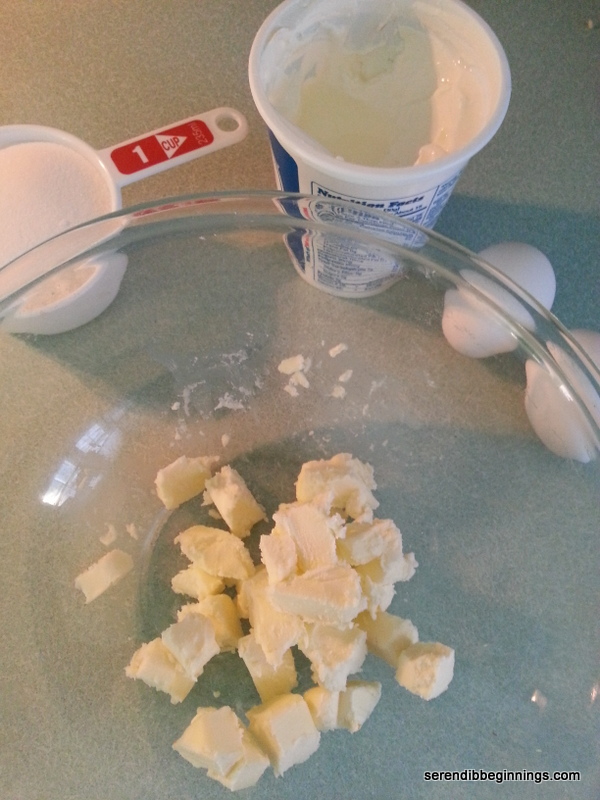
I usually go for Nutella or sweetened cream cheese for the spread and lots of fresh berries, berry compote etc. for the filling. Here is a tip about cream cheese – make your own sweetened cream cheese to limit the amount of sugar. It just takes a tablespoon or so of confectioner’s sugar to sweeten about 1/2 cup of softened cream cheese. Feel free to grate a bit of lemon zest into it with a dash of vanilla!


Crepes can be enjoyed at room temperature. That means, you can cook all the crepes first and then, finish them off later with the spread and filling. Perhaps, you could just set the crepes with the spread(s) and filling(s) and have everyone compile their own! 🙂
Whole wheat crepes with fresh berries
Ingredients
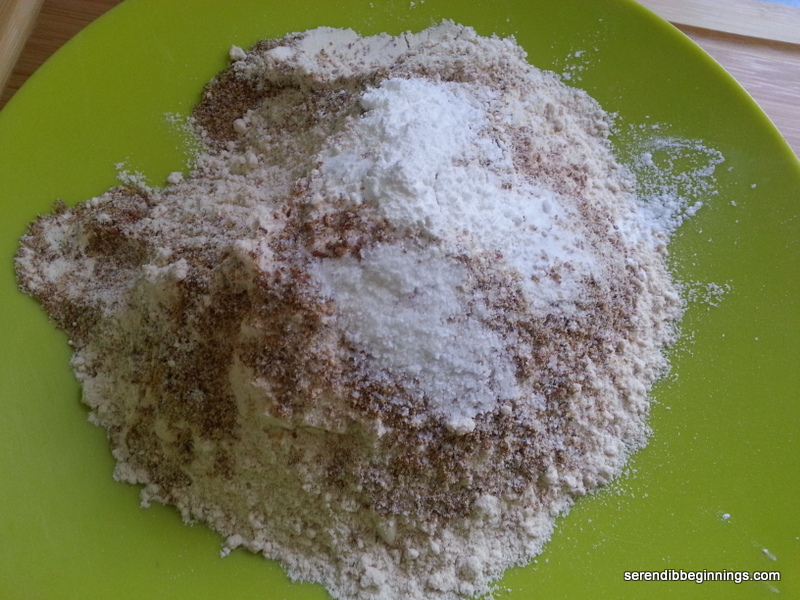
1 cup white whole wheat flour
1 cup 1% milk
3/4 cup water
1 teaspoon vanilla
3 eggs
1/2 teaspoon vanilla extract
1 tablespoon melted butter
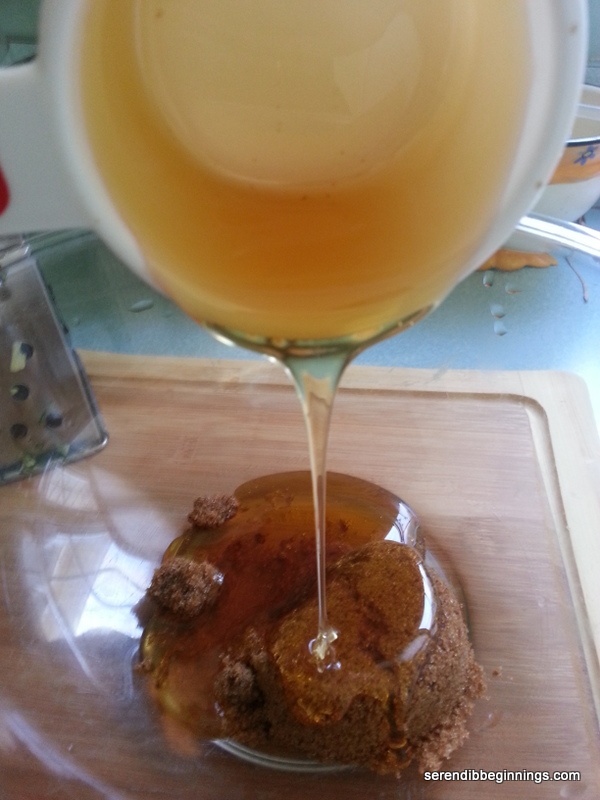
1 tablespoon honey
Extra butter or non stick spray for cooking the crepes
Spread
Nutella
Sweetened cream cheese
Fillings
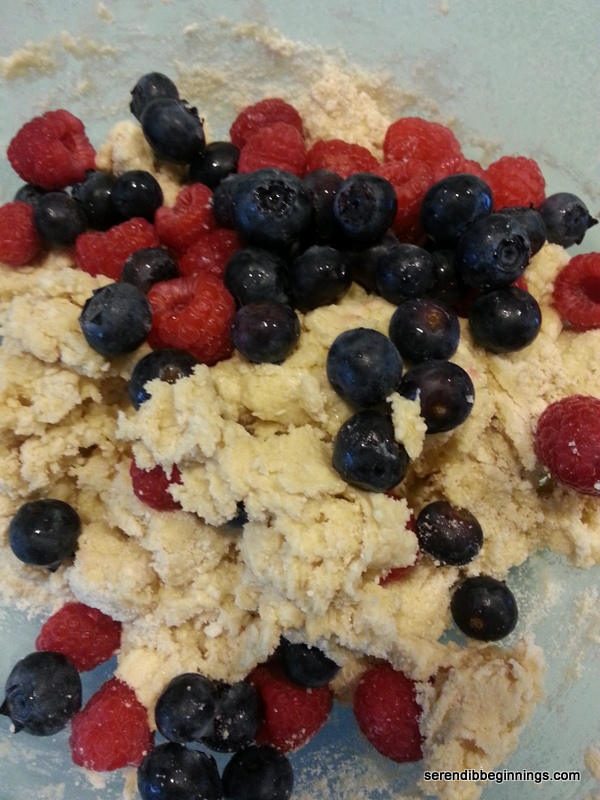
Fresh berries
Banana
Sautéed apples
Mixed berry compote
Preparation
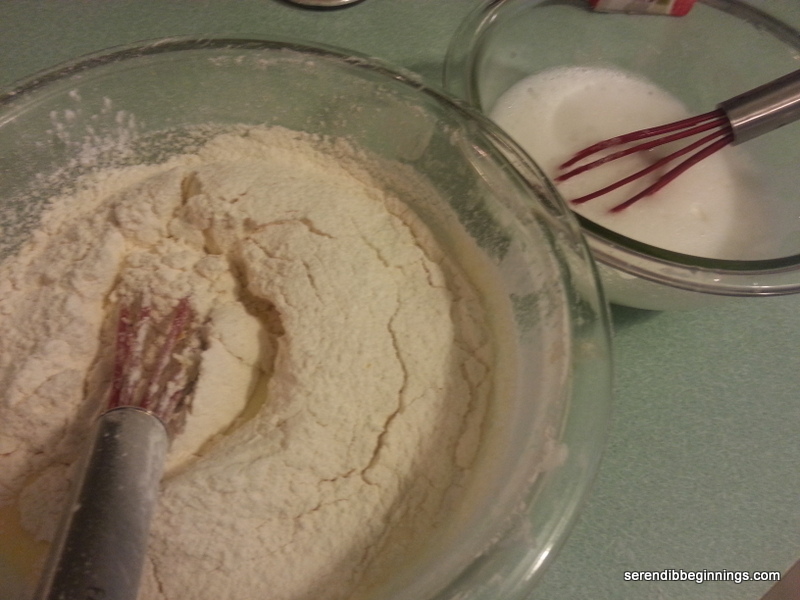
1. Thoroughly blend all of the crepe ingredients through honey in a blender. I used a handheld mixer to whisk the mixture.
2. Let the batter sit for 15 minutes so the air bubbles disappear.
3. Heat a small sauté or frying pan over medium high heat. Either melt a dab of butter or spray with a non-stick spray.
4. Ladle about 1/4 cup of batter and quickly swirl to coat the bottom.
5. Let cook for a minute and flip to the other side. Continue cooking for about 30 seconds or so.
6. Remove crepes to a plate and keep aside till ready to assemble.
7. When ready to assemble, spread a bit of nutella or cream cheese. Fill with fruits or compote of choice or just enjoy plain with just the spread.
8. Finish off with a dusting of confectioner’s sugar.


![20140223_184010[1]](https://serendibbeginnings.com/wp-content/uploads/2014/02/20140223_1840101.jpg)
![20140223_180616[1]](https://serendibbeginnings.com/wp-content/uploads/2014/02/20140223_1806161.jpg)
![20140223_180853[1]](https://serendibbeginnings.com/wp-content/uploads/2014/02/20140223_1808531.jpg)
![20140223_183902[1]](https://serendibbeginnings.com/wp-content/uploads/2014/02/20140223_1839021.jpg)
![20140224_070812[1]](https://serendibbeginnings.com/wp-content/uploads/2014/02/20140224_0708121.jpg)
![20140223_100523[1]](https://serendibbeginnings.com/wp-content/uploads/2014/02/20140223_1005231.jpg)
![20140223_094555[1]](https://serendibbeginnings.com/wp-content/uploads/2014/02/20140223_0945551.jpg)
![20140223_094740[1]](https://serendibbeginnings.com/wp-content/uploads/2014/02/20140223_0947401.jpg?w=135&h=180)
![20140223_101525[1]](https://serendibbeginnings.com/wp-content/uploads/2014/02/20140223_1015251.jpg)
