Super Moist Strawberry Bread

20150124_102748

Strawberries?? In January??? Not great, I know! But, they made it into my kitchen and now I needed to find a way to use them up. My kids, who would normally devour them at the first sight, didn’t seem to care too much for them! Perhaps with good reasons!

20150124_103124  20150124_112734

I could have frozen them for future smoothies, but I had an urge for baking last weekend! My quest for a good recipe landed me at glazed strawberry bread. Sally’s Baking Addiction has bunch of great recipes and this one in particular hit the chord for using up my berries.

20150124_124248

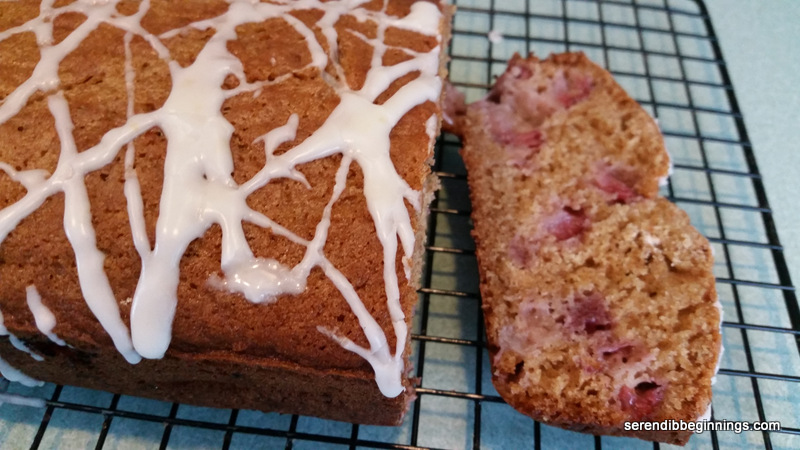
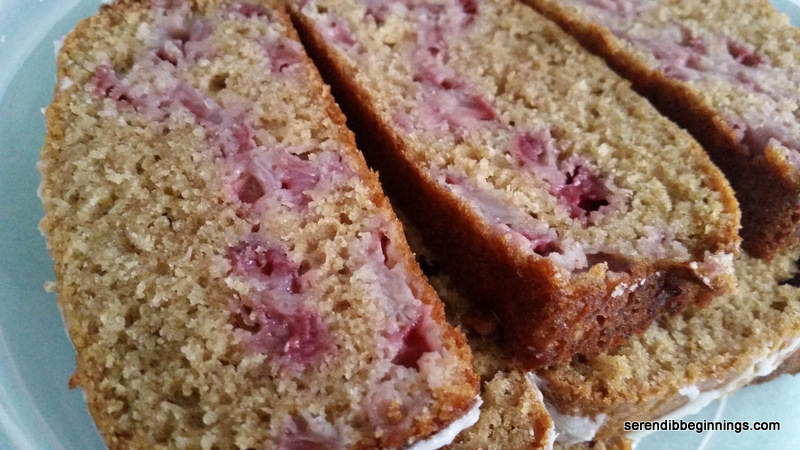
I give her full credit for the recipe, although I did alter it a bit with substituting half the flour with whole wheat and adding in lemon zest in lieu of cinnamon. Also, I don’t like to overdo with the glaze, so my glaze is just a light drizzle.

20150124_124333

Like it is mentioned in the original recipe, this is a very moist strawberry cake bread. I will probably reduce the sugar a bit next time around – perhaps by a 1/4 cup. It is a great recipe to keep for a few days – that is if you can resist the temptation. Although I didn’t particularly detect the flavor getting more intense after a day (could be because my berries were not at their prime), the taste was still great after 3 days. Yes, we managed to keep ourselves in check!

20150124_132404

Do give this a try. It will be worth it!

  • Servings: ”12-14
  • Print

Ingredients:
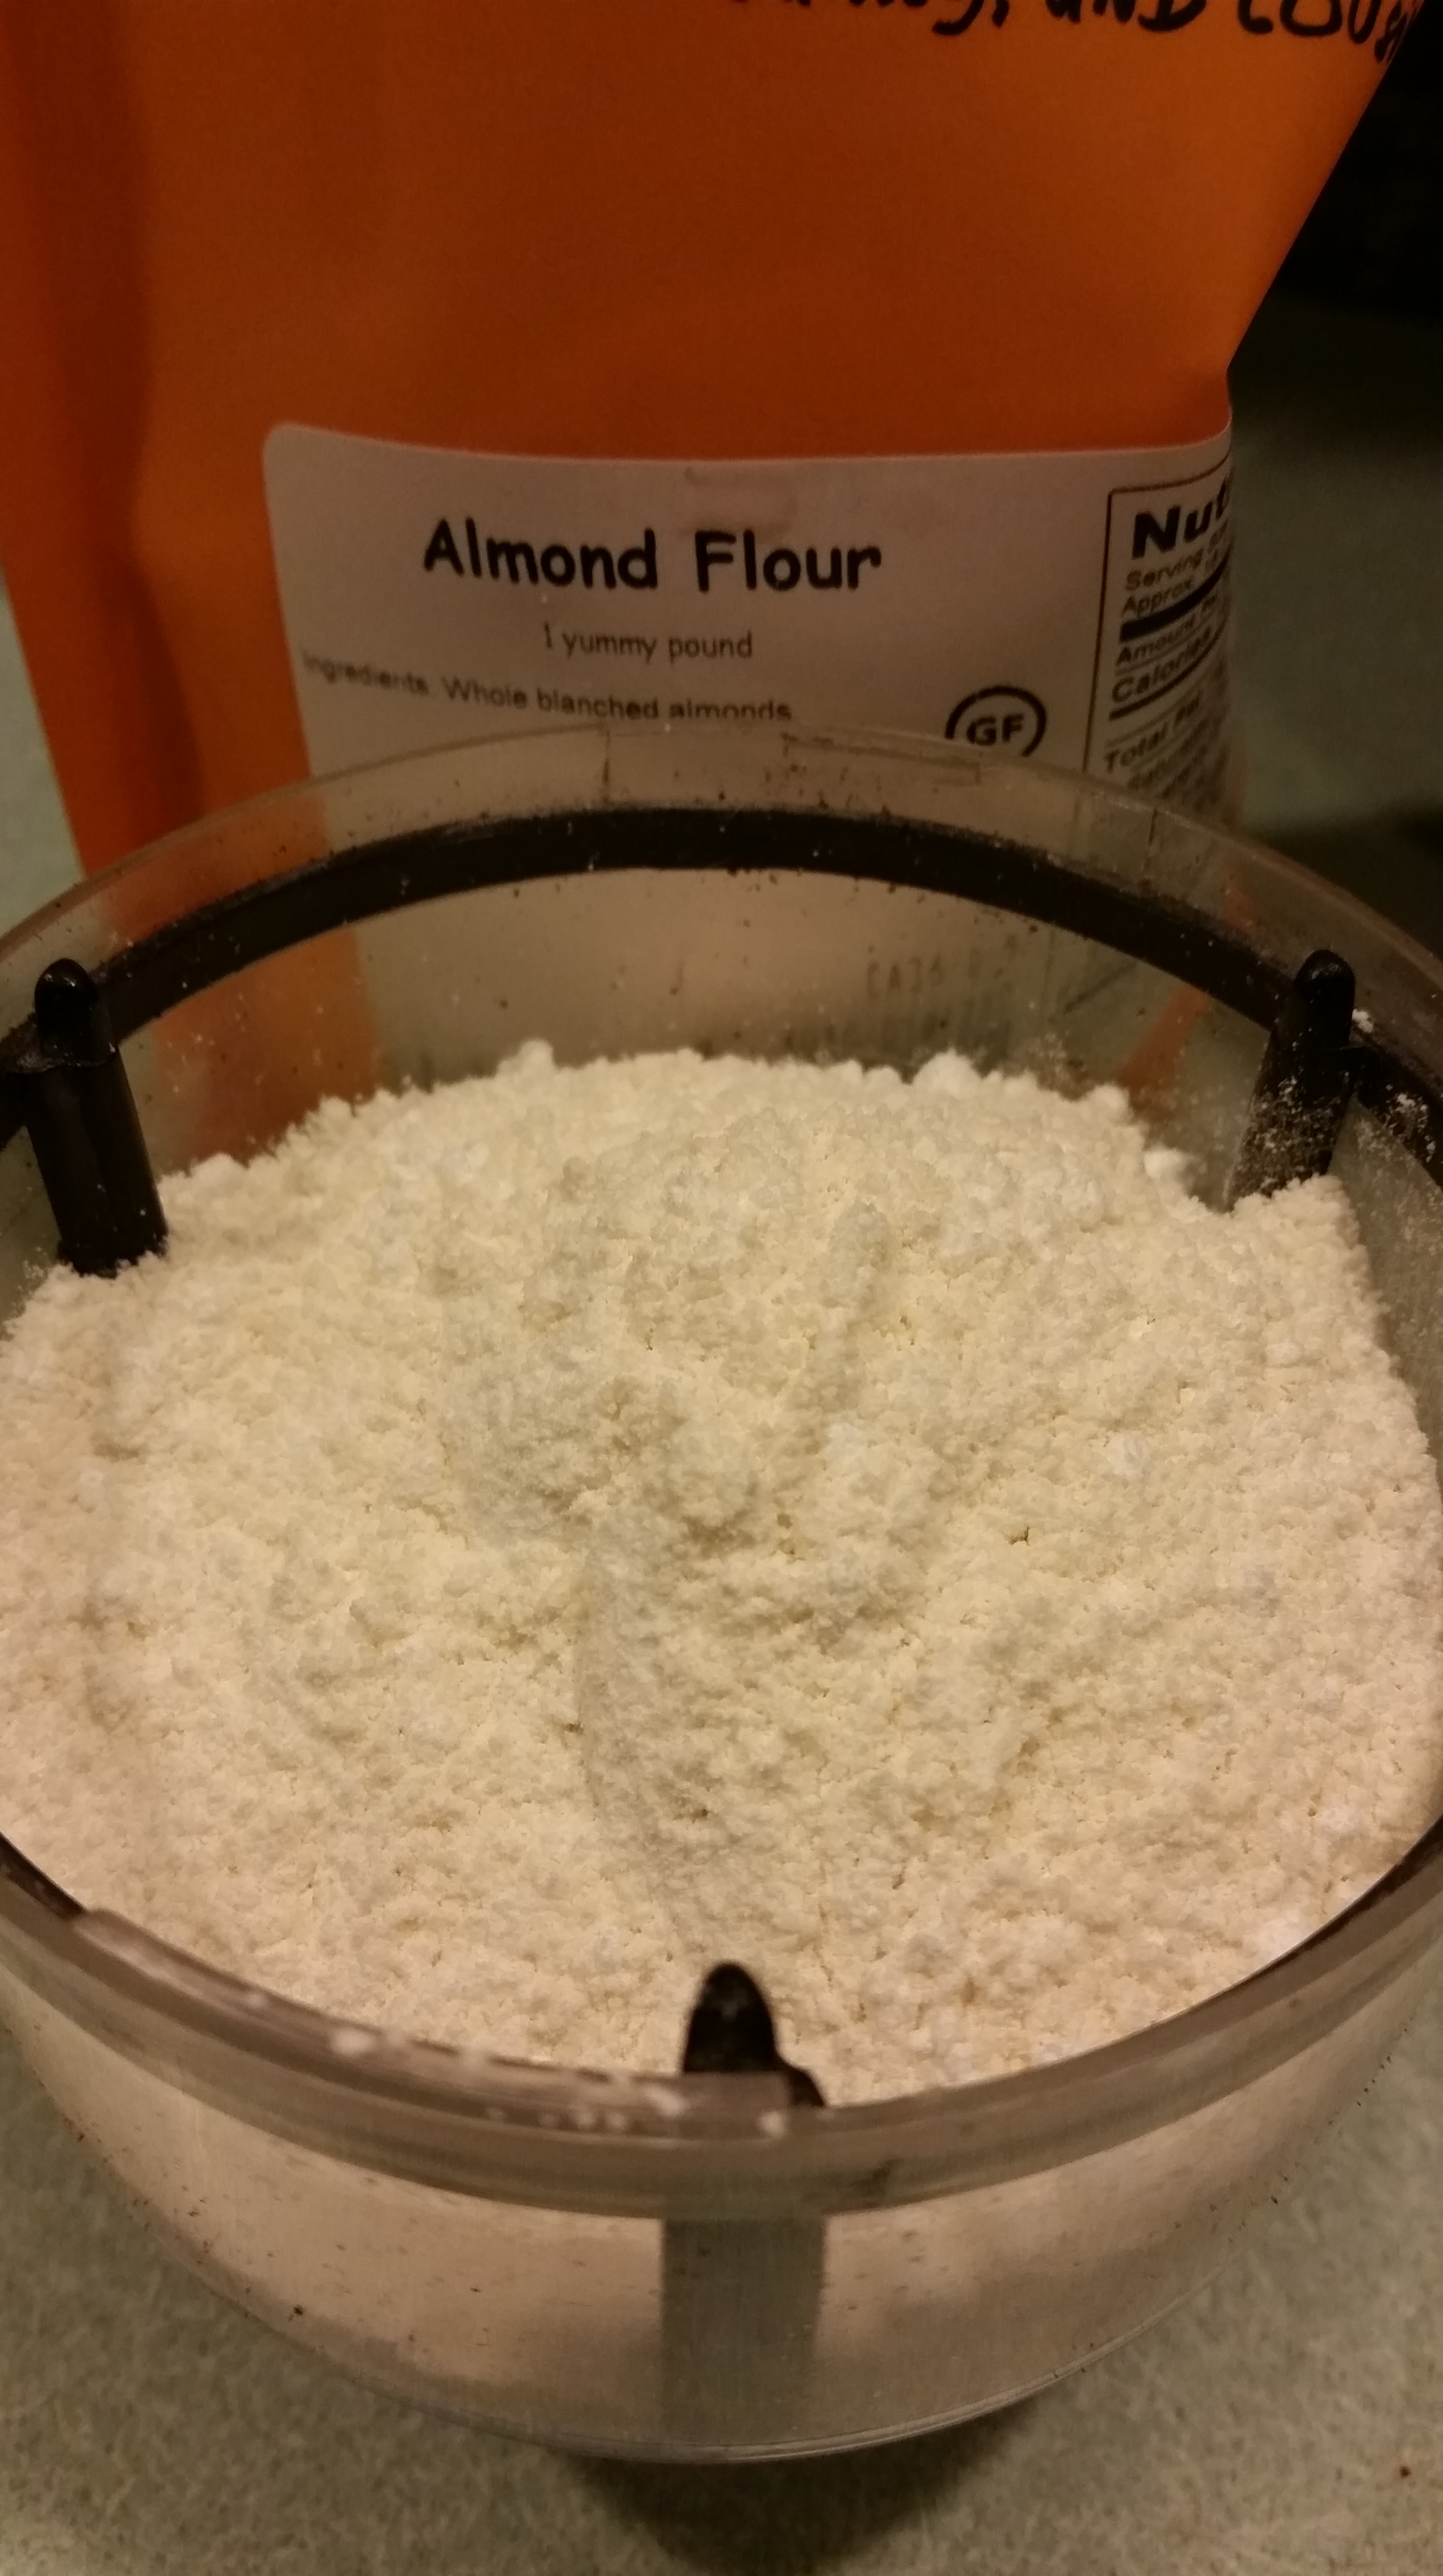
1 cup all purpose flour
1 cup whole wheat flour
1 teaspoon baking soda
1/2 teaspoon salt
1 large egg, preferably at room temperature
3/4 cup granulated sugar
1/4 cup dark brown sugar
1 cup buttermilk (I made mine using vinegar and milk)
1/3 cup canola oil
2 teaspoons vanilla extract
1 teaspoon grated lemon zest
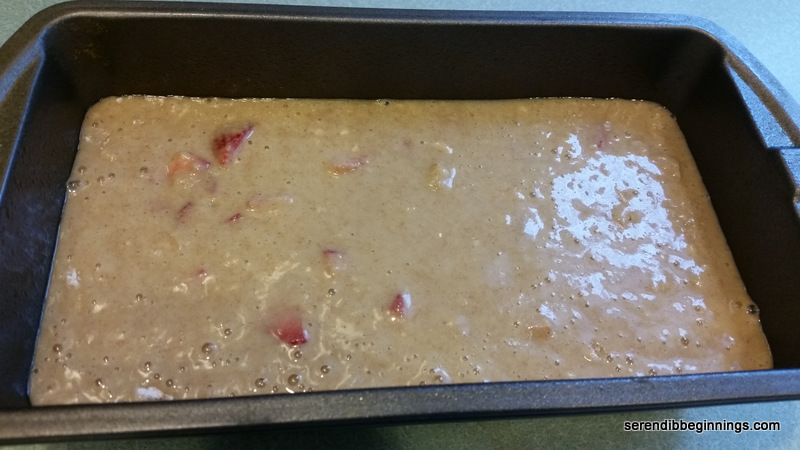
1 and 1/2 cups fresh strawberries, rinsed and diced into 1/4 inch cubes
1 tablespoon flour

Citrus Glaze (optional)
1/2 cup confectioner’s sugar
1 tablespoon heavy cream
1-2 tablespoons lemon juice
1/2 teaspoon grated lemon zest

Preparation:
1. Preheat oven to 350F. Spray a 9″ x 5″ loaf pan with a cooking spray and keep aside.
2. Combine first 4 ingredients in a large bowl and set aside while you mix the rest of the ingredients.
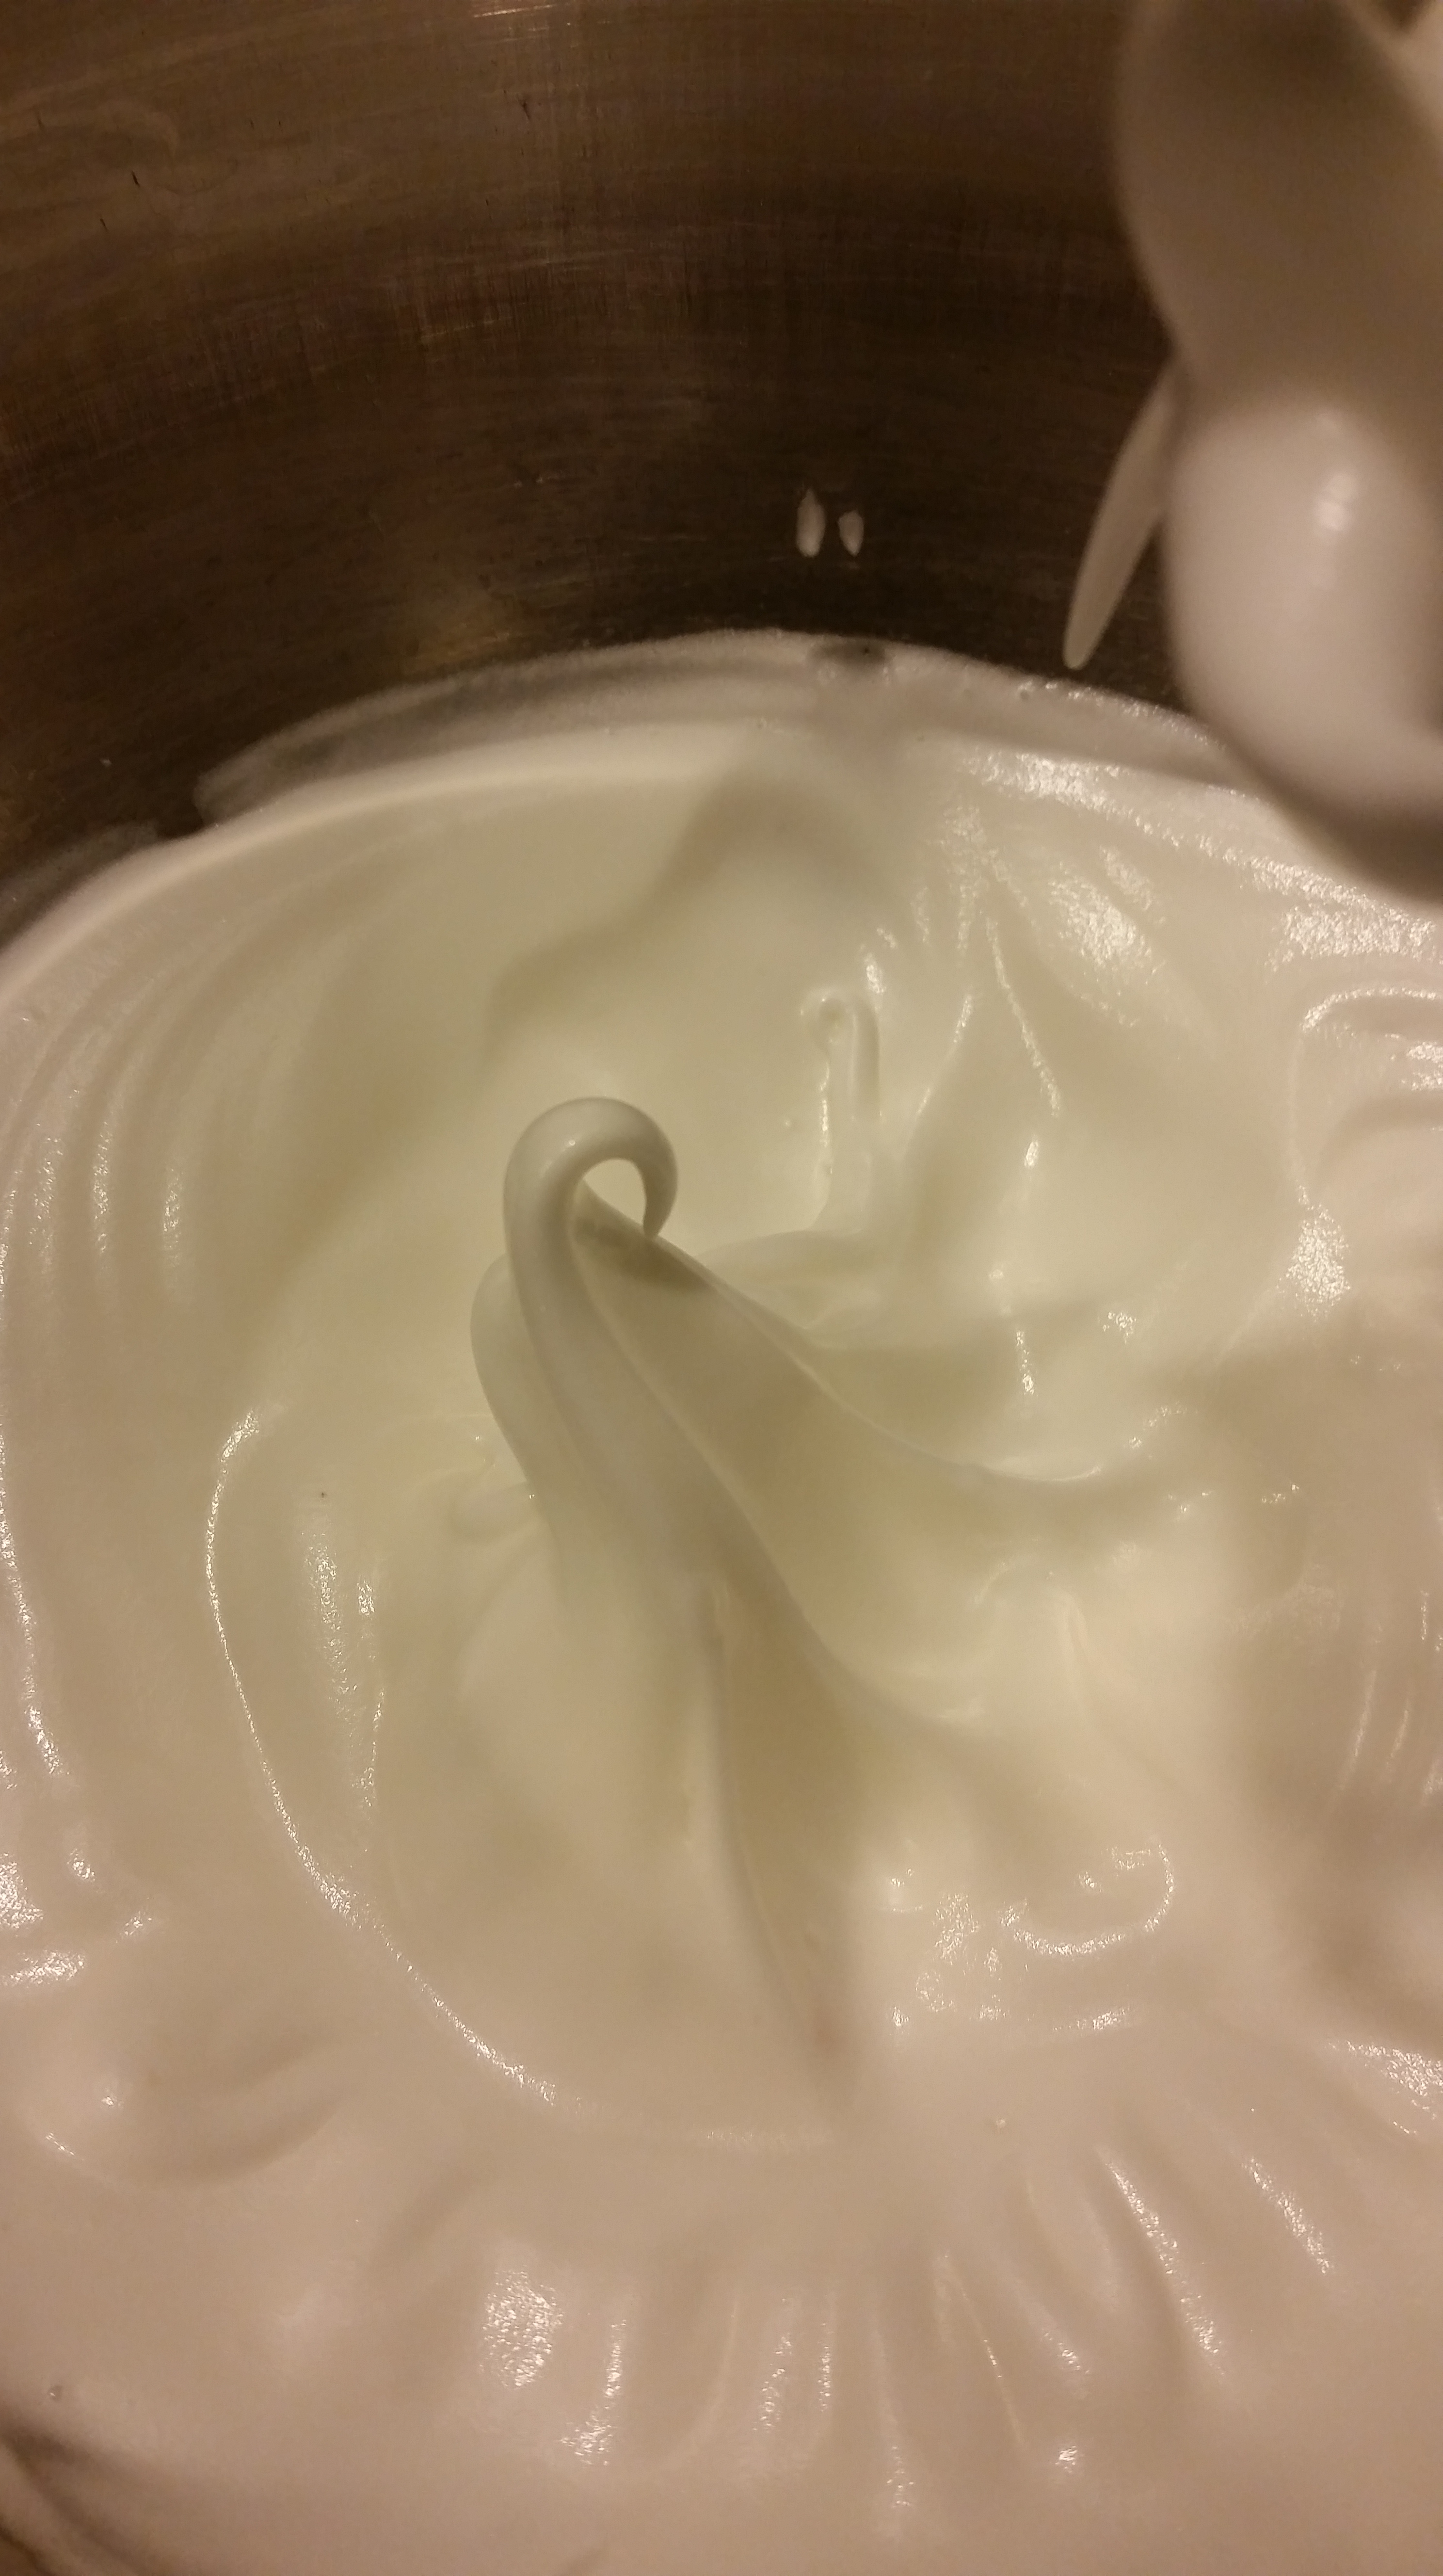
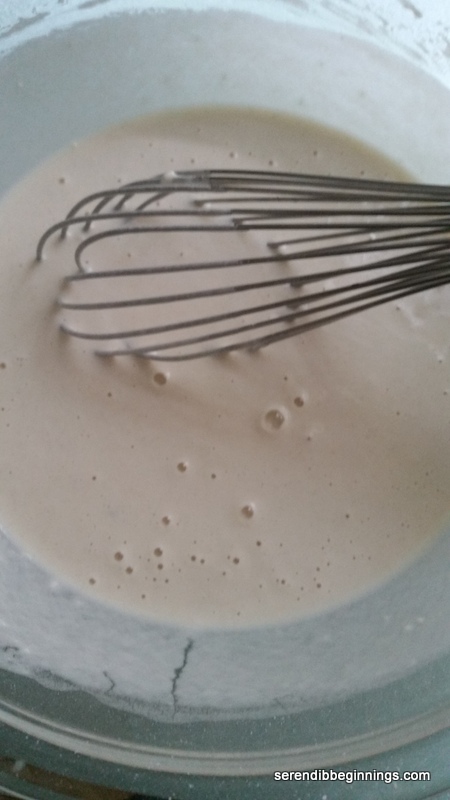
3. Whisk together the sugars and egg until well combined. Add buttermilk, oil, vanilla and lemon zest.
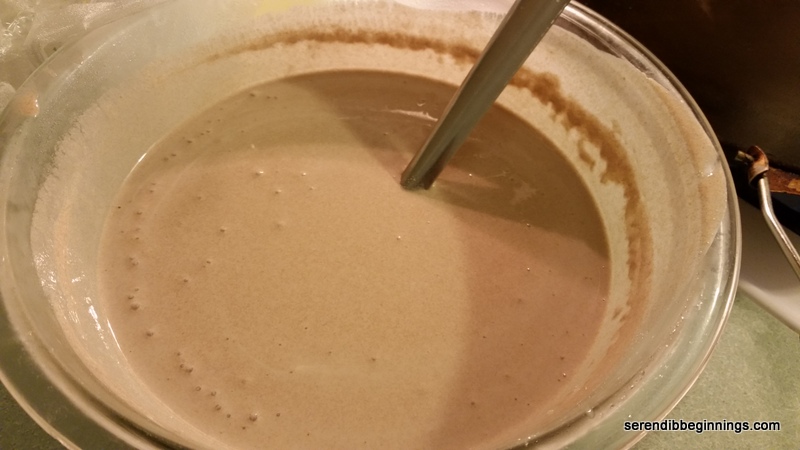
4. Add the wet ingredients to the dry ingredients and gently fold to combine. Take care not to over mix.
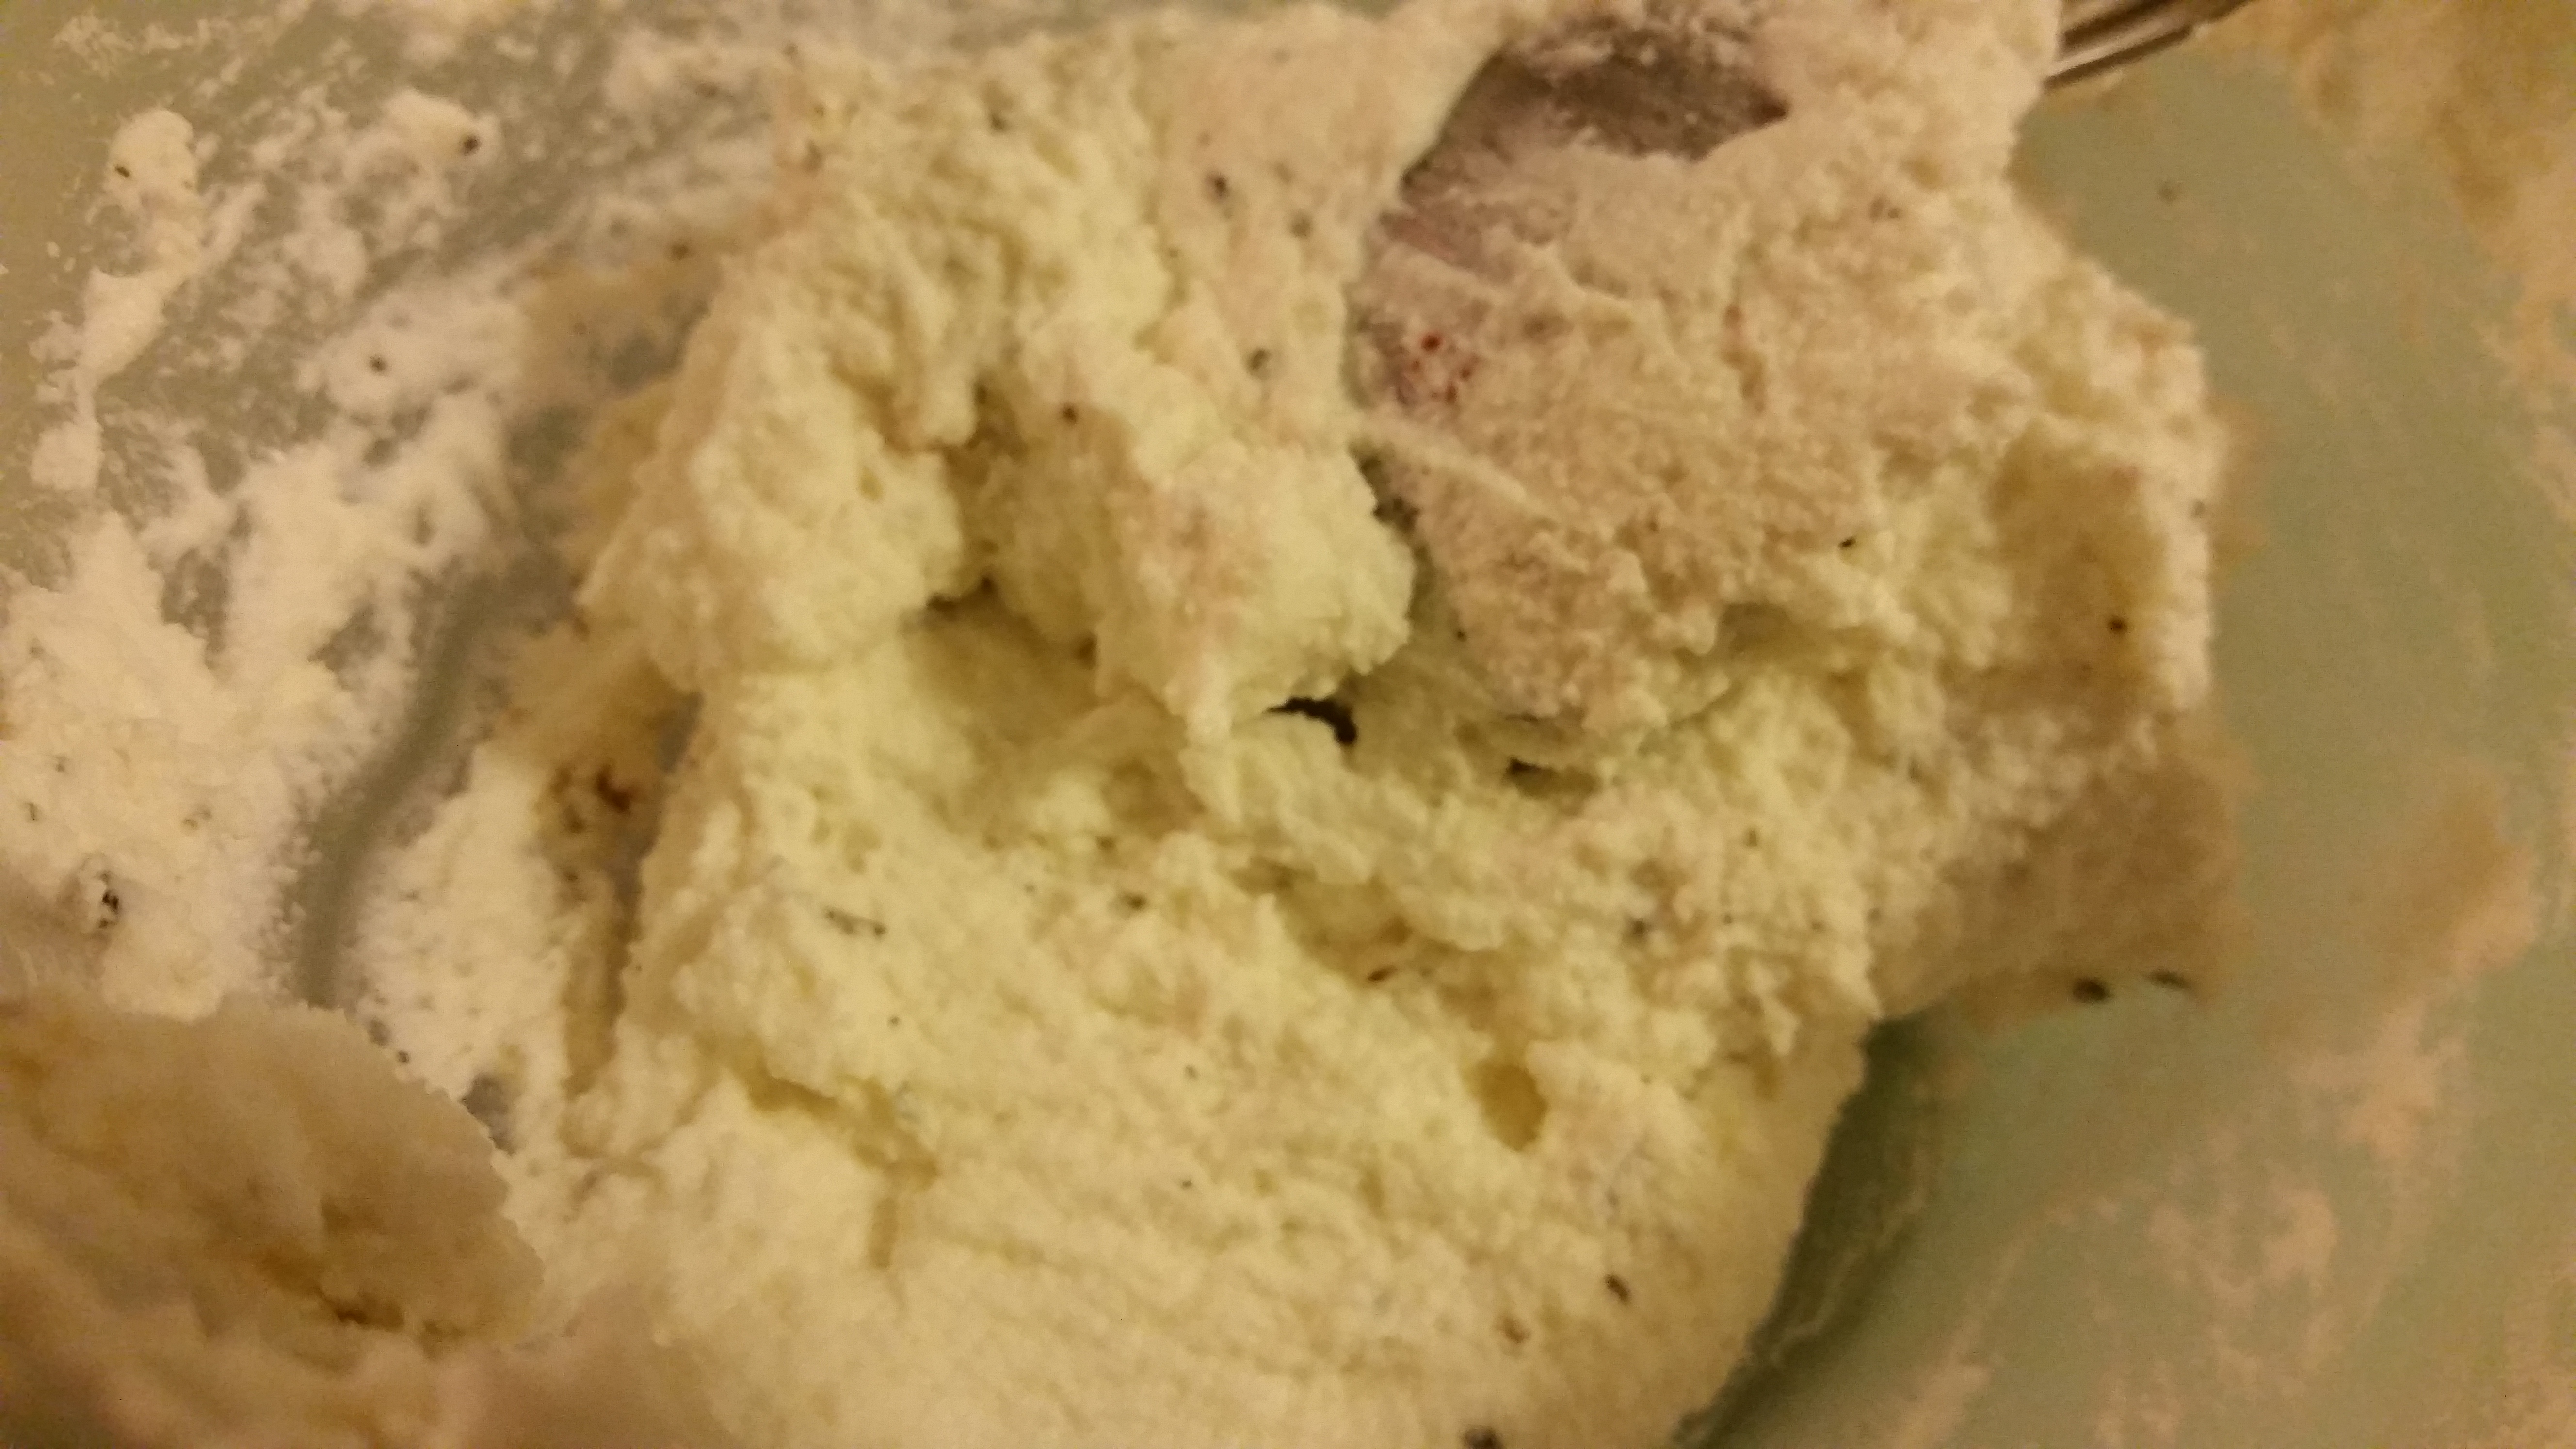
5. Toss the chopped strawberries in a tablespoon of flour. Slowly fold in the berries into the batter, leaving a few to top the batter, if desired (as you can see, I did not do that in my attempt).
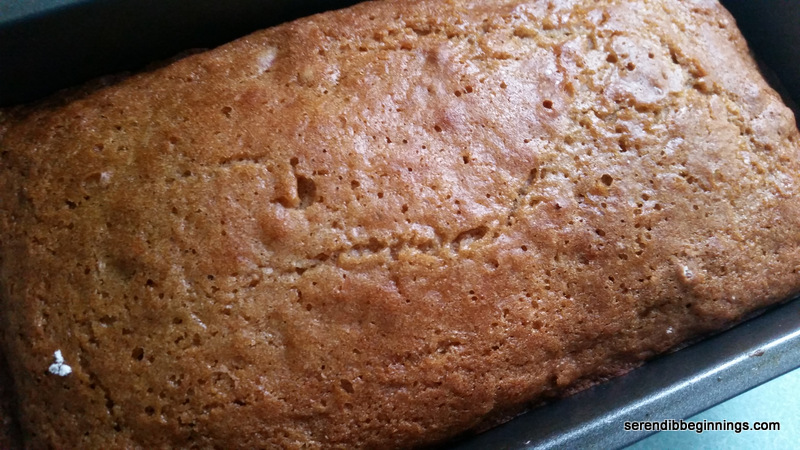
6. Transfer the batter to the prepared loaf pan and bake on the middle rack for 50-60 minutes. If you see that the top is getting brown too fast, loosely cover the pan with a piece of foil half way through and continue baking.
7. Test for doneness using a toothpick. Remove pan from oven, let cool for about 10 minutes. Invert onto a wire rack and let cool completely.
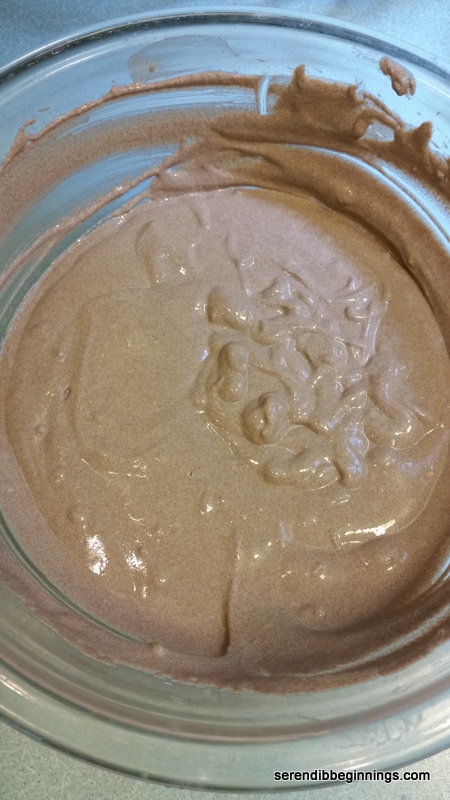
8. While the bread is cooling, prepare your glaze. Combine all the ingredients for the glaze till they are smooth and of desired consistency. Once the bread is completely cool, drizzle the glaze over the top.

Soy Glazed Chicken on a Stick

20141210_195057

Anything on a stick seems to elevate to the top when it comes to perfect finger foods that are enjoyed by all – although not all of them are good for you (was your first thought corndog??!). But this recipe is truly not that bad at all – especially if you use chicken breast although I used bones, skinless thighs!

I don’t know if this belongs to the true “chicken satay” category. I probably have most of the satay marinade ingredients in this, but this is more of a general Asian flavor than any one particular cuisine. Marinade consists of sweet soy sauce (it is like molasses – dark and thick), regular soy sauce, dark sesame oil, ginger, garlic, honey, rice wine vinegar and green onions.

20141210_201947

There is not much to this recipe. Hardest part is probably cleaning the chicken to remove all excess fat and slicing them into long strips. Other than that, you just let the chicken (on the stick) marinate for a while and cook! Don’t discard the marinade. Boil it up to make a delicious dipping sauce for your chicken on a stick!

20141210_202016

Soy Glazed Chicken on a Stick

  • Servings: 4
  • Print

Ingredients
4 large boneless, skinless chicken thighs
4 tablespoons sweet dark soy sauce
1 tablespoon reduced-sodium soy sauce
1 tablespoon honey
2 tablespoons rice wine vinegar
1 teaspoon dark sesame oil
1 tablespoon minced ginger
1 tablespoon minced garlic
2 green onions, thinly sliced
1 teaspoon crushed red pepper
Cooking spray
12 short bamboo skewers
1 tablespoon peanut butter, optional (for sauce)

Preparation:
1. Begin by preparing the chicken. Trim off excess fat and slice into long strips, about 1″ wide. Thread the chicken pieces through the skewers. Set aside in a shallow dish while you prepare the meat. Alternatively, you can marinate the chicken and then thread through the skewers.
2. Prepare the marinade pan by mixing all the ingredients from dark soy sauce through crushed red pepper. Pour over the chicken, cover with plastic wrap and let marinate for about 15-20 minutes.
3. Heat a skillet over medium heat. Remove the skewers from the marinade and drain the marinade into a small sauce pan. Place the skewers in a single layer and cook for 5 minutes on each side. Test for doneness. Alternatively, you can grill the chicken as well.
4. Add about 1/4 cup of water to the marinade along with the peanut butter (if using). Bring to a slow simmer and continue cooking for about 3-5 minutes. If the sauce looks too thin, you can thicken it by adding a bit of cornstarch. Taste the sauce and adjust salt/sweetness per your taste.
5. Serve the chicken with the sauce and a side of rice or salad.

Tri-Flour Fluffy Pancake


20141213_103246

Happy New Year everyone! It’s been almost a year since I started with this blog! It’s been a whirlwind of an year, wouldn’t you agree! Anyway, as I start the first weekend of 2015, I couldn’t help but start with a post on an all-time favorite breakfast time! Pancakes! Yes, sure, it takes a bit of time in the kitchen, but don’t you think it is so worth it when you dig your fork into the pillowy soft yumminess!

20141213_100358

On those lazy mornings when I do have some time to linger over a good breakfast, I try to alternate between pancakes and waffles. I especially like pancakes because I don’t have to fuss with them like I need to with waffles! Also, I personally think there are countless more recipes for pancakes than waffles! So, for someone who likes frequent changes, pancakes are probably a better choice than waffles – although I guess you could top a basic waffle with a zillion different toppings. 🙂

20141213_103142

So, this recipe is one of those recipes I happened to try out when I was seeking a change from the mundane basic pancake. This one uses an equal blend of whole wheat flour, all-purpose flour and fine yellow cornmeal. The pancake is made pillowy soft with the addition of sour cream and yogurt. And yes, it gets a touch of sweetness from honey!

Feel free to add in grated lemon zest and a squeeze of lemon for a lemony twist to these flapjacks! And top them off with a squeeze of lemon and powdered sugar! Just for this one, please move over syrup!

20150102_060426

Tri-Flour Fluffy Pancakes

  • Servings: 4-6
  • Print

Ingredients
1/2 cup whole-wheat flour
1/2 cup all-purpose flour
1/2 cup fine yellow cornmeal
2 tablespoons honey
1 1/4 teaspoon baking powder
1/2 teaspoon baking soda
1/2 teaspoon salt
3/4 cup fat free plain yogurt
1/4 cup reduced fat sour cream
1 cup 1% milk
2 tablespoons unsalted butter, melted
1 large egg, lightly beaten
1 teaspoon lemon zest and 1 tablespoon lemon juice, optional

Preparation
1. Mix together all the dry ingredients and set aside.
2. In a large bowl, combine all the wet ingredients until well combined (tip: mix honey with melted butter first as yogurt, sour cream and milk will be too cold to incorporate it well)
3. Gently mix the wet and dry ingredients. If using lemon zest and juice, add them now as well. Don’t over mix, batter will be lumpy.
4. Let the batter sit while you preheat a griddle over medium heat.
5. When hot, dab with a touch of butter or spray with non-stick cooking spray. Add about 1/4 cup of batter per pancake and cook for 3 minutes. When the edges look set, flip and cook on the other side for another 3 minutes or so.
6. Stack the pancakes while you cook rest of the batter. Serve warm with your favorite syrup or a squeeze of lemon juice and powdered sugar.

Enjoy!

Light and Healthy Chicken Parmesan


20141124_195238


Chicken parm and eggplant parm (have you tried them as a layered “lasagna”??? OMG, it’s a savory heaven!) are among my favorite dishes. If I could indulge in them several times a week, I am almost certain I would! What do you expect, it is breaded CHEESY! I only wish the real version was healthier!

20141124_192544  20141124_192550

That is….just until I tried experimenting with this recipe last week! I figured if I could crisp up the chicken without deep frying and replace the regular cheese with a reduced fat version, I will be half way there! So, that’s what I did!

20141124_192554  20141124_194330

I used a light coating of breadcrumbs to crisp up the chicken. After pan frying them in a coating of extra virgin olive oil, I topped them with little bit of good quality pasta sauce and reduced fat mozzarella cheese and voila, I couldn’t feel better eating it or serving it to my family!

So, grab a few pieces of boneless, skinless thighs (excess fat removed as best as you could) or breasts and few basic ingredients and start whipping up these babies! You will be glad you did!

20141124_195303

[Recipe title=”Light and Healthy Chicken Parmesan” Servings=”4″ Prep time=”45 minutes”]

Ingredients
8 small boneless, skinless chicken thighs, fat trimmed off
Salt and pepper to taste
1/2 – 3/4 cup Italian-style bread crumbs
1/8 cup grated parmesan cheese
1/2 teaspoon garlic powder
1/2 teaspoon dried Italian herbs, crushed
1/4 teaspoon ground black pepper
1 egg, lightly beaten with a tablespoon of water
1/2 teaspoon crushed red pepper
1/4 teaspoon ground black pepper
2-3 tablespoons of extra virgin olive oil
1/4 cup grated parmesan cheese
1/2 cup reduced fat grated mozzarella cheese
1 cup good quality pasta sauce

Preparation
1. In a shallow dish, combine bread crumbs, 1/8 cup parmesan, garlic powder, Italian herbs and black pepper.
2. In another shallow dish, whisk together the egg, crushed red pepper and black pepper.
3. Dip chicken thighs in egg mixture and coat with bread crumbs.
4. Heat a skillet over medium heat. Lightly coat with olive oil.
5. Add chicken pieces in a single layer and cook for 5-6 minutes on each side till the chicken is completely cooked through. Depending on the thickness of each piece, cooking time may vary a little.
6. While the chicken pieces get cooked, heat the pasta sauce in a small pan and keep warm.
8. As soon as all the chicken pieces are cooked, serve immediately over some pasta. Top the chicken with pasta sauce and cheeses and serve hot.

TIP: As an alternative, you can also assemble the chicken as a chicken parm sandwich.

[/recipe]

South-East Asian Style Vegetable Fried Rice

20141202_175013

There are myriads of recipes for fried rice. I personally love fried rice of any type or ethnic origin. This particular recipe is a blend of Indian and Sri Lankan flavors and textures.

Sri Lankan recipes typically will call for pandan (rampe) leaf which is not easily found in grocery stores in the US (although you can find them quite easily in Ontario, Canada). They impart a very distinct flavor to the rice and meat dishes. In the absence of pandan, I used mint leaves in this recipe, making it more Indian. In addition, Sri Lankan version is sometimes topped with bread cubes sautéed in clarified butter (aka ghee). They add a nice chewy texture and a unique flavor to the rice! When I was a child, I remember hunting for these bread cubes in my rice!

20141202_180331  20141202_175240  20141202_181219

This is a wholesome vegetarian dish that could be served with Indian/Sri Lankan curries or a simple yogurt/cucumber relish or just plain yogurt. It is pretty straightforward to prepare – the most involved step is making the spice mixture. If you are crunched for time, you can easily use frozen vegetables in place of fresh (like I did in this recipe) without sacrificing the flavor.

20141202_182122  20141202_183806

I hope you give this a try!

20141202_192033

South-East Asian Style Vegetable Fried Rice

  • Servings: 6-8
  • Print

Ingredients
2 cups Basmati rice, rinsed and soaked in cold water for 15 minutes
1 teaspoon oil
1/2 onion, sliced thick
2 Thai green chili pepper
3 cloves of garlic, cut up
1/2 inch piece of ginger, cut up
2 large tomatoes, cut up
1/2 cup loosely packed mint leaves
1 tablespoon butter
1 tablespoon oil
1/2 onion, sliced thin
2″ long cinnamon stick
3 cloves
2-3 cardamom pods, lightly bruised (if available)
1/2 bag (8 oz) frozen mixed vegetables (carrot, green beans and peas or something similar)
1/2 teaspoon turmeric powder
1 tablespoon Madras-style curry powder, optional
Salt to taste
1/4 cup mint leaves, chopped up
2 slices of bread, cut in cubes and pan toasted in butter

Preparation
1. Begin by cooking the rice according to directions.
2. While the rice is cooking, heat a teaspoon of oil in a shallow frying pan and saute thickly sliced onion, chili, garlic and ginger. When the onion begins to get golden, add the tomatoes and mint leaves. Saute for few more minutes and remove from heat.
3. Using a hand blender or food processor, grind the above till smooth. Set aside.
4. Heat a skillet over medium high heat and add butter and tablespoon of oil.
5. Add the thinly sliced onions and saute till golden. Add cinnamon, cardamom and clove.
6. After a few seconds, add the frozen vegetables and turmeric powder and saute till the vegetable are cooked through and the carrot looks slightly caramelized.
7. Stir in the curry powder, ground spice mixture and salt to taste.
8. Continue to cook for another 5 minutes or so till the mixture is cooked through and the oil starts to separate along the edges.
9. Mix in the cooked rice along with fresh mint.
10. Top with bread cubes and serve with a curry of your choice, boiled egg or yogurt (or a combination of all!).

Almost Perfect Macarons


20141126_182239

Have you noticed that macarons and delicately frosted cupcakes are more or less mainstays on a dessert tables nowadays??

My quest for making a perfect French macaron started 3 years ago, after a visit to Paris. I tried a few “home-style” versions at a local farmer’s market and fell in love! They were “cakey”, delicately flavored and more interestingly, came in infinite array of vivid colors. Piles and piles of them, arranged in conical pyramids, with various fillings! Ahh…

20141126_165520  20141126_170408

So, after we returned home, I started dreaming, researching and dreaming some more to the point of a macaron obsession! I tried countless recipes, ruined tons of batches, fretted over perfect “feet” and that characteristic texture – fragile and crispy outside leading to a chewy and cakey inside. And after numerous trial attempts, I can say I have a recipe that I will likely stick to – at least until I get a personal training by someone at Pierre Homme (what wishful thinking, I know!). 🙂 OK, you guys, look at my pictures, feel free to try them at home, and let me know if they are quite worth it! I debated whether to share this recipe, but decided it is worth sharing the love with the readers of this blog! After all, macarons can’t be perfected by following a recipe – they really need love, patience, passion and lots of and lots of practice!

20141126_170704

TIPS BEFORE YOU ATTEMPT:
1. Precise measurement is a MUST (if you don’t have a digital scale, I highly recommend getting one. I bought one just so I can make macarons)!
2. Oven-temperatures can uplift or totally ruin a perfect macaron!
3. Folding in the dry ingredients is an art and takes lots of practice! If you under/over mix, your batch is ruined, and you may not even know it till they start cracking while baking and push you into a meltdown!
5. You absolutely need parchment paper or silicone baking mat. Without it, you will have a sticky, gooey mess!
4. Lastly, make sure your mixer and bowl are grease free and you only use either gel or powder colors as macs don’t like grease or water!

20141126_174458

To sum it all up, MACARONS ARE HIGH-MAINTENANCE! But, once you perfect your skill and see those beautiful things emerge out of the oven, I can guarantee you will be floating with pride! I did!

20141205_232801       20141205_232317

Fool-proof French Macarons

  • Servings: 15-20 sandwiches
  • Print

Ingredients
35g egg white
0.5g meringue powder
0.5g salt
20g granulated sugar
60g powdered sugar
45g almond meal/ground almonds
Fillings of your choice: Chocolate ganache, nutella, buttercream, salted caramel, jelly etc.
optional: gel or powder colors

Preparation
1. Begin with carefully measuring out your ingredients.
2. Preheat oven to 350F. Line a baking sheet with parchment paper or silicone baking mat.
3. Grind together (in a spice/coffee grinder) the almond meal and powdered sugar for few seconds till the mixture is fine. Set aside.
4. In a large stainless bowl, whip together the egg white, meringue powder and salt till frothy.
5. Slowly add in granulated sugar till soft, shiny peaks form.
6. If using color, add at this point.
7. Carefully fold in the almond meal/powdered sugar mixture in two batches. A rubber spatula is immensely helpful with this process.
8. STOP mixing when the dry mixture is incorporated and the macaron mix falls in a ribbon and slowly disappears into the mix. This part is extremely critical to the perfect mac.
9. Pipe the mix in 1″ circles on parchment or baking mat, leaving about an inch between circles. Try to keep the size consistent so it is easy to sandwich them with fillings.
7. Tap the tray a few times to pop out any air bubbles. Again, air bubbles, if not removed, will pop in the oven and crack your macarons. Sad, but true!
8. Let the macarons rest for 10-15 minutes.
9. Place the tray in the oven and immediately lower the temperature to 290F.
10. Bake for 15 minutes, rotate tray and bake another 5 minutes. The times given are general guidelines. Keep an eye on those babies – I have ruined a few batches just because they decided the same temperature setting used for the previous batch was too hot for the next one! Weird and I am still scratching my head for reasons, but for now, just keep an eye on them.
11. At the end of the baking time, remove the tray from the oven, let the macs sit on the tray for 5 minutes and move them to a cooling rack.
12. Pair the macs of similar size and sandwich them with fillings of your choice.
13. Sandwiched macs must be kept refrigerated for at least 24 hours to let the flavors and texture meld.

Warning: Once you make your first perfect batch, it becomes a near obsession to make more! 🙂

Weeknight Eggplant-Ricotta Rollups

20141125_202914

Eggplant is by far one of my favorite vegetables. Until recently, I preferred the Asian kinds, Italian white kind and Indian kinds, but not so much the chunky American type – you know which ones I am talking about, right? The huge blackish purple giants that you see commonly at supermarkets. One of the main reasons is because I simply didn’t like their texture. To me, they had too much water in them. And their skin was too tough and they tasted rubbery most of the time! That is until recently, when I figured out how to make them less chewy, more delicate and better tasting!

20141125_200200

This recipe utilizes few of the tips I incorporate whenever I work with this particular type of eggplant. Peeling the eggplant first and slicing them thin lengthwise helps in making them softer and more flavorful during the cooking process. This recipe seriously is definitely a keeper for wholesome weeknight dinners, provided you have the main ingredients – eggplant and ricotta.

20141125_200156  20141125_200150

Steps are simple – slice and precook the eggplant, spread cheese mixture on each slice and roll it up, place them in a skillet with a good quality pasta sauce, top with any remaining cheese and grated mozzarella and let simmer. Voila! In less than 10 minutes, you will be able to open the lid and scoop out the cheesy, hearty eggplant-ricotta rollups onto your plate to devour!

20141125_200838  20141125_202002

Enjoy!

TIME SAVING TIP: You can pre-cook the eggplant slices ahead of time to save precious minutes!

Weeknight Eggplant-Ricotta Rollups

  • Servings: 4
  • Print

Ingredients
1 large eggplant, cut into 1/4″ thick slices lengthwise
2 – 3 tablespoons of extra virgin olive oil
1 cup part-skim ricotta cheese
1/4 cup grated parmesan
3 tablespoons chopped parsley, basil and oregano (or 1 tablespoon dried Italian herbs)
1 teaspoon finely minced garlic
salt and pepper to taste
1/4 cup reduced fat grated mozzarella
1 cup good quality pasta sauce
Any remaining cheese mixture
1/4 cup reduced fat grated mozzarella

Preparation:
1. Preheat a frying pan over medium high heat and coat with olive oil.
2. Cook eggplant slices in single layer till they are soft and golden. Set aside.
3. In a small bowl, mix together the ricotta, parmesan, herbs, garlic, salt/pepper and 1/4 cup mozzarella.
4. Spread about a heaping tablespoon of cheese mixture on the eggplant slices and roll them up.
5. Heat a skillet over medium high heat and add the pasta sauce.
6. Place the rolled eggplant slices in a single layer and top with any remaining cheese mixture. Top mix remaining 1/4 cup mozzarella cheese and cover.
7. Reduce heat to medium and let simmer for about 10 minutes till it gets hot and bubbly.
8. Serve immediately with a side salad or another dish of your choice.

Asian inspired noodles with vegetables and soy glazed salmon

20140927_191646

Don’t you wish you could have a list of recipes that you can whip up in a few minutes, use only a pot or two and require only a bit of time in the kitchen?? All of us lead super busy lives and we go about the daily motions wishing there will be more hours in the day. And then comes meal time! You want to feed your family something wholesome, but at the end of the day, just the thought of making something well balanced seems arduous! But what if you could make something in just about half hour and feel good knowing you are feeding the family a delicious and nutritious meal!

20140927_183821  20140927_183727

This dish is one of those accidental happenings in the kitchen tonight! Inspiration for this dish comes from a delicious serving of pho noodle soup I had last week. I loved the delicately seasoned simple but delectable broth, crunchiness of the fresh veggies and the soft, chewiness of rice noodles. So, I thought of making something similar with the ingredients I had in the kitchen – glass noodles, fennel bulb, savoy cabbage, green beans, salmon and cilantro. Once you clean and slice the vegetables, it is a snap to put this dish together.

20140927_185447  20140927_184656

To have a good flow….I will recommend starting with a pot of water to boil the noodles. Next, you should marinate the salmon in a mixture of soy sauce, ginger and garlic. While the fish is marinating, clean, wash and slice the vegetables. Now, you can add the noodles to the water, heat a pan to saute the fish and distribute the vegetables in four serving bowls. Then, you will be left with just heating the broth with a few seasonings and pouring it over the vegetables and noodles and topping off with a piece of salmon. Yum!

20140927_190439  20140927_191702

Asian inspired noodles with vegetables and soy glazed salmon

  • Servings: 4
  • Print

Ingredients
1 lb skinless salmon
2 tablespoons low-sodium soy sauce
1 teaspoon minced fresh ginger
2-3 cloves of garlic, minced
1/6 package of sweet potato glass noodles
1 1/2 cups of thinly sliced savoy cabbage
1 fennel bulb, thinly sliced
1 cup of thinly sliced fresh green beans
1/4 cup chopped cilantro
1 can of reduced salt chicken broth
1 teaspoon reduced salt soy sauce
1 teaspoon dark, toasted sesame oil
Juice from half a lime
1/2 teaspoon crushed dried basil (if you have fresh basil, that will be better!)

Preparation
1. Begin by marinating the salmon in a mixture of soy sauce, ginger and garlic.
2. Place a pot of water to boil; Cook noodles according to instructions.
3. Drain the noodles and keep aside and return the pot back to stove top.
4. Empty the can of broth into the pan and bring to a boil with a teaspoon of soy sauce, sesame oil, lime juice and basil.
5. Clean and prepare all the vegetable as listed above.
6. Distribute the veggies among 4 serving bowls. Top with cooked noodles.
7. Heat a frying pan over medium high heat and spray with cooking spray. Cook salmon until done.
8. Add hot broth to the vegetables and top with salmon. Sprinkle additional cilantro if desired and top with a squeeze of fresh lime juice and crushed red peppers, if desired.

Alice in Wonderland Sweet 16

IMG_7484

I am sorry. I am sorry I have been missing from my blog, a place chosen to share my passion and love for cooking! It’s been a whirlwind yet again. Work has been unbelievably busy and then I had to devote every bit of free time to preparing for a special birthday party. Then, things got crazy again. But I hate making excuses, so I will just say please accept my apologies for not posting here as regularly. I am hoping I will post weekly on Saturdays! Perhaps that’s a binding agreement I am making to myself that I hope to keep! 🙂

So, back to what has been consuming my free moments! Very special Sweet 16! Wait, not just any sweet 16, Alice in Wonderland themed Sweet 16! My primary focus was to make a very special cake and other treats that will “speak” the theme without not so much as saying a word! But then again, I wouldn’t have been surprised if the cake spoke – after all, all sorts of things speak in that tale!

IMG_7518

So, I started imaging and dreaming up the design. Should it be topsy turvy? How about a spell-casting magical mushroom? How about Alice diving into Rabbit Hole? I know, I will just pull in little bit of this and little bit of that and that’s what I did. I decided to make a multi-layered cake – starting with a green base to imply forest floor, anchor it with a large mad hatter hat and top it with a whimsical cute china tea cup and saucer. Yes! That will be it! Now, on to making it a reality!

IMG_7510

You see, I am not a fan of fondant at all! I mean, you would have to really give me a compelling reason to resort to fondant. I always prefer the creamy deliciousness of buttercream! But, I decided fondant will be a must-have for making this cake design a decent reality. So, I caved!

What about the cakes? I usually go with a good quality box mix and make homemade frosting and filling. It’s after all icing on the cake that everyone loves right! But in order to make sure the bottom layer will hold up to the top layers and hold the weight of fondant without succumbing to all the weight, I knew I had to go with a sturdy cake like a pound cake. So, I made three different flavors – regular pound for the bottom, grapefruit flavor for the hat and lemon-coconut for the tea cup (and cup cakes).

IMG_7524

You need to plan ahead to make it a bit easier on you to make, assemble and decorate the cake. I made the sauce few days before the party so they could dry a bit. Also, stack the cakes just before party time. Lastly, humidity is an enemy for fondant. So, take precautions to minimize any disappointment! Last time I worked with fondant to make a “tardis” cake, I was horrified to find “tardis” kind of sinking to one side because the fondant was loosening up a bit with the high humidity.

IMG_7531

My ultimate reward was when the birthday girl was completely awe-struck with the cake and so were so were here friends! Was this truly the best I could make? Perhaps not! But was it my best effort at that moment? Of course yes!

I also made other treats to remind of the theme! I made shortbread cookies that looked like tea bags. They were so cute. I found the image for the perfect tag! Needless to say, these little creations were such a huge hit. In addition, I made cupcakes and mini pink lemon mousse in clear shot glasses! The table was set with English tea cups and teapots sourced from antique markets and thrift stores to create the tea party scene.

IMG_7535

All-in-all, after weeks of stressing about it, I think the party and the food were great success! I hope you will have an opportunity to try out this theme sometime! It was a hit with the teenagers, especially because they got to dress up for the party as well!

IMG_7566  IMG_7568  IMG_7617

Ethiopian Injera

20140825_193016

I know, I know, it’s been a long while again since my last post! I really need to get my time management down so I could post here at least weekly. Now that summer is wrapping up (gosh, how did it go by so fast??!), I hope things will get into more of a routine and I will be able to spend a bit more time in the kitchen and online here on my blog.

20140823_145147  20140823_145735

That brings me to this post. There is a little story behind wanting to make injera, sort of a thin and soft pancake with a slight tang. It is very commonly eaten in Ethiopia (and perhaps surrounding nations?). From what I gather from the web, the large pancake is placed on the plate and various meats and veggies and served on top of it. Once you eat the last bit of injera, I gather your meal is officially over. Anyway, back to my story!

20140824_082019  20140825_191014

You see I have never eaten from a food cart, up until this summer. There are about 25 or so food carts that glorify a stretch of street by my office and I decided to give it a try! My first ever experience! And I decided to try Ethiopian food. Yum! When I was asked rice or injera, I quickly chose the latter not knowing how it was going to taste. Since I have not previously eaten Ethiopian food, I am not sure if what I tried that day was truly authentic, but it left me wanting to finally open up the package of teff flour I had sitting in my pantry – still in its sealed packaging!

20140824_081954

Injera is traditionally made from teff, which is a gluten free grain. Recipes using it call for nothing but teff, water, yeast and may be injera starter, much like a sourdough starter. I did a quick version of the dish with just few hours of fermenting and I didn’t like the outcome. It tasted OK, but didn’t have the tangy taste.

20140825_191334

So, I decided to try again, but this time letting it ferment for longer period (2 – 3 DAYS!). I came across a recipe online that had the vibe of being a better product. Since I was too excited to bookmark it, I will try to remember to update this post if/when I find the link again. This time around, it did taste better, but I felt a bit guilty about sacrificing the goodness of teff with the addition of all-purpose flour. My family enjoyed it so I will definitely make it again, but replace most of the all-purpose flour with additional teff or some other grain flour.

20140825_191820  20140825_193016

Serve the injera bread rolled up or as a layer for your curries and salad. It is definitely a good switch from rice! So, I hope you don’t let the long fermentation process discourage you from trying out this recipe! Active work time is probably only about 30 minutes. So, give it a try, I think you will enjoy it!

20140825_193028

Ethiopian Injera

  • Servings: Sixteen 10-inch Injeras
  • Print

Ingredients
1 1/2 cups all-purpose flour
1 teaspoon yeast
1/4 cup warm water
1/2 teaspoon sugar
1 teaspoon baking powder
1 to 1 1/2 cups water
2 cups teff flour
1/3 – 1/2 cup water
Additional water to cover the teff dough

Preparation
1. Day 1 – Dissolve yeast and sugar in the warm water. Let sit for 5 minutes.
2. Scoop the all-purpose flour into a large bowl. Stir in the baking powder. Add the yeast mixture and just enough water to make a pancake consistency batter. Cover with a plastic wrap and set aside to begin the fermentation process.
3. In a medium bowl, add just enough water to the teff flour and make a very thick dough – similar to a pastry dough. Knead for 3-5 minutes. Now flatten the dough in the bowl and add enough water to just cover it. Cover with a plastic wrap and let sit on the countertop till later part of the day.
4. After about 8 hours or so, uncover the teff bowl and mix in the water with the moist dough. It will result in a very thick batter.
5. Add the teff batter to the larger bowl and mix well. Cover the bowl with the plastic wrap and let ferment on countertop till the next day.
6. On the morning of day 2, give the batter a good stir and let ferment again, covered.
7. You can make the injera for dinner on day 2 or place the batter in the refrigerator for cooking it later. (I placed in refrigerator for dinner on day 3).
8. Ideally you will want to cook injera in a large flat frying pan with a lid. In the absence of one, do a makeshift lid like did. Heat a large pan over medium high heat. Rub with a bit of oil and pour about 1/2 cup of batter. Quickly swirl the pan to make the batter spread to a thin pancake. Cover with the largest lid you have and let cook for 2 minutes or so.
9. When cooked, you can either serve it fresh with meats and vegetables on top or you can roll it like a swiss roll and cut into slices like in the picture. You can still unroll the pancake to scoop the curries in.

Enjoy!