

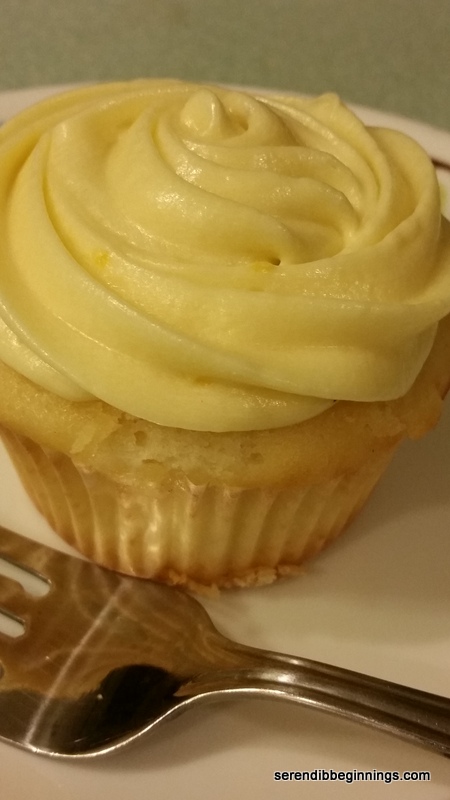
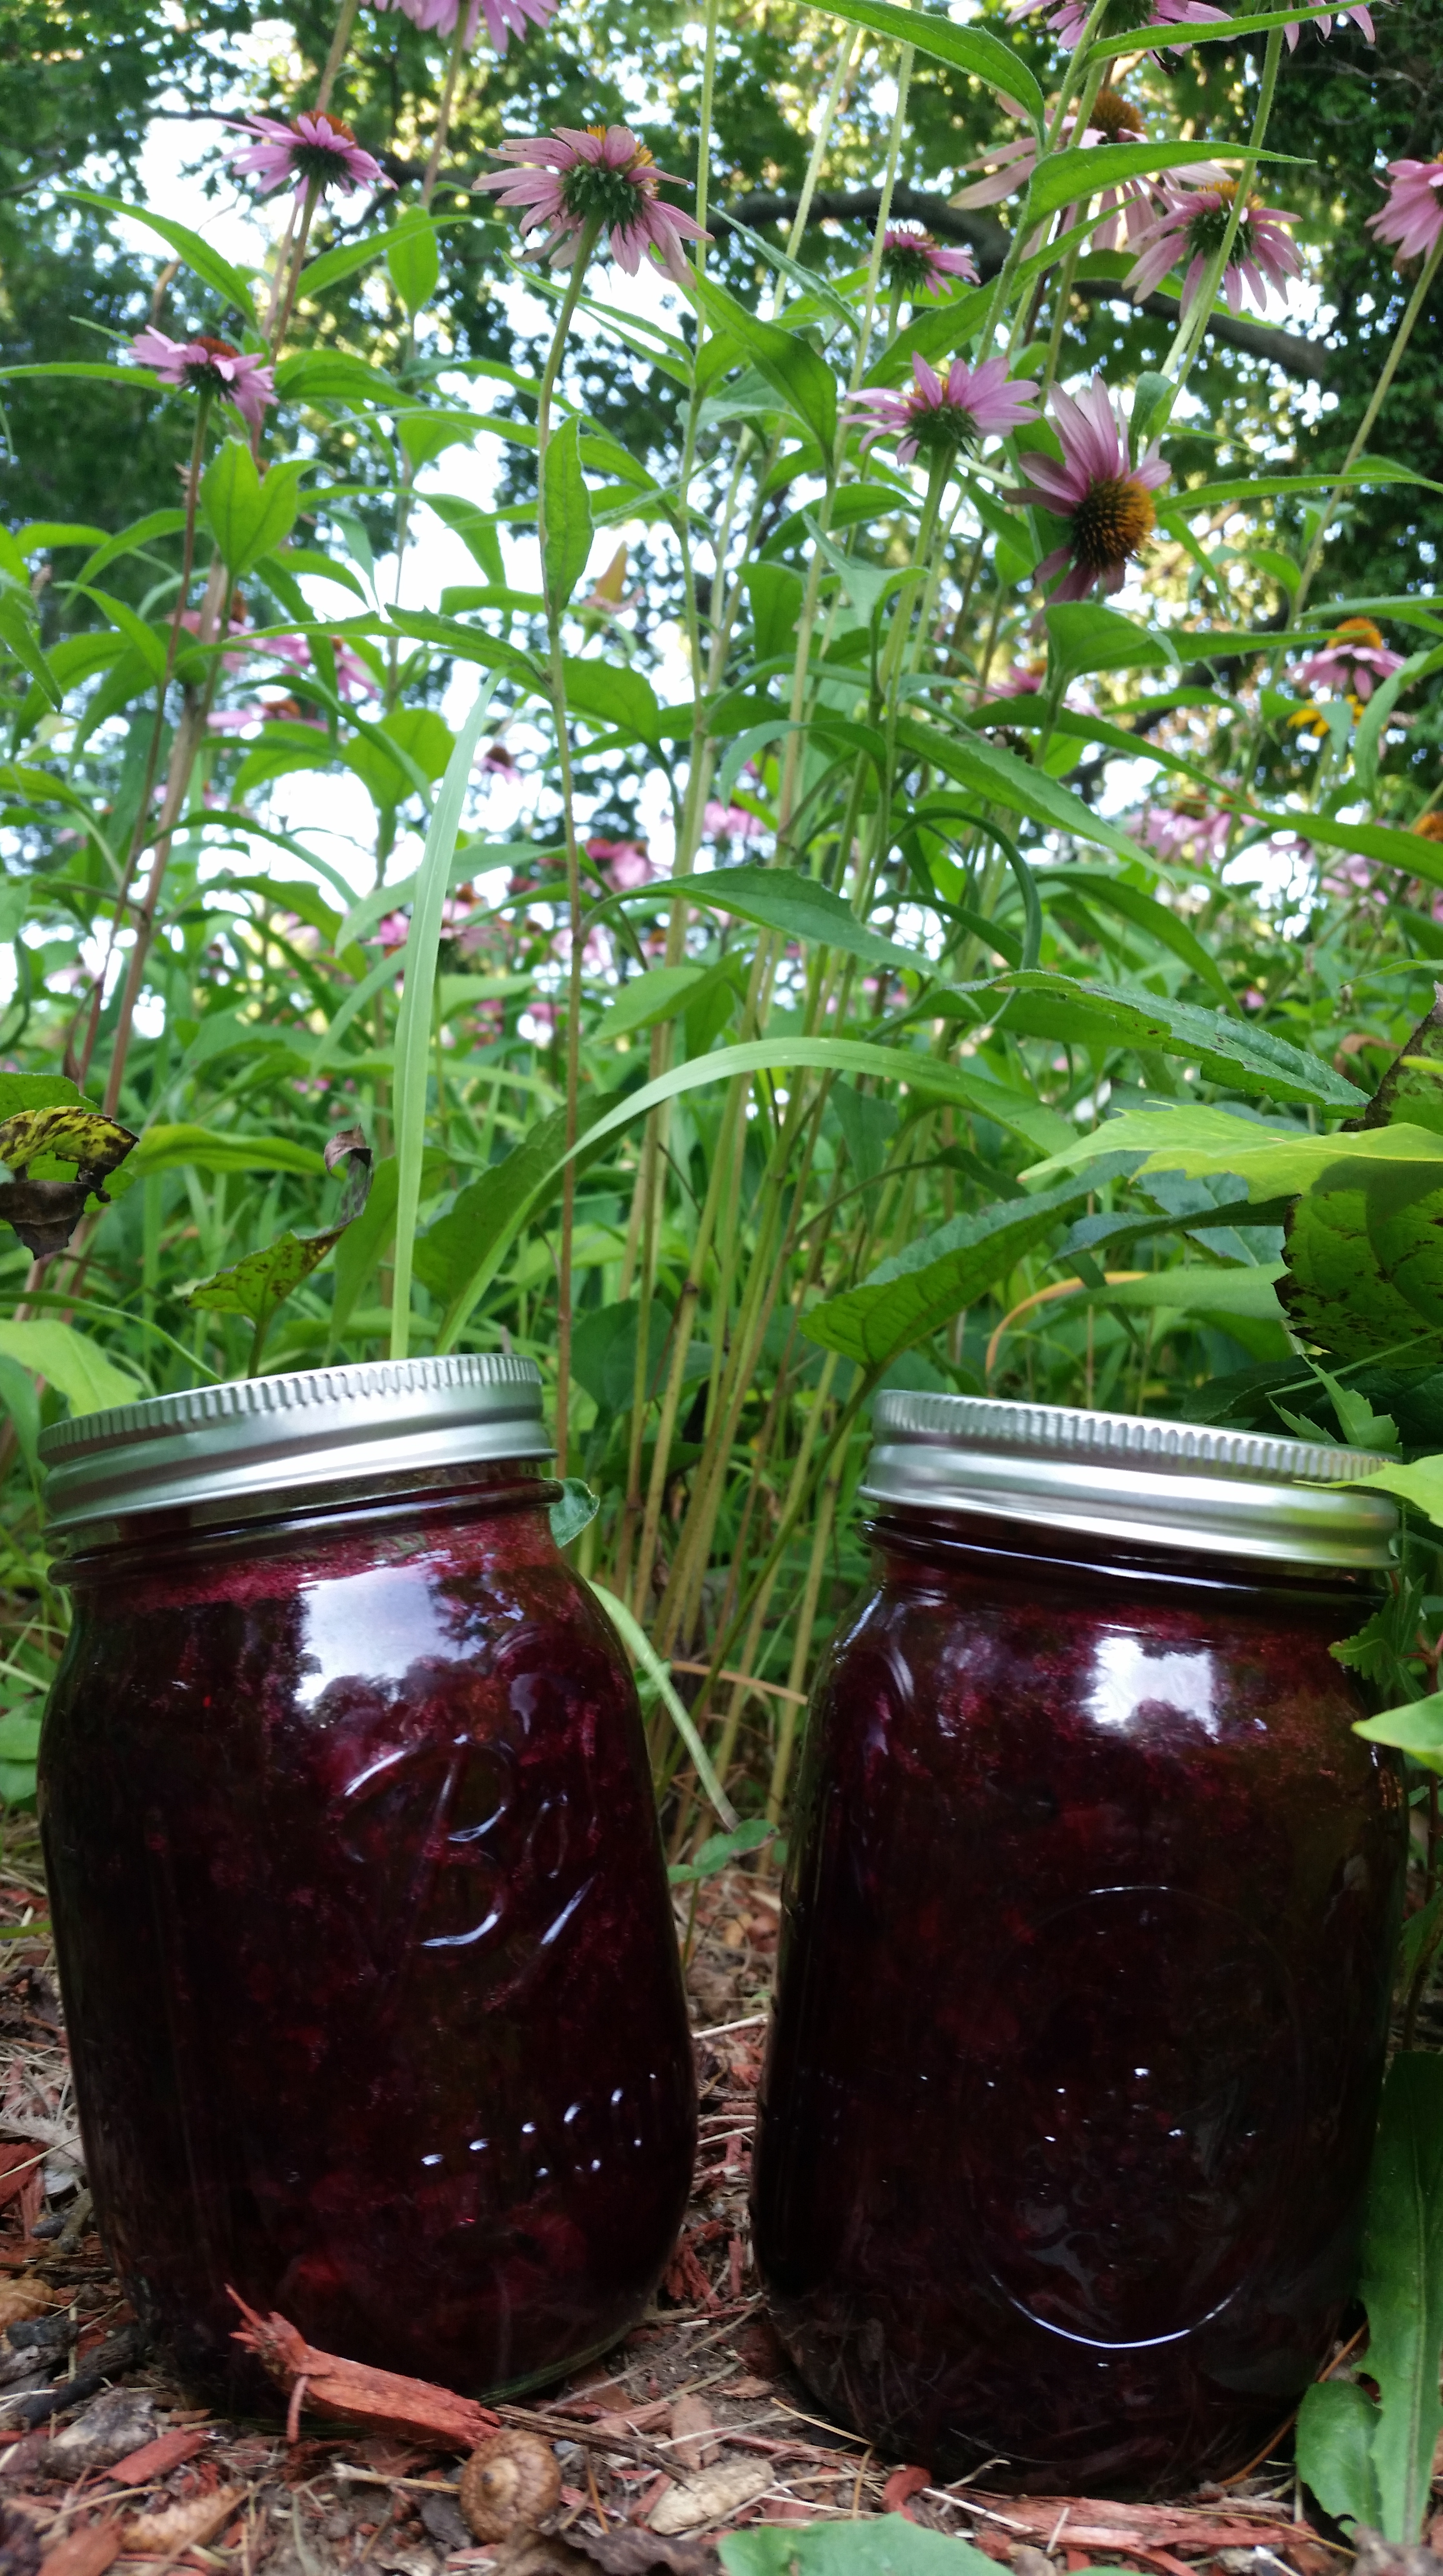
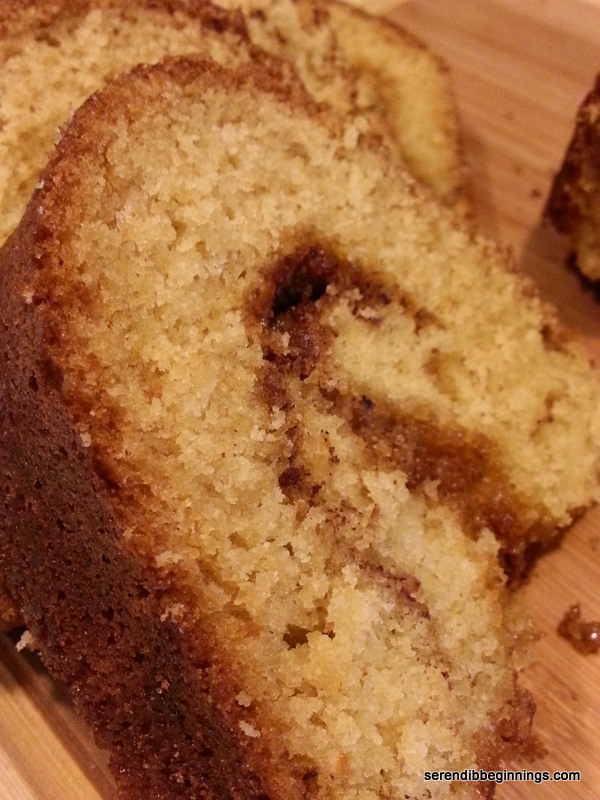
So, this is really part 2 of the 2-part cupcake posting! I have been meaning to make some sort of treat using the blueberry preserves I had recently made. What better way than to test it as a filling for cupcake! So, that was going to be the second cupcake flavor. Vanilla cupcake with blueberry preserve filling and lemon cream cheese frosting! Yummmm!

I am not sure where I came upon this recipe! Since I wanted to stick with the “made from scratch” spree, I decided to whip up this quick cupcake recipe. One warning – be gentle with your mixing if you want to avoid big air pockets in the cake. The cake was totally amazing – especially the frosting! Just the right amount of sweetness with a bit of citrusy tang! Delicious! And the bit of blueberry preserve you get in each bite is just perfect!

(BTW, if you are have leftover frosting, use it as a drizzle for a breakfast treat (sweet rolls or as a spread for crepes!)

Blueberry Cheesecake Cupcakes
Ingredients:
6 tablespoons soft unsalted butter
2/3 cup sugar
1/2 teaspoon salt
1 teaspoon baking powder
2 eggs
1 3/4 cup cake flour
1/2 cup milk
Cupcake filling
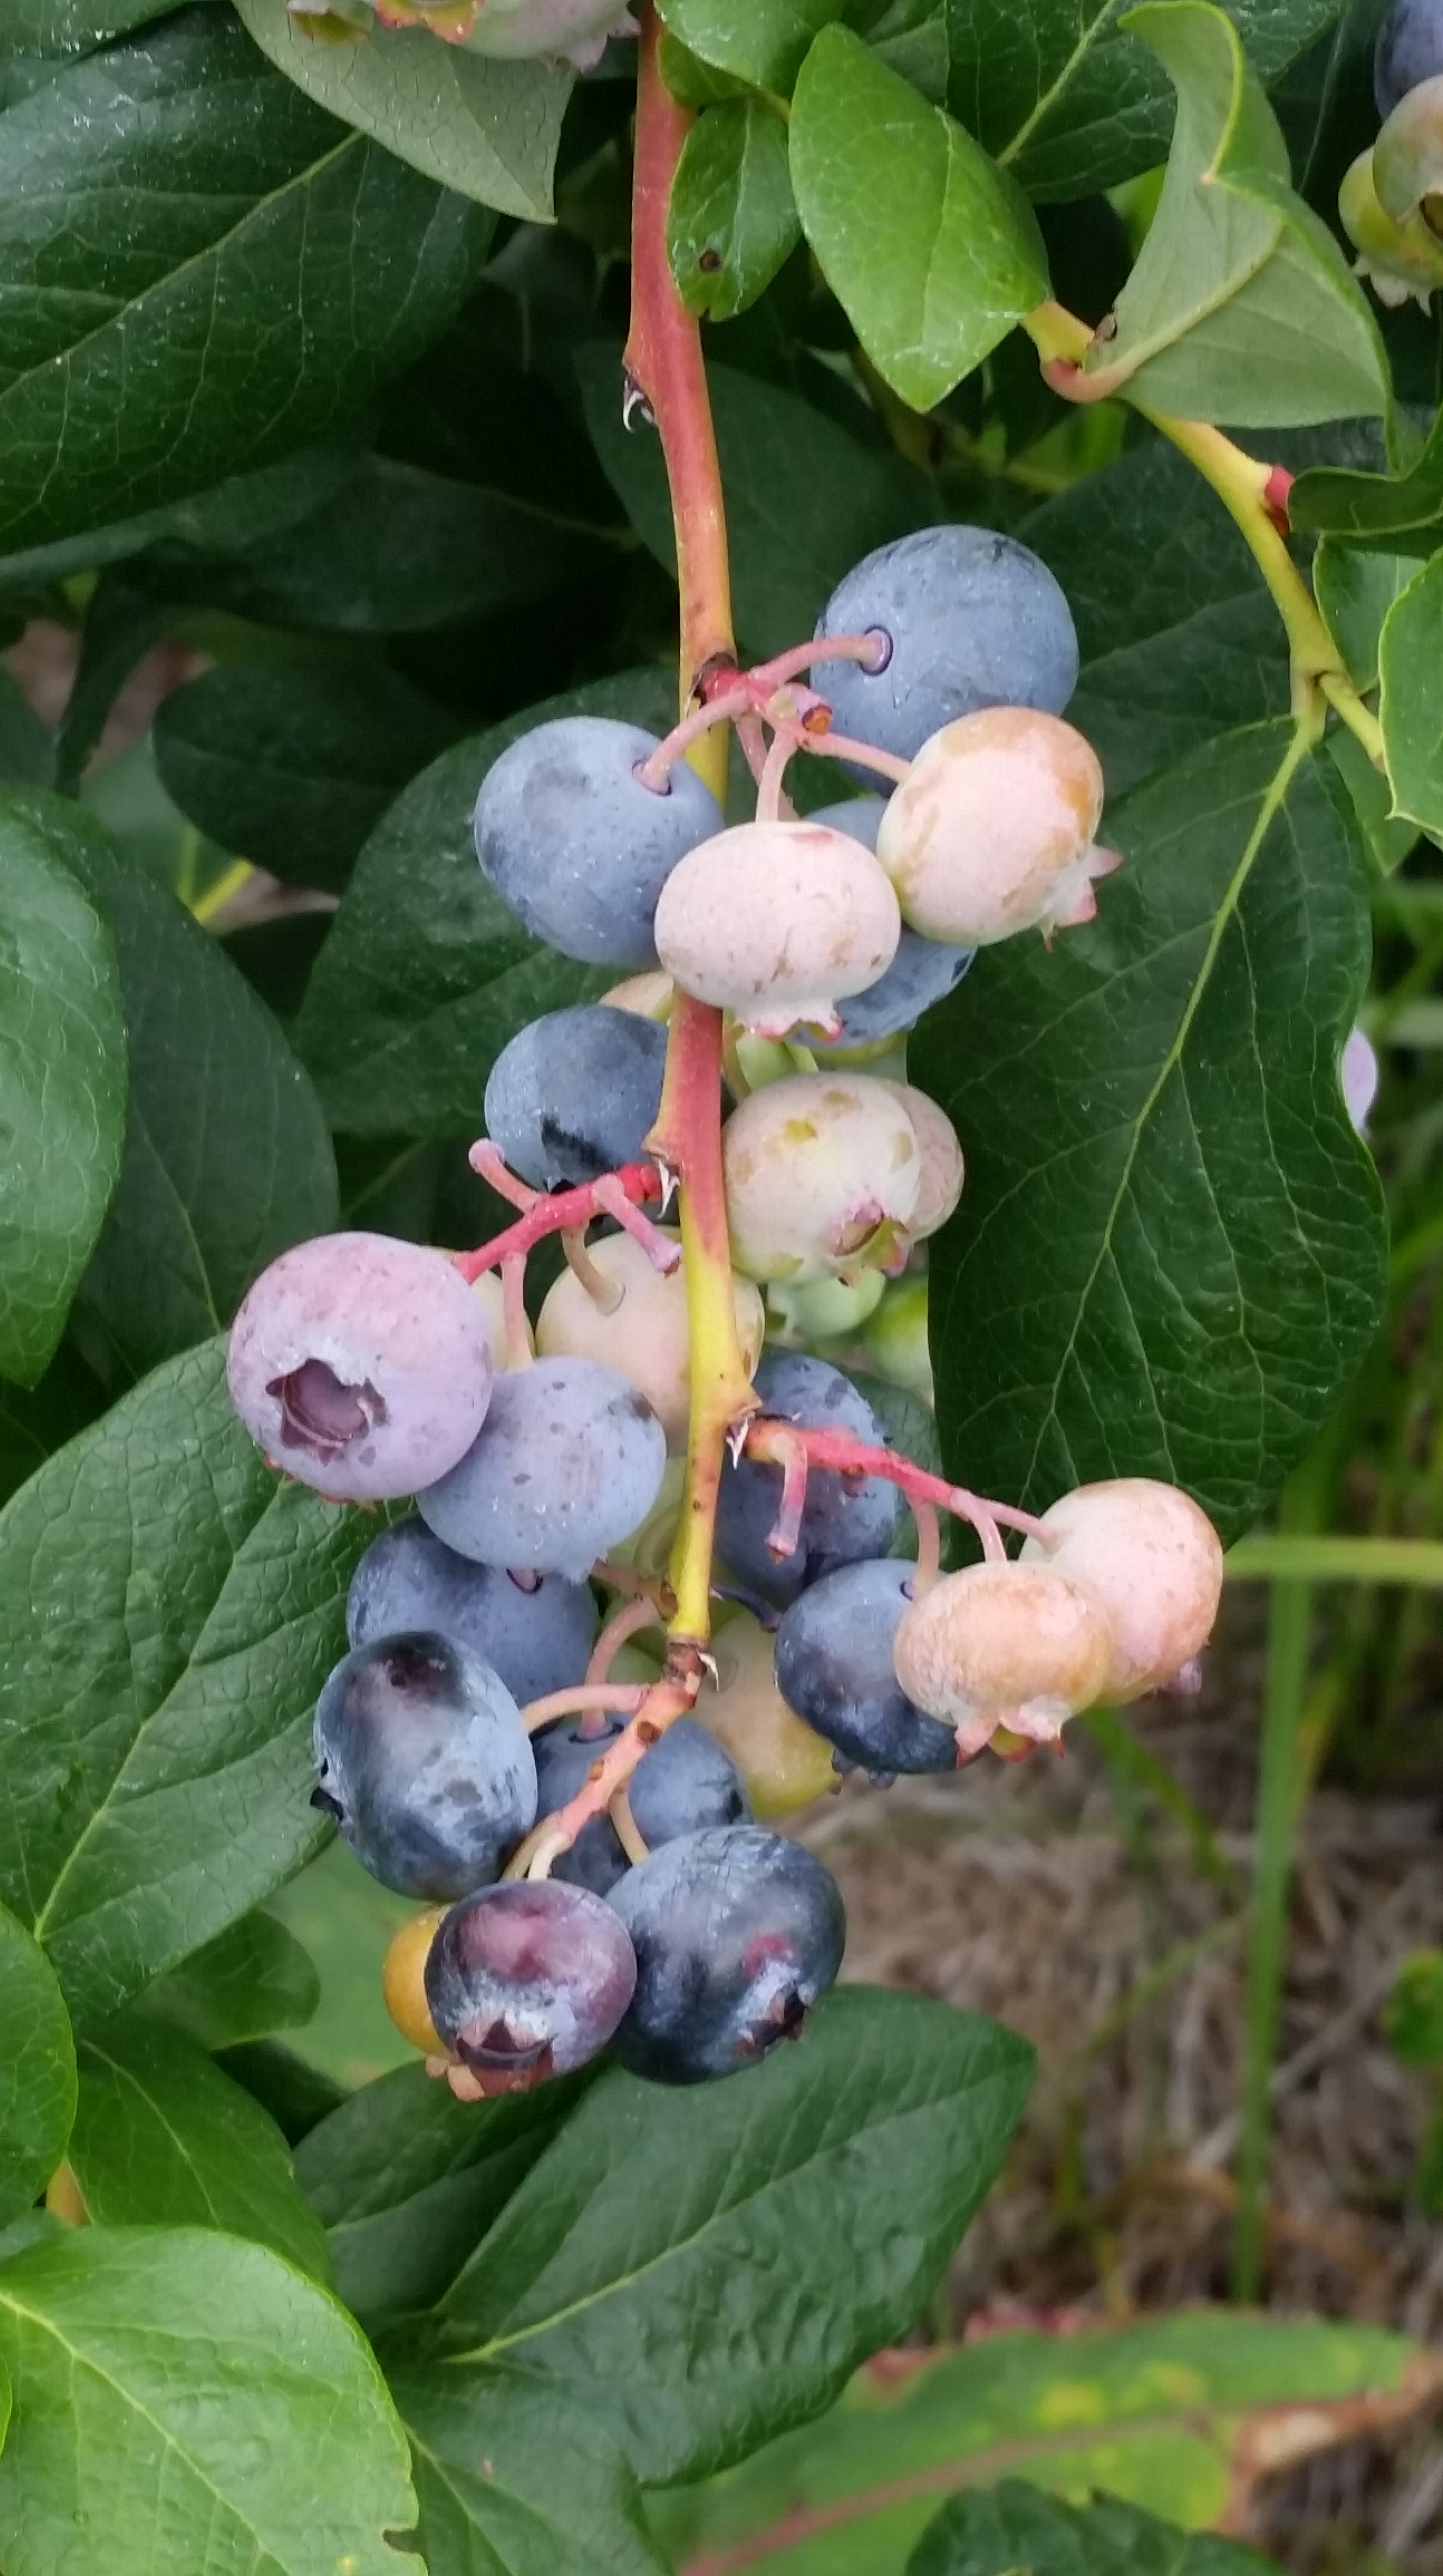
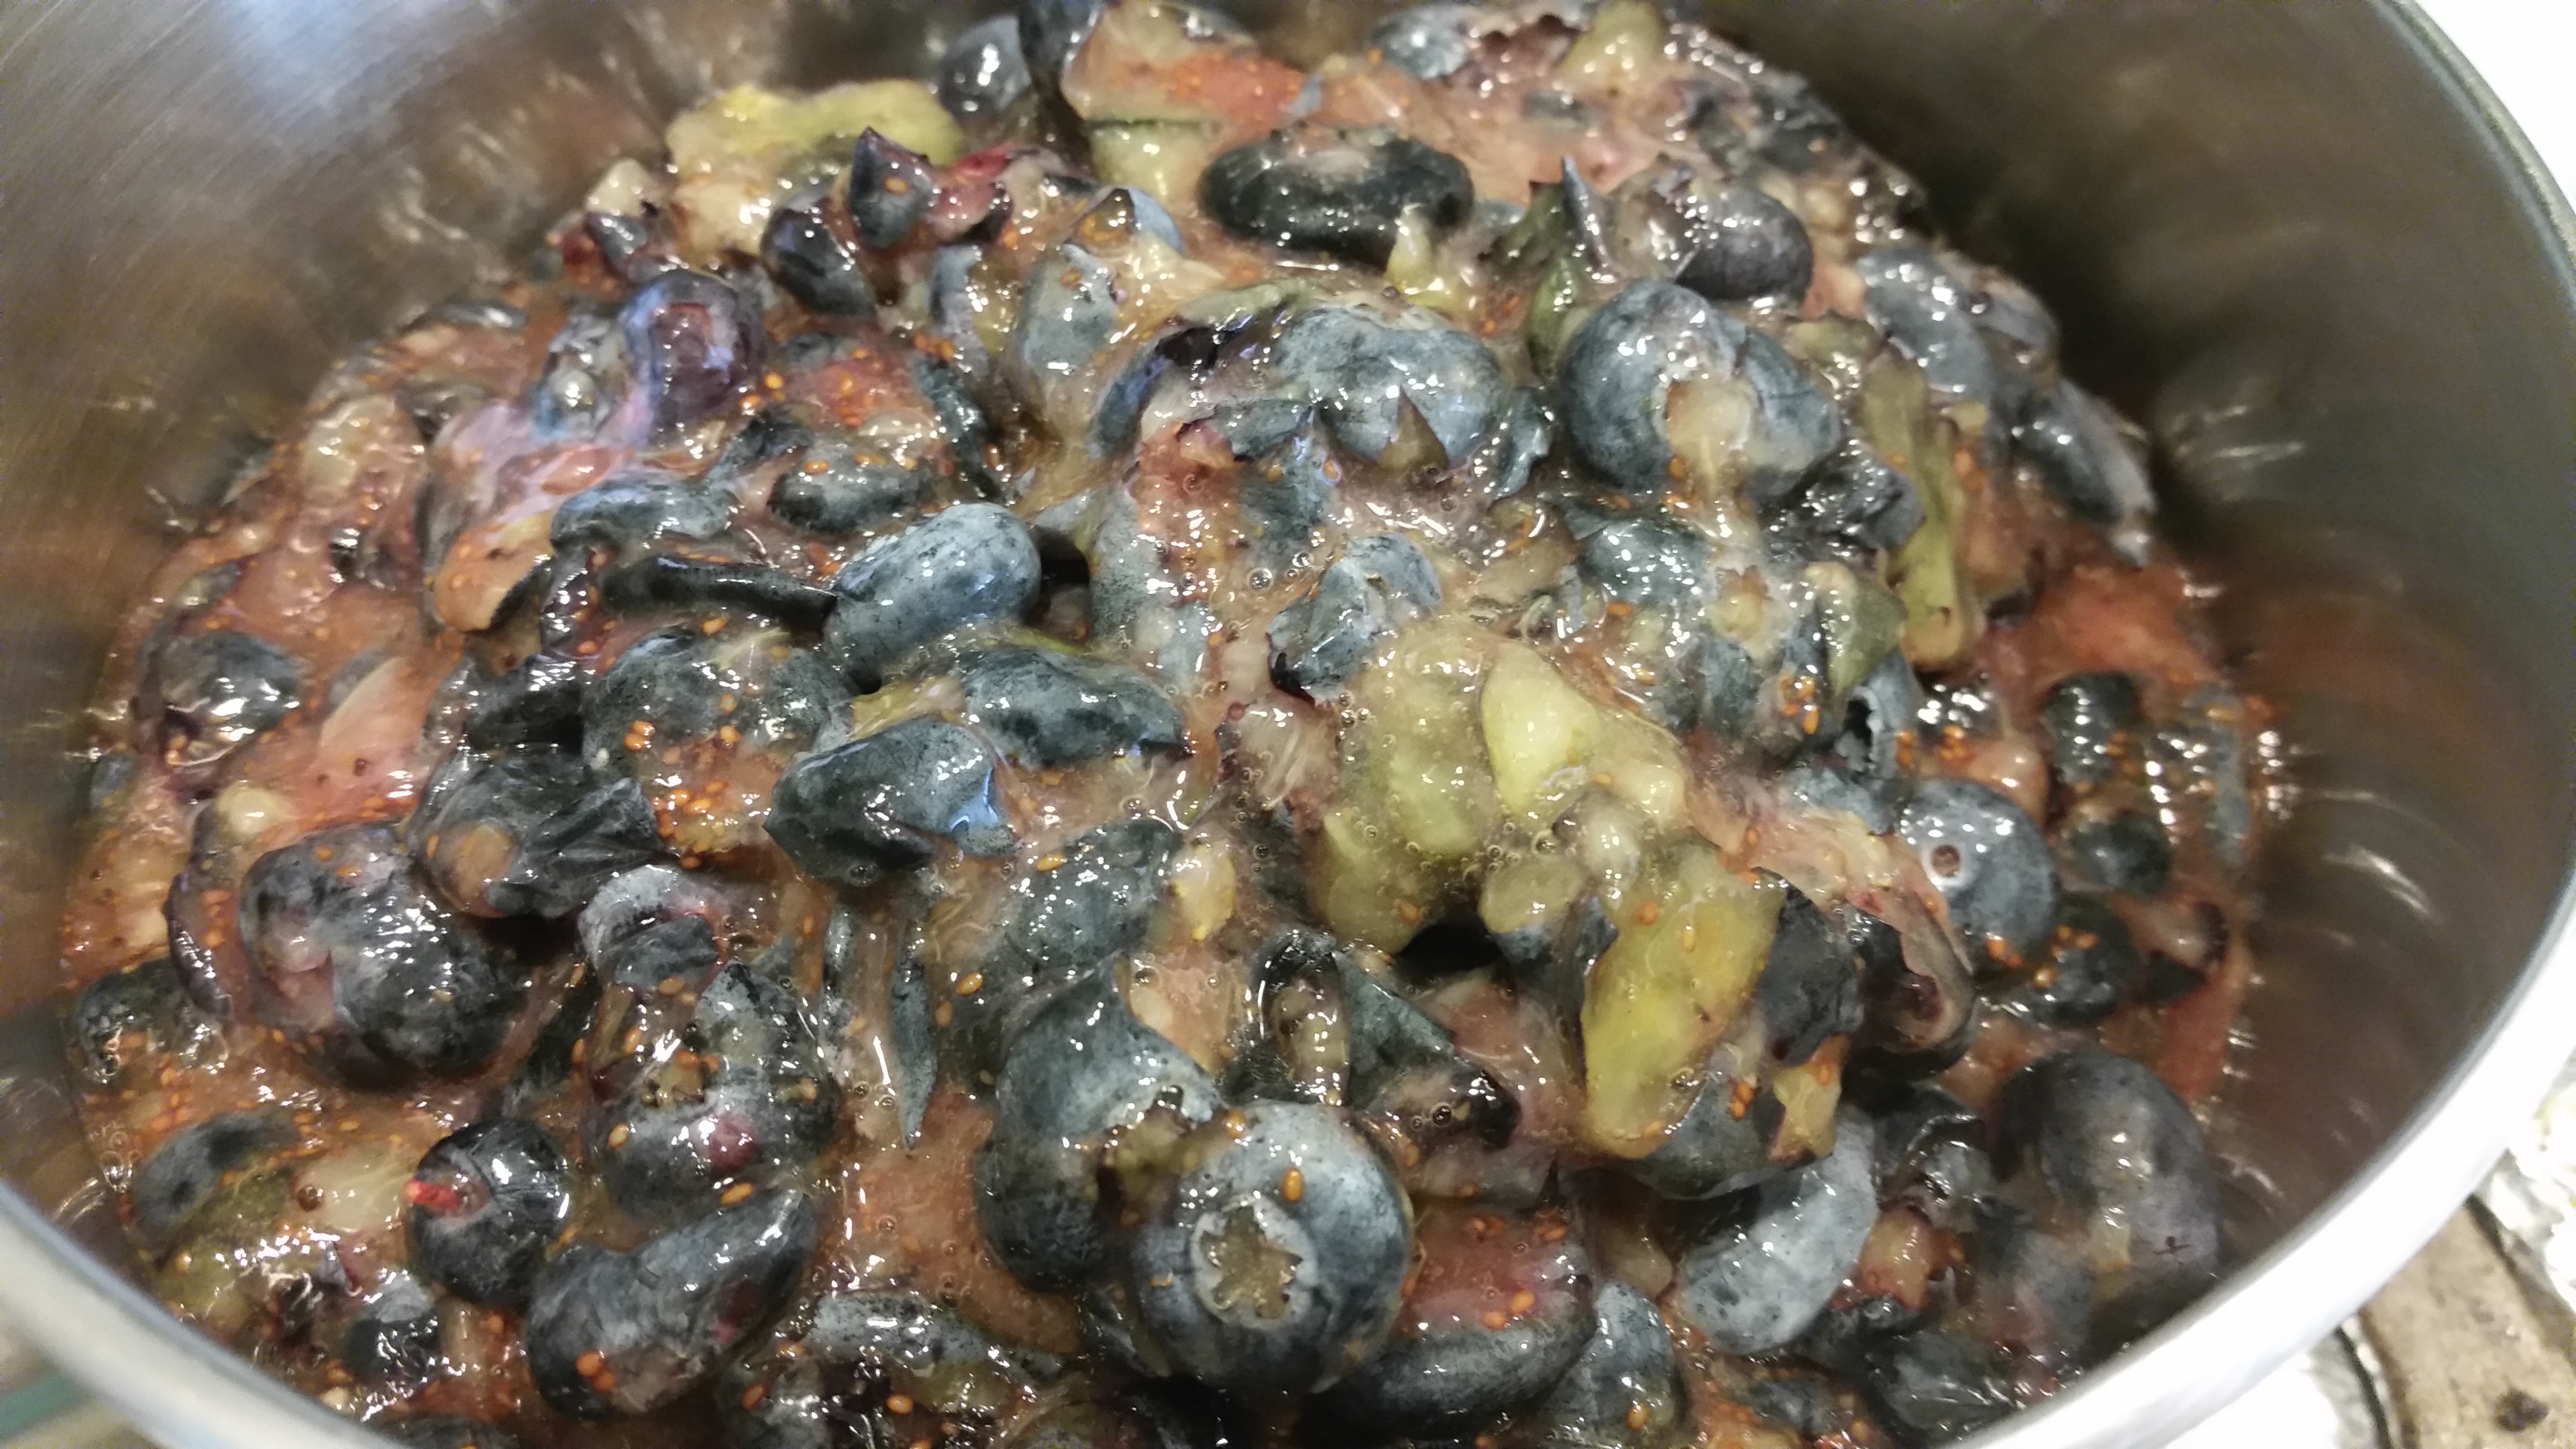
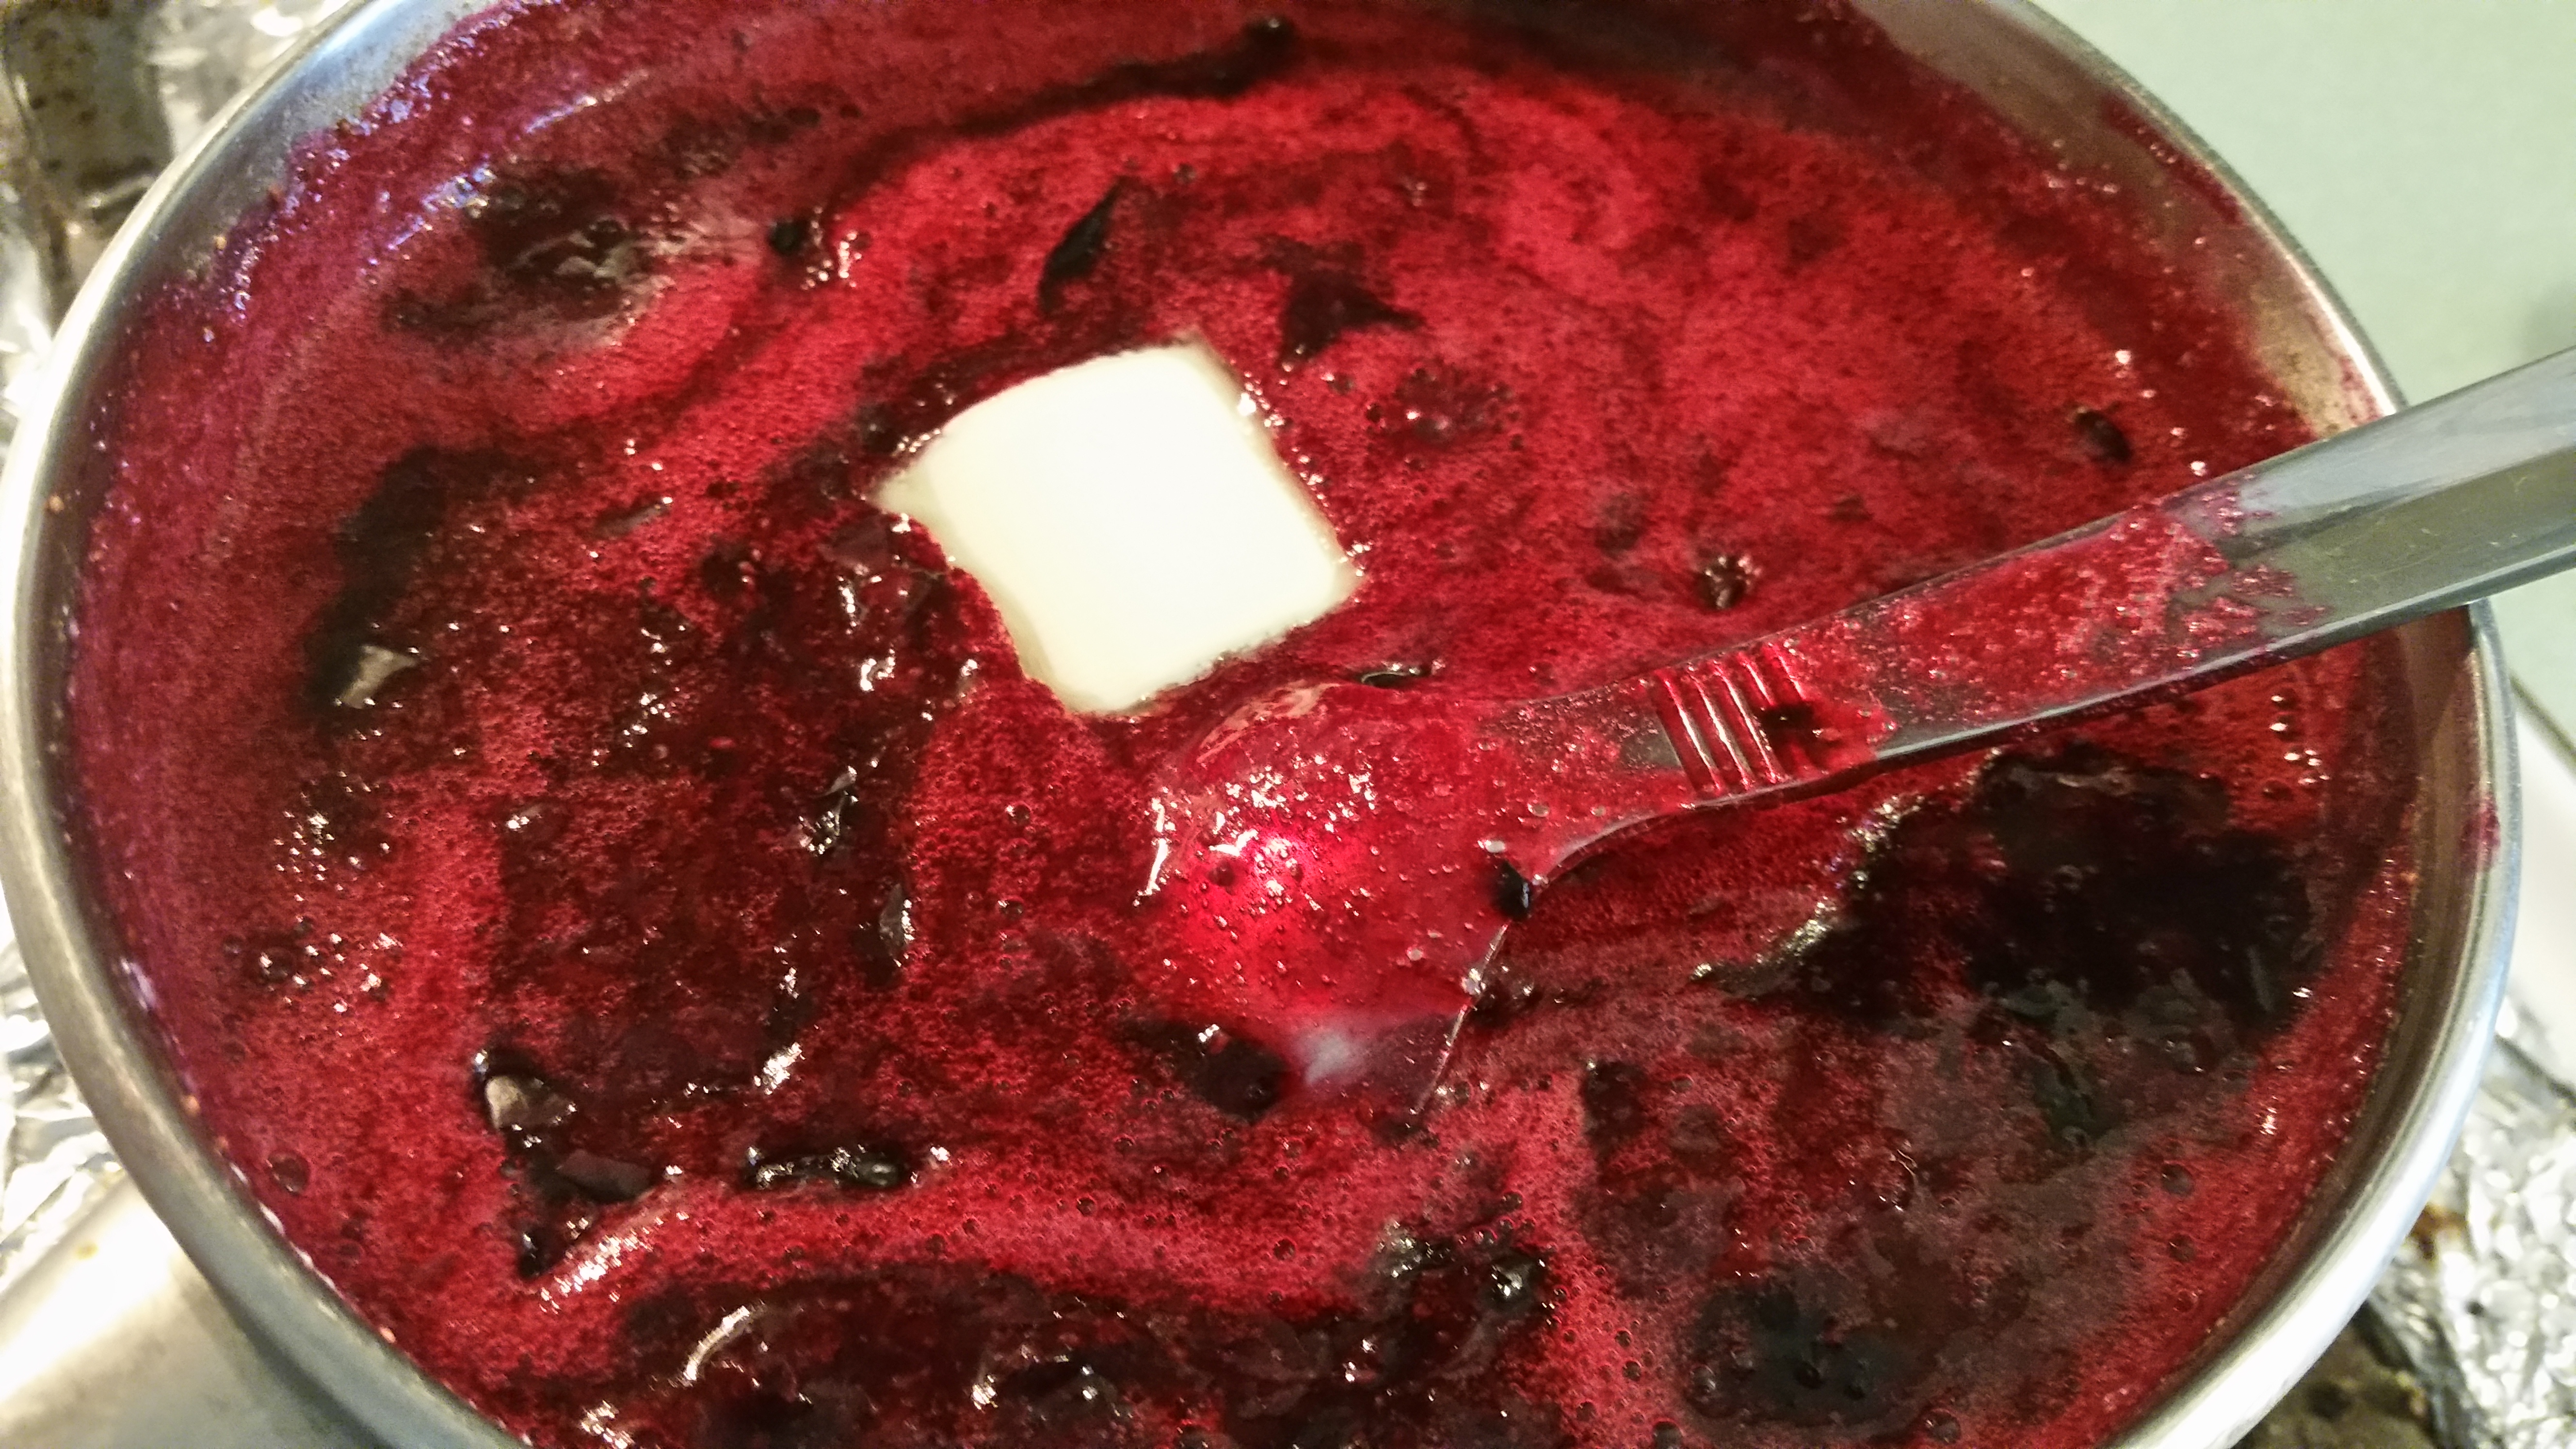
1/4 cup blueberry preserve
Lemon Cream Cheese Frosting
1 8-oz reduced fat cream cheese
1/3 cup unsalted butter, softened
2 cups powdered sugar
1 teaspoon fresh lemon juice
Lemon zest from 1/2 lemon
Preparation:
1. Preheat oven to 350F. Line a cupcake pan with paper liners and set aside.
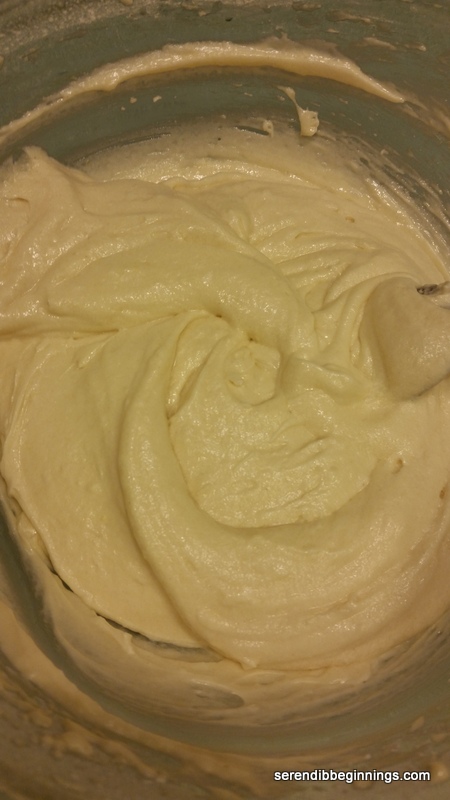
2. Using an electric hand held beater, combine butter, sugar till light and fluffy.
3. Add one egg at a time, mixing well.
4. Combine cake flour, salt and baking powder.
5. Add the flour mixture alternating with milk in two additions.
6. Divide the batter among the 12 cupcake “wells”. Bake for about 20-22 minutes till the top is lightly golden and the center tests done.
7. Remove from the oven and let cool in the pan for 5 minutes. Remove the cupcakes and let cool completely on a cooling rack.
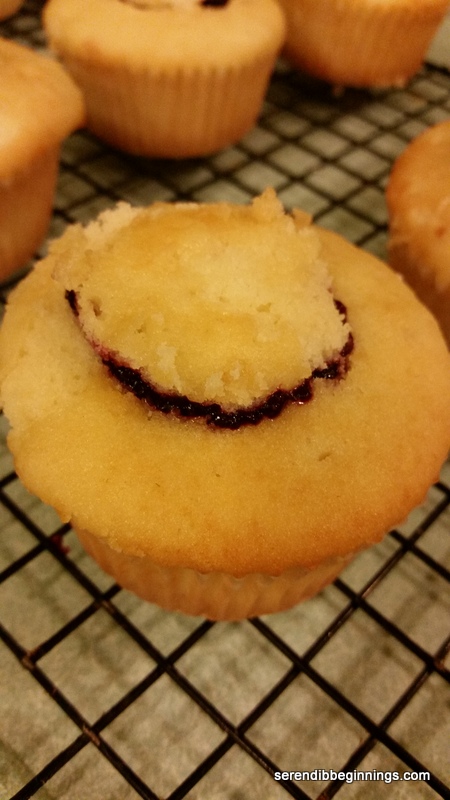
8. To decorate, slowly and carefully cut out a 1/2 inch piece of cupcake in the middle as shown in the picture above. Reserve the cut out piece. Fill the hole with a teaspoon of blueberry preserve and place the cut out cake back on top. Now, cover the top with lemon cream cheese frosting.
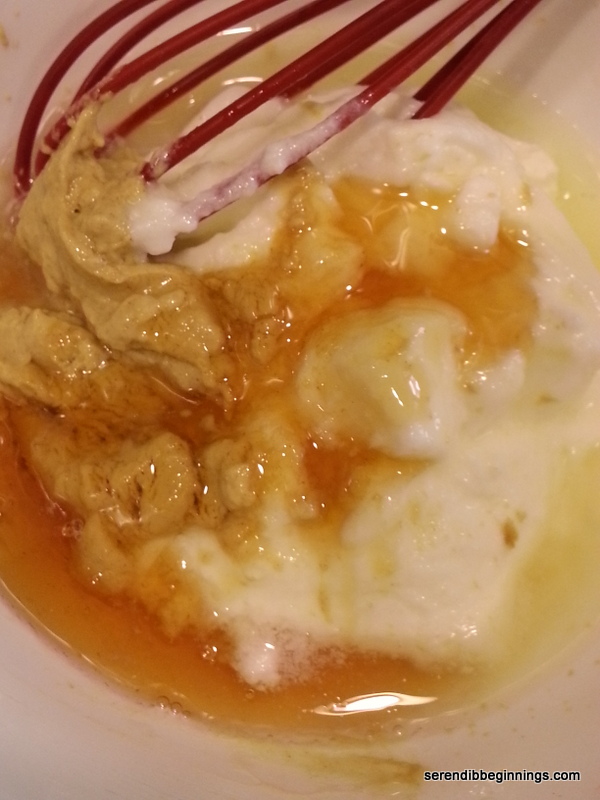
Lemon Cream Cheese Frosting
Combine all the ingredients in a medium bowl using handheld mixer. If frosting is too thick, you can thin it by adding few drops of lemon juice.


